Title

Title
Tally Ho!

Saturday 26 January 2019

Kings of War Crusades Campaign - battle of Antioch

Siege Failed, Crusaders defeated

The first battle on the southern route had the Crusaders trying to defeat a force attempting to relieve Antioch, The scenario selected was Eliminate in which each sides 3 most expensive units were the targets, along with a single central objective. Its an interesting one as you must decide when to risk your most powerful units in the combat. With 3 players aside we went for 3100 points and a 10' table.

The Crusaders deployed with the Byzantines drawn-up deep on the left, the main crusader force in the centre and a refused right flank of knights / light horse. The target units were spread across the line with only the Templars hidden at the back.   

Byzantines

Part of the centre

The refused right flank

The Saracens opted to hide their best units (Mamluks and spear horde) in the second rank. Their left was mostly horse archers, the centre contained the bulk of the cavalry, with most of the infantry on the right opposite the Byzantines.

Horse archers on the left

A cavalry-heavy centre

Refused right with the spearmen hiding away
The battle opened with Crusaders advancing in the centre and the left. The Byzantines were more cautious, advancing a couple of units into bow range of the defending Saracens.
 

The Saracens had massed their Lance & Bow cavalry in the centre with additional support from more horse archers and light horse. Two rounds of focused fire quickly removed the Crusaders spear horde, scoring vital victory points and making a hole in the centre.  


Saracens clear the centre
On the Crusaders right they pushed forward against the weaker Saracen force in the hopes of causing carnage with their knights and turning the flank. Some doughty defence delayed them but it would not last for many turns.  

Crusaders have the edge on their right

With the loss of the infantry horde in the centre the Crusaders had to attack with their knights but found themselves against several ranks of  Saracen troops. The archers weakened the knights with the Mamaluks finally unleashed at them.

Crusaders attack but are outnumbered


Saracens pounch

The Crusaders found themselves with a disputed formation allowing the Saracens several flank charges or 2-1 opportunities. This proved decisive as the Saracens were able to gobble-up the Templars and a couple of knight units.


In the final move the Crusaders had caused rather more damage than the Saracens but critically had lost all three of their target units without killing any of the enemies. We assessed the outcome would have been 10-3 to the Saracens on victory points.

Crusaders mount a decisive attack but all a little late

    
So a decisive win for the Saracens. You will notice there is little mention of the Byzantines - they  were initially quite cautious, only launching any meaningful attacks late in the game. More aggression from them may have reversed the result but it was perhaps the good use of the Saracens firepower that set the tone. 

Saturday 19 January 2019

Kings of War Crusades Campaign - battle of Turbessel

Siege fails, Saracen relief force defeated 


Our campaign begins with the northern-most of the Crusader armies attacking the town of Turbessel. As we were down to 2-a-side the forces were cut to 2500 and the table to 8 feet. The scenario selected for the relief force battle was Kill! So the side routing the most was the winner.

The Crusaders fielded; 4*Regt heavy cavalry, 2*Troops light cavalry, 2*Regt crossbows, 1*Horde spearmen, 1*Regt heavy warriors, 2*General. Their erstwhile Byzantine allies fielded; 2*Regt spearmen, 1*Regt bowmen, 1*Troop skirmisher, 1*Troop light cavalry, 2*Regt lance & bow cavalry, 1*General.

The Saracens mustered; 1*Horde spearmen, 1*Regt heavy spearmen, 2*Regt bowmen, 2*Troops skirmishers, 1*Regt warriors, 2*Regt cavalry, 2*Regt lance & bow cavalry, 2*Troops light cavalry, 2*Regt horse archers, 2*Regt Mamluks, and 2*General.

For this campaign we have introduced a new troop-type of Lance & Bow Cavalry to cater for the heavy cavalry used by both the Arabs and the Byzantines of this type. They are costed at 160 points for a Regiment.

Unit
Sp
Me
Ra
De
Att
Ne
Special
Lance & Bow (Trp)
8
5+
5+
4+
7
10/12
Short Bow, Nimble
Lance & Bow (Regt)
8
5+
5+
4+
14
13/15

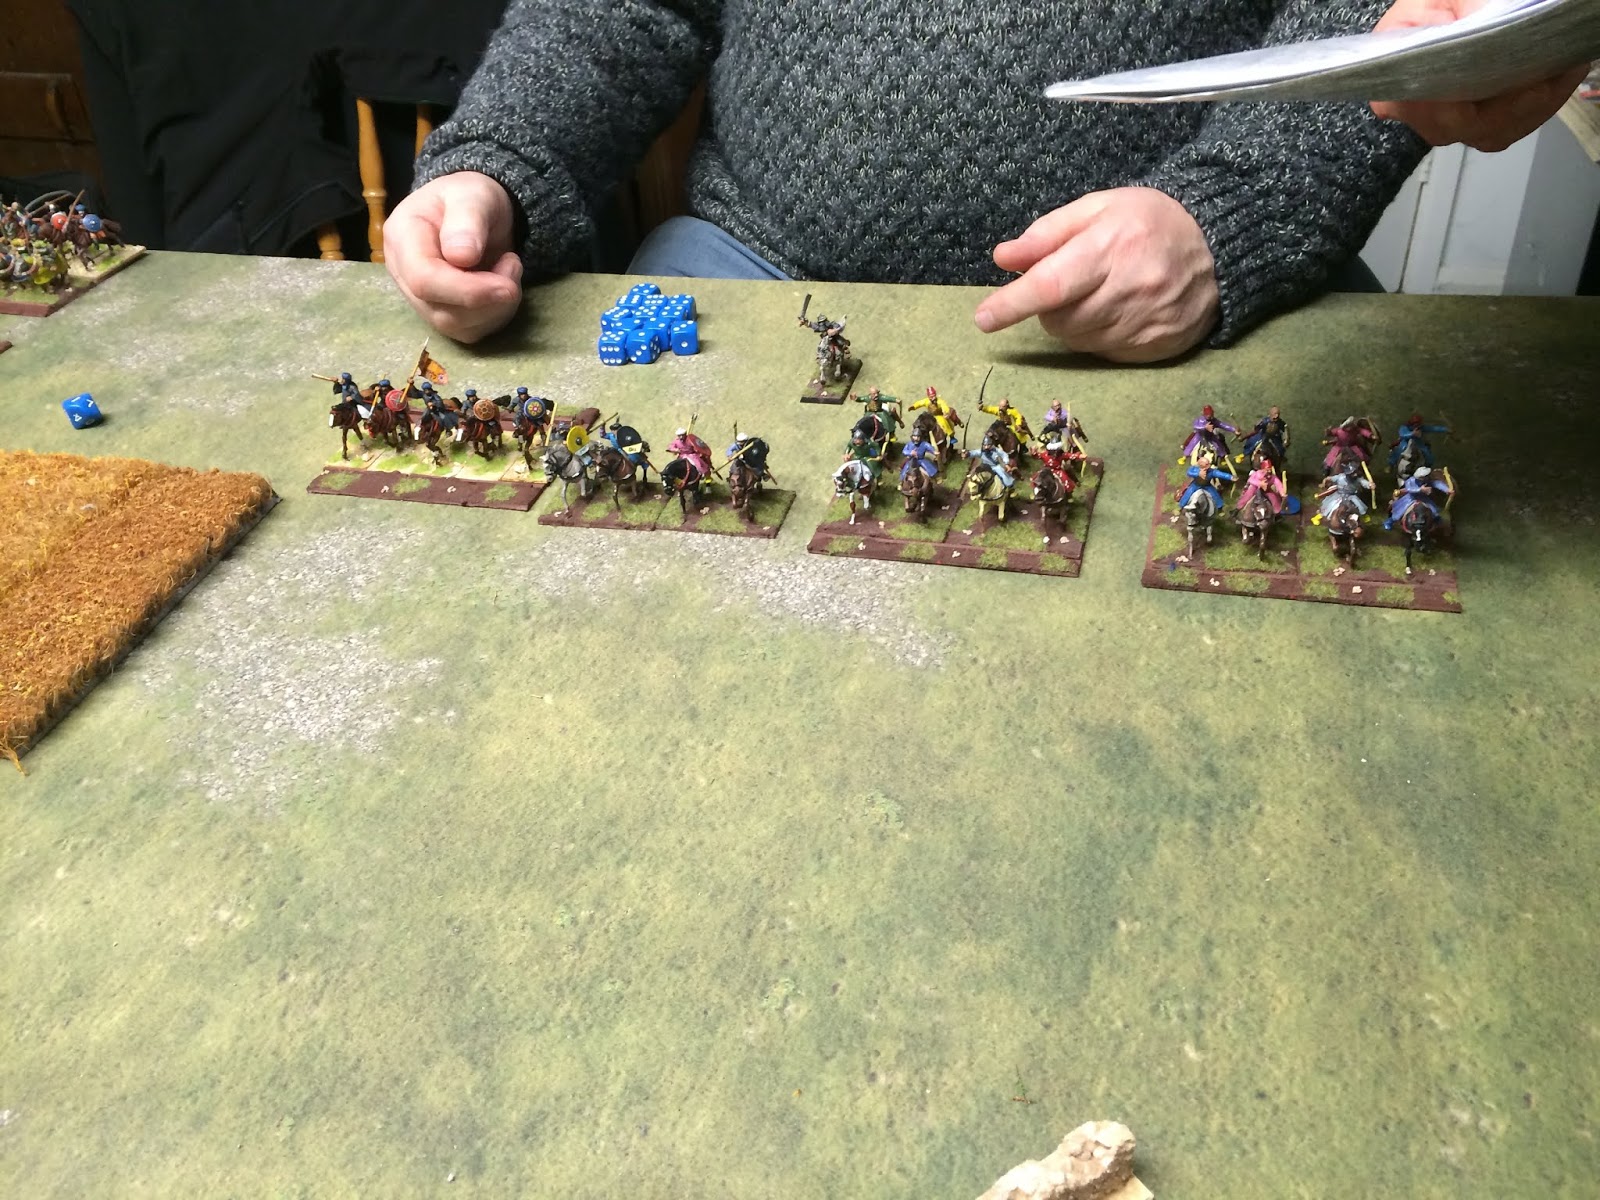
The Saracens deployed second and so tended to match the Crusaders unit-for-unit, with a strong infantry centre.
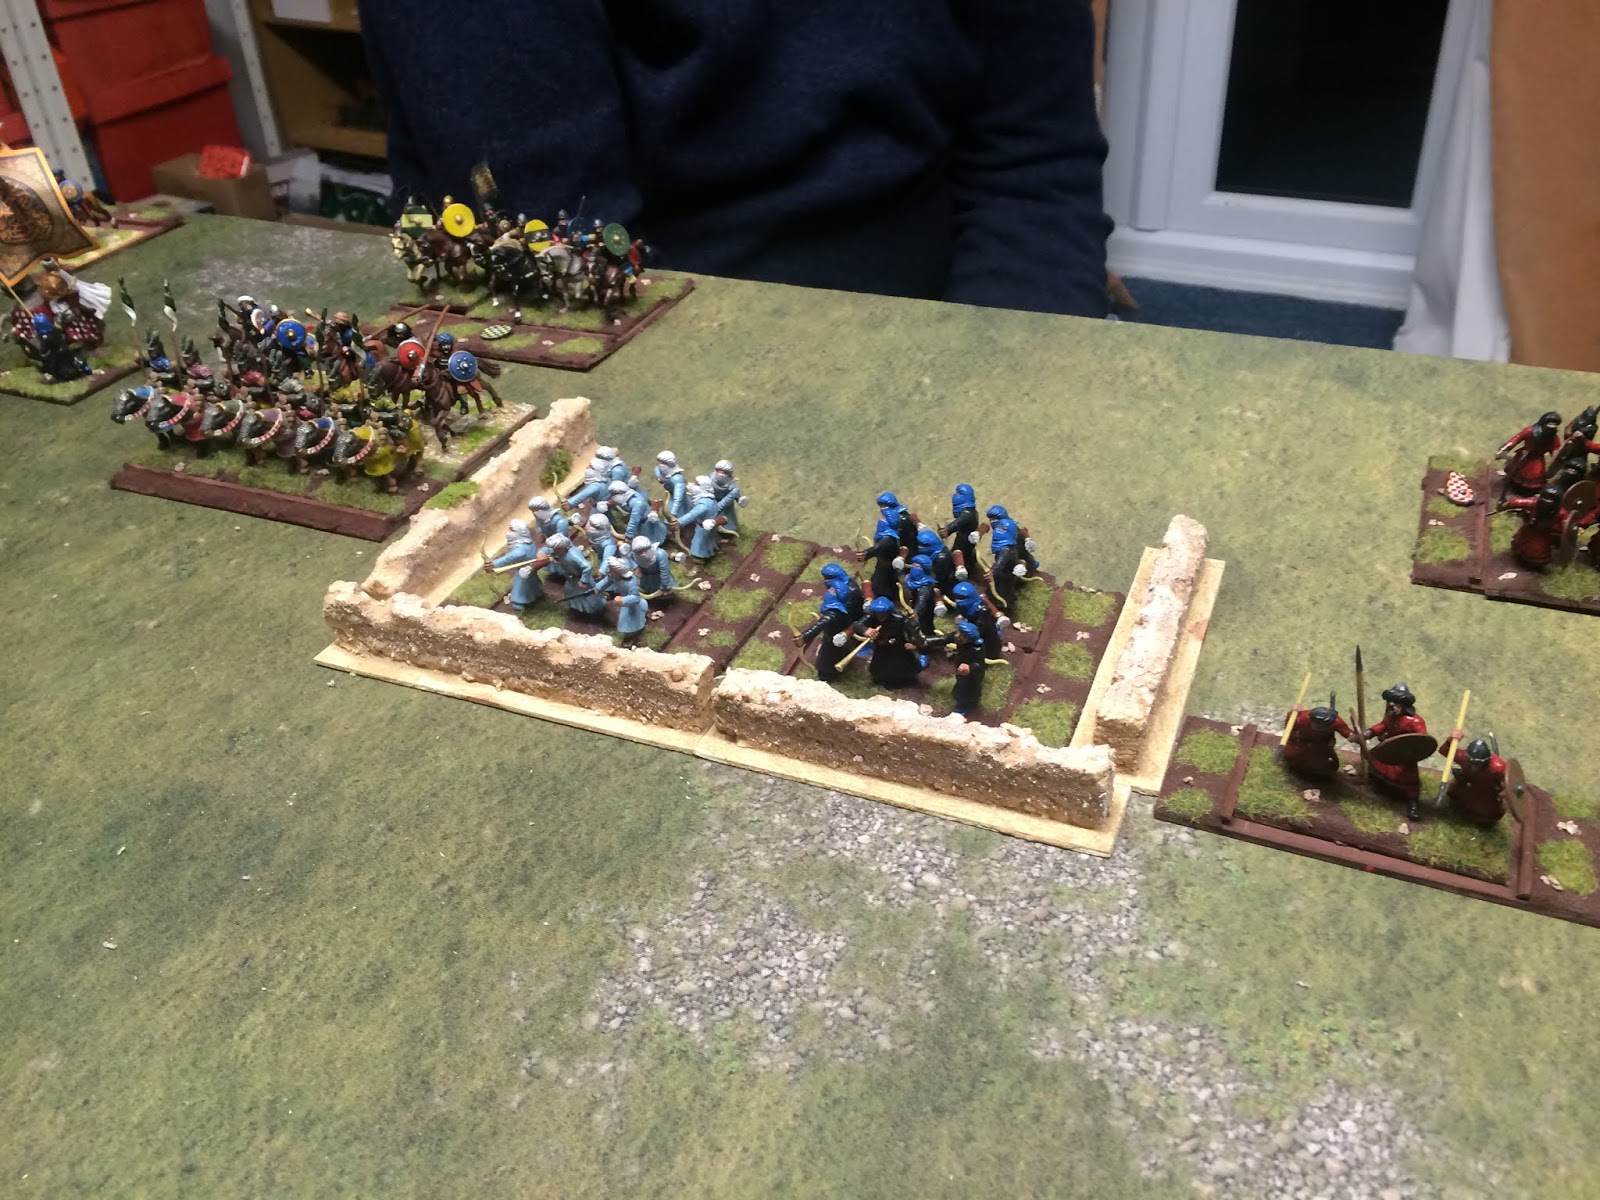
Saracen left

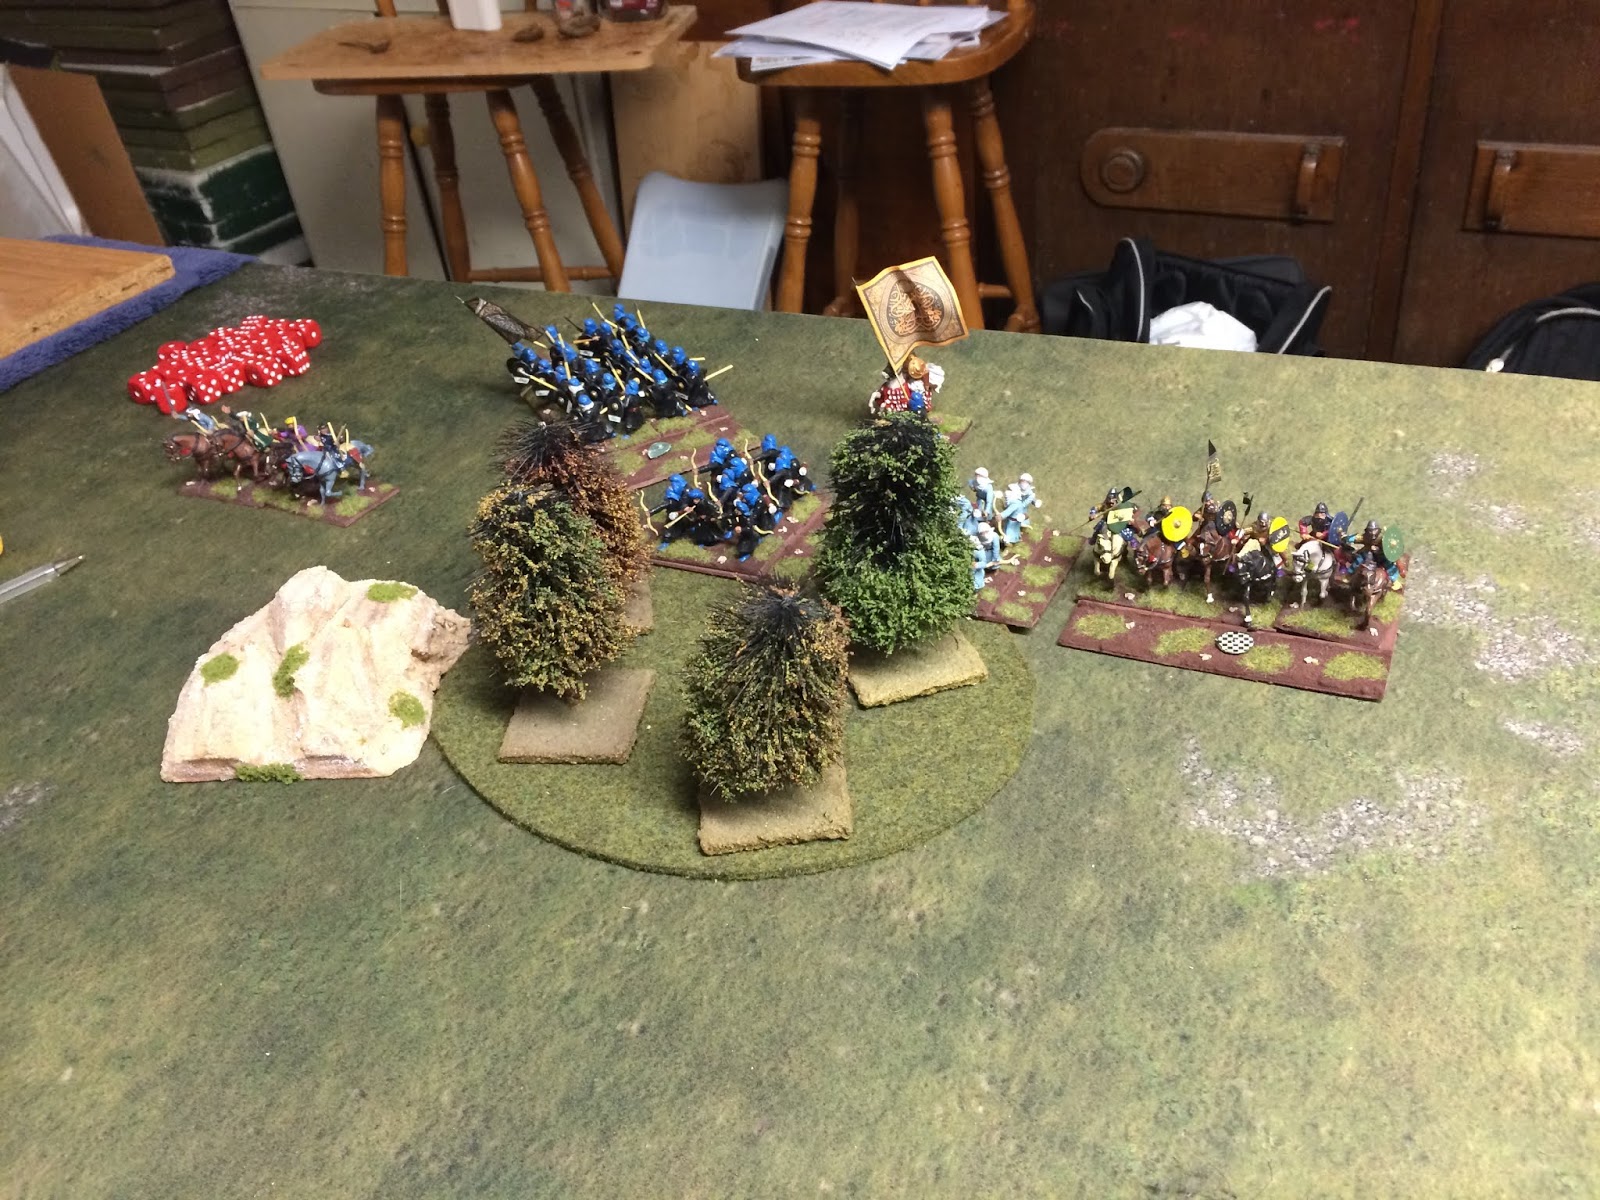
Archers hold part of the centre

Mamluks on the Saracen right

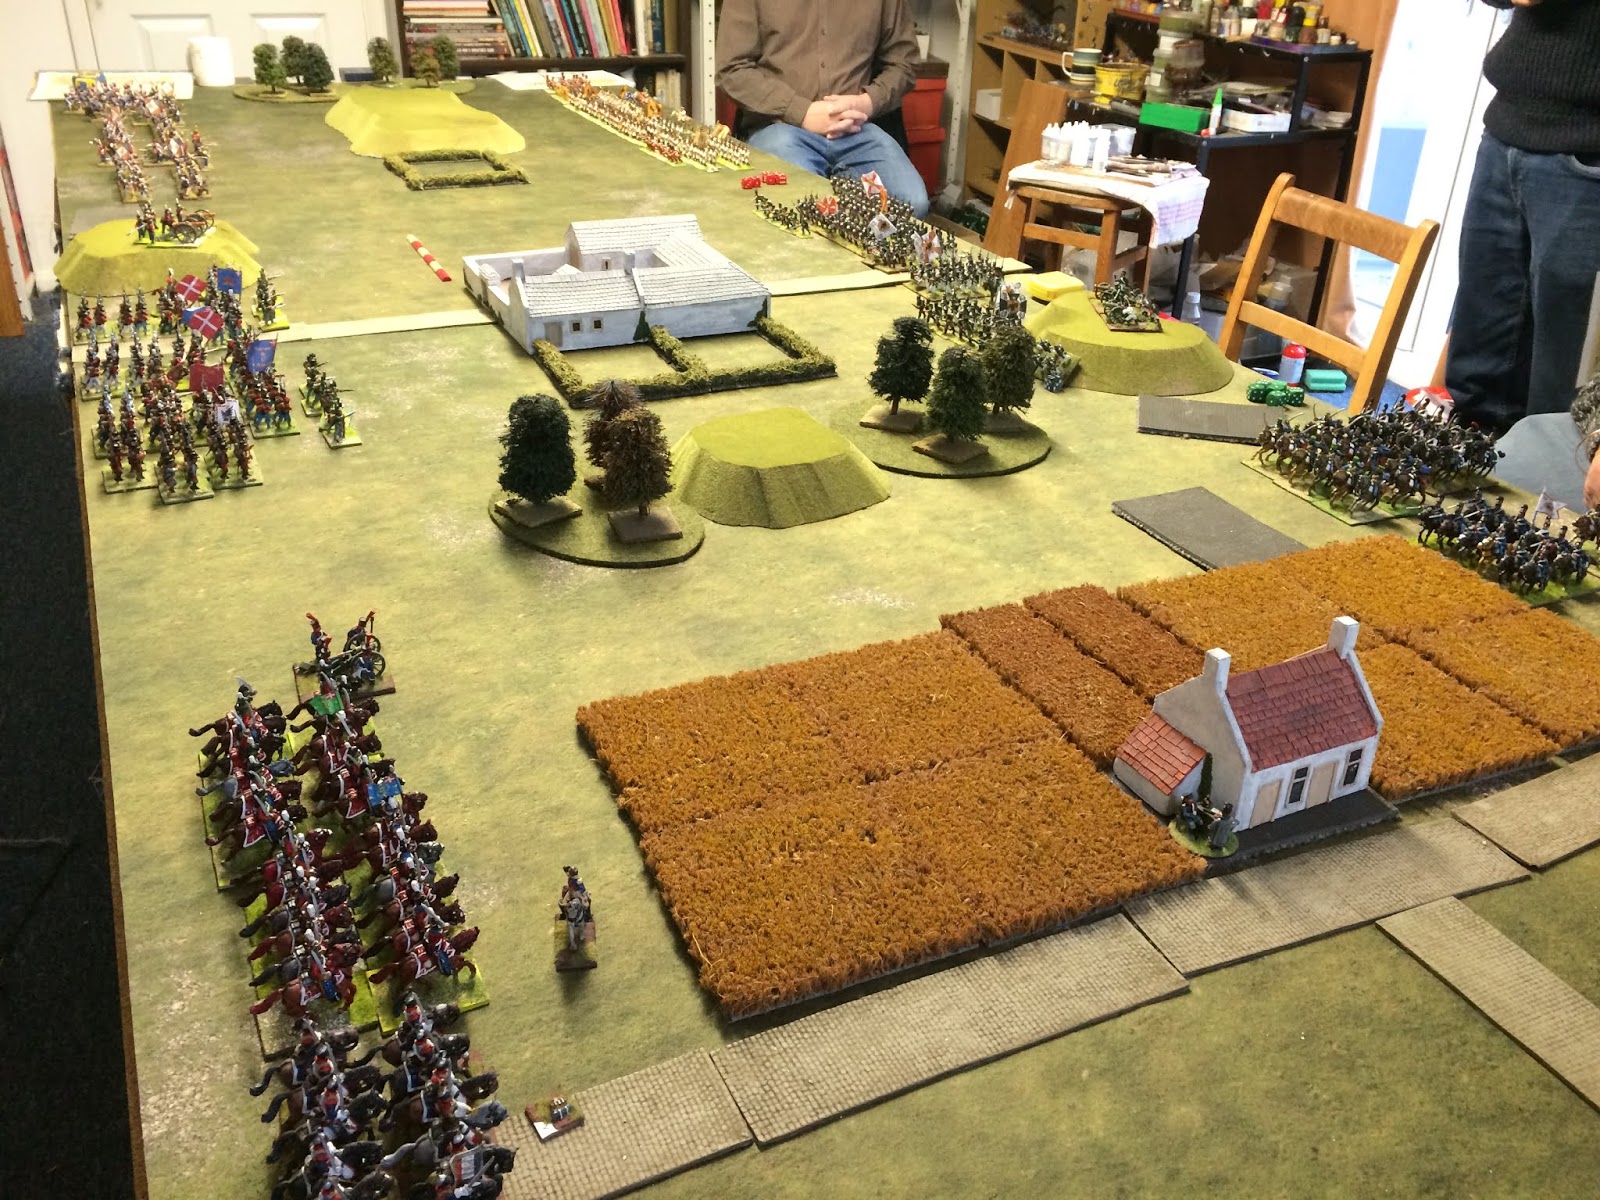
The Crusaders deployed with the Byzantines on the right, supported by a unit of  knights. This would be the main assault for the Christians. The centre was occupied by infantry with more knights on their left.

The Byzantines 

Crusader infantry in the centre

All mounted Crusader left
The opening moves saw a slow advance by the knights and light cavalry on the Crusaders left, whilst the Byzantines focused on shooting-up the Saracens opposite them. Supported by the crossbows they quickly dispatched a couple of the mounted units opposing them

Crusader left slowly edges ahead

Byzantines focus their fire 

Looking good for the eastern Christians.
Whilst the Byzantines made good progress on the right, their Crusader allies became involved in  a charge / counter charge battle with the main Saracen cavalry force. Things swung to-and-fro with honours pretty even and the Saracens managing a few flank charges.

Crusaders are flanked-ouch
Centrally the Saracen infantry attempted to put pressure on the Crusaders but were subjected to a barrage from the crossbows that allowed the spearmen to follow-up and push back the Arabs.

Crusader spearmen clear the wood

Crusader missile troops lay down fire
In KOW when the end comes it pretty brutal and about 4 moves in the Saracens suffered a collapse across the line, with about half the army routed. We did nt bother with a final tally but it was clear the Crusaders has achieved a resounding win.


Our post-game analysis was that the Crusaders although mostly slower has been able to time their charges better and so gain a decisive advantage on the enemy.


Tuesday 15 January 2019

The Crusades - A Kings of War Historic Campaign

This week we begin our latest campaign and so it seemed useful to publish the proposed rules. We'll be using Mantic's Kings of War with some of the campaign additions from Clash of Kings.


Short is the way, little the labour

- Baleric of Dol, 1095


Introduction


The First Crusade began when Emperor Alexios I of Byzantium requested western help in repelling the Seljuk Turks from his lands. Seeing an opportunity to recapture Jerusalem, Pope Urban II called the council of Clermont on November 25 1095 with the aim of raising an army. So it was that a Crusade was declared and several armies set forth to recapture the holy lands.


Turn Sequence


The campaign concerns the advance of two Crusader armies as they attempt to recapture Jerusalem from the Islamic Saracen forces. Each turn the Crusader attempt to capture a town and fend off a relief force. A 5,6 (D6) is needed to capture the town with +2 per the after the first.          


All games are fought with 3000 points. Initial army lists are provided and may be varied as the campaign progresses, with a maximum of 500 points changing. 


Scenarios


Kill
Objective: Both sides total the points of enemy routed units. Highest wins so long as the different is 10% of the starting army points.

Invade
Objective: Both sides total the points of their troops inside the enemies half. Highest wins so long as the difference is 10% of the starting army points.   
Dominate
Setup: There is a prominent terrain piece in the centre of the table.
Objective: Both sides total the points with 12” of the table centre. Highest wins so long as the difference is 10% of the starting army points.   

Pillage
Setup: D3+4 objectives are placed on the table. Players place them alternately. None may be closer than 12” to another
Objective: Winner is the one controlling the most objectives. To do this be within 3” of an objective with no enemy within 3” 
Loot
Setup: Place 3 objectives on the centre line. One is dead centre and one is placed by each side, not within 12” of another.
Objective: Units captured them by touching them. Units speed is then slowed to 5”. You win by controlling or exiting the most objectives.
Kill and Pillage
Setup: Follow the process for Pillage.
Objective: Count points as for Kill but also add 10% of the original army total for each objective controlled.
Eliminate
Objective: Place bounty tokens on your 3 most expensive units. Additionally place an objective marker in the dead centre. Gain:
·         1 VP if you hold the objective
·         1 VP for each friendly bounty not routed
·         2 VP for each enemy bounty routed
Roll for Scenario
1.    Kill
2.    Invade
3.    Dominate
4.    Pillage
5.    Loot
6.    Special (1D4 below)

Special battles
1.    Kill and Pillage
2.    Eliminate
3.    Hill Top Defence
4.    Ambush


Experience


Units can grow in experience as the campaign progresses and become more powerful. At the end of each battle the winner gets 3 experience rolls and the loser 1. You may have as many experienced units as you wish in your roster but a maximum of 5 can be fielded for each battle.


Infantry / Cavalry
2
Veteran: Chose a Vet ability upto 20 points
8 / 9
Skilled: +3 attacks, max 3 times
3
Furious: Gain Vicious ability
10
Trail blazer: Gain Pathfinder ability
4 / 5
Rallying: Gain Rallying (1) or add 1 to Rallying ability
11
Grizzled: Gain Elite ability
6 / 7
Brave: +1 nerve, max 3 times
12
Inspiring: Gain Inspiring or become Very Inspiring if already Inspiring 
General / Officer
2
Veteran: Chose a Vet ability upto 20 points
8 / 9
Skilled: +1 attacks, max 3 times
3
Furious: Gain Vicious ability
10
Trail blazer: Gain Pathfinder ability
4
Rallying: Gain Rallying (1) or add 1 to Rallying ability
11
Grizzled: Gain Elite ability
5
Inspiring: Gain Inspiring or become Very Inspiring if already Inspiring 
12
Dread: Gain Dread ability, so enemy units in 6” may not benefit from Inspiring
6 / 7
Brave: +1 nerve, max 3 times


The capture of Antioch and Aleppo gives the Crusaders access to the following items. These items must be carried by a unit and may be lost to the enemy.


Antioch: Holy Lance – Disciplined. Unit is Headstrong
Aleppo: Icon of Saint Simeon – Sacred Standard. Reroll routs even if not Inspired.  

Sunday 13 January 2019

KOW Vanguard - last reinforcements

Its nice to see the end of painting project so you can start focusing on the next. This week I've managed to complete the final set of units for my Kings of War Vanguard.

Just one unit for the Abyssal Forces - a Hellhound. Mantic don't produce a model for this so I've been donated a metal figure on unknown origins.


Next up a Skink Priest for my Salamander army and also to provide a dismounted Wizard for a future Vanguard force. He's a Games Workshop figure and my favourite of the group.


Finally some figures that can do double / triple duty. The models are Games Workshop Sequistors - presumably some sort of celestial bailiffs.... These first two would work well as Paladin Defenders or even Ogre Palace Guards as they are larger than Mantic Basileans.


This chap is the least heavily armed and will serve as a Basilean War Wizard, albeit one who has some Ogre blood to explain his stature.


Tuesday 8 January 2019

Battle of the 6 Generals - 28mm Napoleonics

Diaries meant that this Christmas game actually happened in early January. This at least meant most if the mince pies and turkey has been cleared away. We went for a simple set-up inspired by the Battle of the 4 generals over at Hinton Hunt.

The setup was very simple - each side began with 2 infantry and 1 cavalry divisions. There were three objectives to capture; a central farm complex, a prominent hill and a cross roads. The forces were a polyglot lot with French / Danish (the French) squaring off against Russians, Austrians, and Germans (the Allies).

Long view from the French left

View from the French right

Half the Allied horse

Russians and Germans

Austrians ready to go

French forces opposite the Austrians

Danes ready to attack the farm

Allied horse

Both sides advanced rapidly at the start of the game. The Austrians on the Allied right were the most cautious, lurking behind the crest of the prominent hill in search of a counter-punch. In the centre the Russians and Danish both advanced on the farm with the green hordes establishing a small foot hold.


Russians contest the farm 
A swirling cavalry melee developed on the Allied left as both sides sought to control the crossroads. A dozen units of 28mm cavalry certainly made a stirring sight. The melee quickly swung decisively in favour of the French though and it was soon clear it was a matter of time before this flank was theirs.

Battle is joined
On the hill the French pushed forward and took a big risk by cresting the rise in the hopes of pouring decisive fire into the waiting Austrians.  Fortune, and a flanking attack that drew away some Austrians, meant the French pluck was rewarded and they were able to establish themselves on the crest. This was a position they would maintain for the rest of the game.  

French take the hill


The hill is secure 
Centrally the Russians / Germans were able to exert pressure on the Danish and reduce their presence in the farm to a single battalion.  Although formally still contested it was clear the Russians likely had the strength to clear the farm.

 
Danes hanging-on in the farm

So the game ended 2-1 to the French after several hours of fierce fighting. The pictures don't quite capture but there certainly is something about seeing 50+ large units of 28mm slugging it out.