Title

Title
Tally Ho!
Showing posts with label Punic. Show all posts

Sunday, 2 May 2021

28mm Republican Romans

With the prospect of in-person gaming indoors not too far away I'm preparing some forces for Saga - Age of Hannibal. Having decent sized armies for the Punic Wars what I mostly need are some single figures making odd sized units / casualty removal.
28mm Republican Principes


The first batch are some Roman Principes to bulk out the core of the Republican armies. I think scholars now doubt the rigid armour distinctions that wargamers love, but for me these guys are always in chainmail and that's that.


Next up will be some additional light troops and Italian allies. For now though I've also done a couple of officers (Gripping Beast) to go along with the Principes (Victrix).

28mm Republican Roman officers


Tuesday, 15 August 2017

Battle of Herdonia - an Armati battle for the Punic Wars

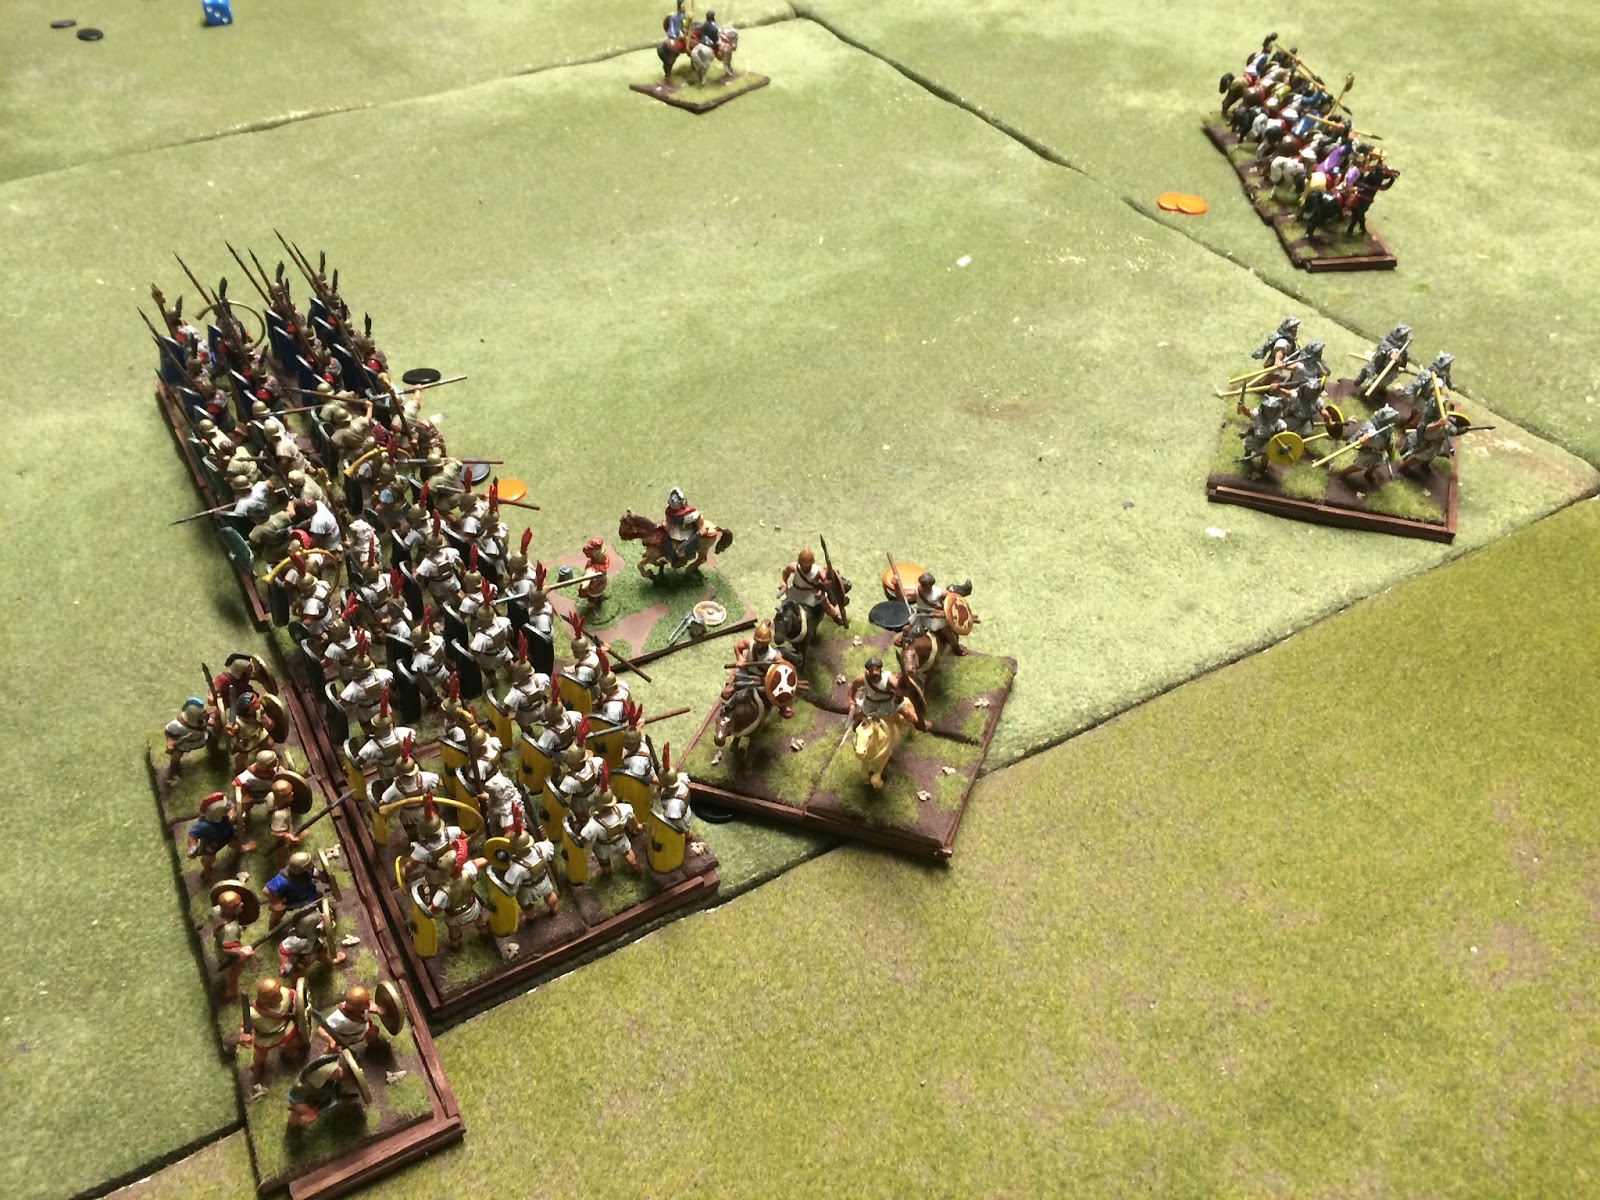
The Battle of Herdonia took place in 212 BC when Hannibal was able to lure the impetuous Roman commander Gnaeus Fulvius Flaccus into battle on terms advantageous to him. Hannibal drew-up in a conventional battle line but was able to place light troops on the flanks of the Romans by moving them through some rough ground.


The Scenario


The Roman Army had 4x heavy divisions and 4 x light divisions:
Hastai / Principes x 6
Latin allies x 6
Skirmishers (javs) x 4
Italian cavalry x 2
Numidian cavalry x 1


The Punic army had 5 x heavy divisions and 5 x light divisions

African Veterans x 2
Punic citizerns x 4
Celts (slow) x 4
Skirmishers (javs or slings) x 6
Punic cavalry x 2
Numidian cavalry x 1
Flank march = 2 x Numidian javs, 1 x Numidian cavalry, 1 x Spanish LHI


Deployment

Our deployment followed the scenario map given above. The main adjustment from the core rules was to add an extra light command to enable the effective operation of the flanking force. The towns defences and the Roman camp were both purely for show and played no part in the scenario.

Roman right - the flanked side of the line

Left of the Roman line

Roman left flank - Latins guard the camp 

Roman fortified camp in the distance

The Roman right 
At first sight the Roman position appears to be a very weak one as they are outflanked. Whilst in bad position there are three mitigations though. Firstly the Roman main battle line generally has +1 or +2 FV, the flank attack is all light troops so not as devastating as if heavy, and finally the African
Veterans are in the centre of the line so not really exploiting their manoeuvrability.
  

The right of the Punic line

Punic left flank

A long shot showing both sides

The flankers, Spanish and Numidians

 The Battle


Both sides moved forward with their cavalry on the flanks and the Romans proceeded full steam ahead seeking to outdistance the flankers as quickly as possible. Knowing that he as at a disadvantage in the centre Hannibal advanced cautiously, mostly to deny the Romans too much space to out run the flankers.    

On the Punic left there was a fairly long-running cavalry melee that eventually resulted in the destruction of the Punic cavalry.

Cavalry slug it out on the Punic left

On the Punic right both sets of cavalry quickly came to blows. After a few rounds the Punic's Numidian allies were able to chase-off their opposite numbers and threaten the Latin's flanks. The early death of a Punic general accompanying the cavalry was a blow but somehow they mmanaged to hang until the end of game.   

Cavalry combat on the Punic right - this would last all game
So we come to the centre of the field where the heavy infantry combat took place. The initial charge to contact was a disappointing affair for the Carthaginians with lots of "1's" along the line meaning that the Celts lost their impetus and did little damage. However all was not lost as the flanking units had arrived in the Roman rear and charged-in. 
 

The heavies get stuck in

Flank marchers arrive in the Roman rear
We now entered the crucial final phase of the game.  On the Roman left some good rolling saw them kill two units of Celts and so open-up a flank. On the Punic left their rear attack and a line break gave them several flanks and rears.

Romans open up a flank

Carthaginians open their flank
Ultimately the Romans flank attack proved more effective and they won the battle 5-4. we played through the end of the turn and ended 7-6 to Rome.

Conclusion

Its hard to pin-point any specific errors made by Hannibal in this battle, but a few thoughts occur:
  • There were three 50/50 cavalry combats and the romans Managed to win three. This cost Hannibal 3 key units (inc the dead general).
  • The flakers were nasty but not as nasty as they would have been if it was heavy troops. so the scenario was balanced in that respect.
  • The Punic's dice were either poor or amazing, but the Romans got the luck when it counted most.  
Still it was nice to fight something a little more varied than the usual up-and-down games.

This now concludes the action  in the Armati Punic Wars campaign for now. We'll be back in future with two more campaign for which we're painting madly; First Crusades and Successor states.  


Sunday, 13 August 2017

Punic Wars - Armati Campaign Week 7

Hannibal's Veterans
For this battle the chance cards threw-up a Carthaginian force that was heavy on fast moving (non-key), Celts but rather lighter on heavy units and cavalry than usual. So Hannibal's plan was to use these to exhaust the Roman heavy infantry before attacking with the main line of infantry to finish the job.


The Deployment


The Roman deployment was fairly conventional with massed cavalry on the left and the Triarii positioned to act as flank guards on the right. In main line was angled to refuse the right. 


Roman left - cavalry and lights

Roman centre

Roman right with classic wargames point
Hannibal's deployment was more interesting due to the decision to launch an assault with the Celts to weaken the Roman's main line.  The front rank was entirely of fast Celts with a second line of the heavy infantry. On the left flank was the main attacking force of cavalry and Hannibal's veterans. As a compromise the right flank was elephants and lights. Hannibal had considered deploying some heavy cavalry here too but was fearful this would leave the veterans exposed to enemy cavalry and so prevent them from launching a flank attack. The Punic heavies were in a separate command to the Celts so they could be advanced slowly with the aim of the main line and flank attacking Veterans arriving at the same time.  

Long shot of the Punic lines

Punic right - elephants and lights

Celts backed by heavies

Punic left - veterans and lights with the cavalry just visible

 The Battle

The deployment meant that both sides had a strong flanking force essentially facing an open field or weak force, so both pressed ahead on their own lefts. As Hannibal's plan depended on beating Roman centre before he was flanked, he also pressed forward quickly in the centre.
  
Roman left moves to attack the weak Punic right

The Celts surge forwards

The outnumbered Punic right tries to hold out

Due to their high movement speed the impetuous Celts soon came to grips with the Romans in the centre and managed to achieve a few advantageous combats on the flanks due to them be deployed wider (+1 in Armati). However the results were very disappointing for Hannibal as a series of "1s" saw the Celts make no impression and lose their impetus. 

Celts have limited impact
On the Punic right their light infantry and elephants were killed by a combined Roman assault but did manage to last a few precious rounds.  Celtic performance improved slightly and after a few turns they made some impressions into the Roman line or did at least exhaust them.

Triarii and Peltasts see off the Elephants 
 
Punic heavies ready for action against the tiring Romans

It was all a little too slow though as the Roman's flank attack was able to come to bear against the Punic line and cause the required 5 hits to win. So a 5-3 victory for Rome.

Romans ready to turn the flank 

Romans get into the Punic rear

Conclusion


It was good to try a different approach to using the Carthaginians, and the presence of lots of Celts favoured this anyway. In previous battles the Celts have proven to be damaging opponents to the Romans but on this occasion the very poor dice made them a disappointment. Never-the-less the basic plan of weakening the Romans was working, just too slowly to win the game.

In hindsight some things may have helped Hannibal:
1. A stronger right flank - perhaps placing a unit of heavy cavalry on that side.
2. Breaking-off the Celts after the first charge, although that would have lost the initiative.
3. A slightly different configuration of the heavy divisions with the Celts and heavies echeloned, but risking the HI being pulled forward by impetuous tribesmen.

Across the campaign games and scenarios its now 4-3 in favour of Rome.    

Tuesday, 1 August 2017

Battle of Ilipa - a Punic Wars Armati Battle

Having a slightly larger group than normal this week we refought the Battle of Ilipa from the Punic Wars. The battle was fought in Sothern Spain in 206BC between the Scipio brothers and Mago Barca, one of Hannibal's younger siblings. Some consider this Scipio's finest victory as he out manoeuvred the Carthaginian's to secure a famous win. In something approaching a reverse of Hannibal's own tactics at Cannae Scipio refused his weakened centre composed of Spanish auxiliaries and attacked the flanks of the Punic lines to envelope them.

Roman Forces
6 x Romans  FT 7 [2] 2  Prot +2
2 x Triarii     FT 7 [2] 2  Prot +2
4 x Spanish  WB 5 [3] 1 Prot +1
2 x Horse      HC 4 [0] 0 Prot +1
5 x Skirm      SI  3 [2] 1  Prot +2

Punic Forces
2 x Vets       FT 8 [ 2] 2 Prot +2
6 x Africans FT 6 [1] 1 Prot +1
6 x Spanish WB 5 [3] 1 Prot +1
2 x Horse     HC4 [0] 0 Prot +1
1x Nums     LC 2 [0] 0 Prot +1
4 x Skirm    SI 3 [2] 1 Prot +2
1 x Ele        EL 4 [2] 0 Prot +1


Deployment


To liven up the battle we opted for a semi-historical deployment. Both sides heavy infantry deployed histrionically but the commanders were given free choice over their mounted and skirmisher placement. The Romans opted to concentrate their heavy cavalry on their right with small blocks of skirmishers covering each of the main infantry blocks.   


Roman left

Spanish allies in the centre

The Roman right
The Carthaginians made a similar choice - they deployed with all their mounted on their left (so facing the Roman horse) with the elephants on the right. The skirmishers deployed to cover the Spanish.   
Punic right

Punic centre - the African foot

Punic left

The Battle

Hostilities opened with both sides advancing their cavalry and skirmishers in an attempt to dominate the enemy and clear the field of their opponents.  In the initial skirmishing the light troops largely cancelled each-other out as is often the way.

Punic cavalry and lights advance on the left

Skirmishers clash on the Punic left


Lights protect the elephants on the Punic right
In a bold move the Romans advanced their cavalry rapidly into the Punic half and charged their opposite numbers. Initially the fight  was even but the intervention of the Numidian cavalry in the rear of the Romans began to wear them down.

Mounted enter melee


The Roman horse begin to falter

In accordance with their plan the Roman pressed forward while their Spanish allies held back avoid contact with the heavier African foot. On the Punic right they contacted the elephants who formed part of the advancing African Division and were halted. On the Punic left their cavalry were able to launch an attack against the Triarii but bounced-off causing little damage.

Stomp stomp

Punic horse launch a flank assault

The Africans advance to attack the Spanish Romans' allies

As the battle-lines came to contact we entered the business-end of the encounter with the Carthaginian's narrowly ahead 2-0.  The Romans began chewing through the Carthaginian's Spanish allies and were making decent headway on both flanks as the African infantry came to blows with the Roman's own Spanish auxiliaries.

Punic left

Punic right

The Africans come to contact 
The Punic and Numidian horse now tried to make their presence felt by assaulting the rear of a Roman unit and the flanks of their Spanish allies. This met with initial success routing a the Romans and killing a general, but critically they failed to break the Spanish. They were however 5-3 up and looking to have the upper hand.
   
Numidians attack the Roman rear 

Elephants and Spanish slug it out 

Romans Spanish allies under pressure
With both sides fully engaged it was a race to destroy the enemy with both sides luckless Spanish troops very much in the firing line. 5-3 quickly became 6-6 as we entered the final turn. The Punic horse stood ready to sweep away an isolated Roman unit but before they could do so over on the opposites flank the Carthaginians lost their final unit making it a 7-6 win to the Romans.

Romans are lined-up

The crucial moment as the Carthaginians lose their 7th unit

Conclusion


Our recreation largely followed history and ended in a Roman victory although much closer here than the original. As always there are some what if's to resolve.

The Romans were a little hasty in their cavalry attack and that could have been more costly. The Carthaginians were unable to execute a couple of flank attacks as fully as they would have liked. which could have led to that final 7th kill.