Title

Title
Tally Ho!
Showing posts with label North West Frontier. Show all posts

Friday, 7 June 2019

The Great Game - the final battle

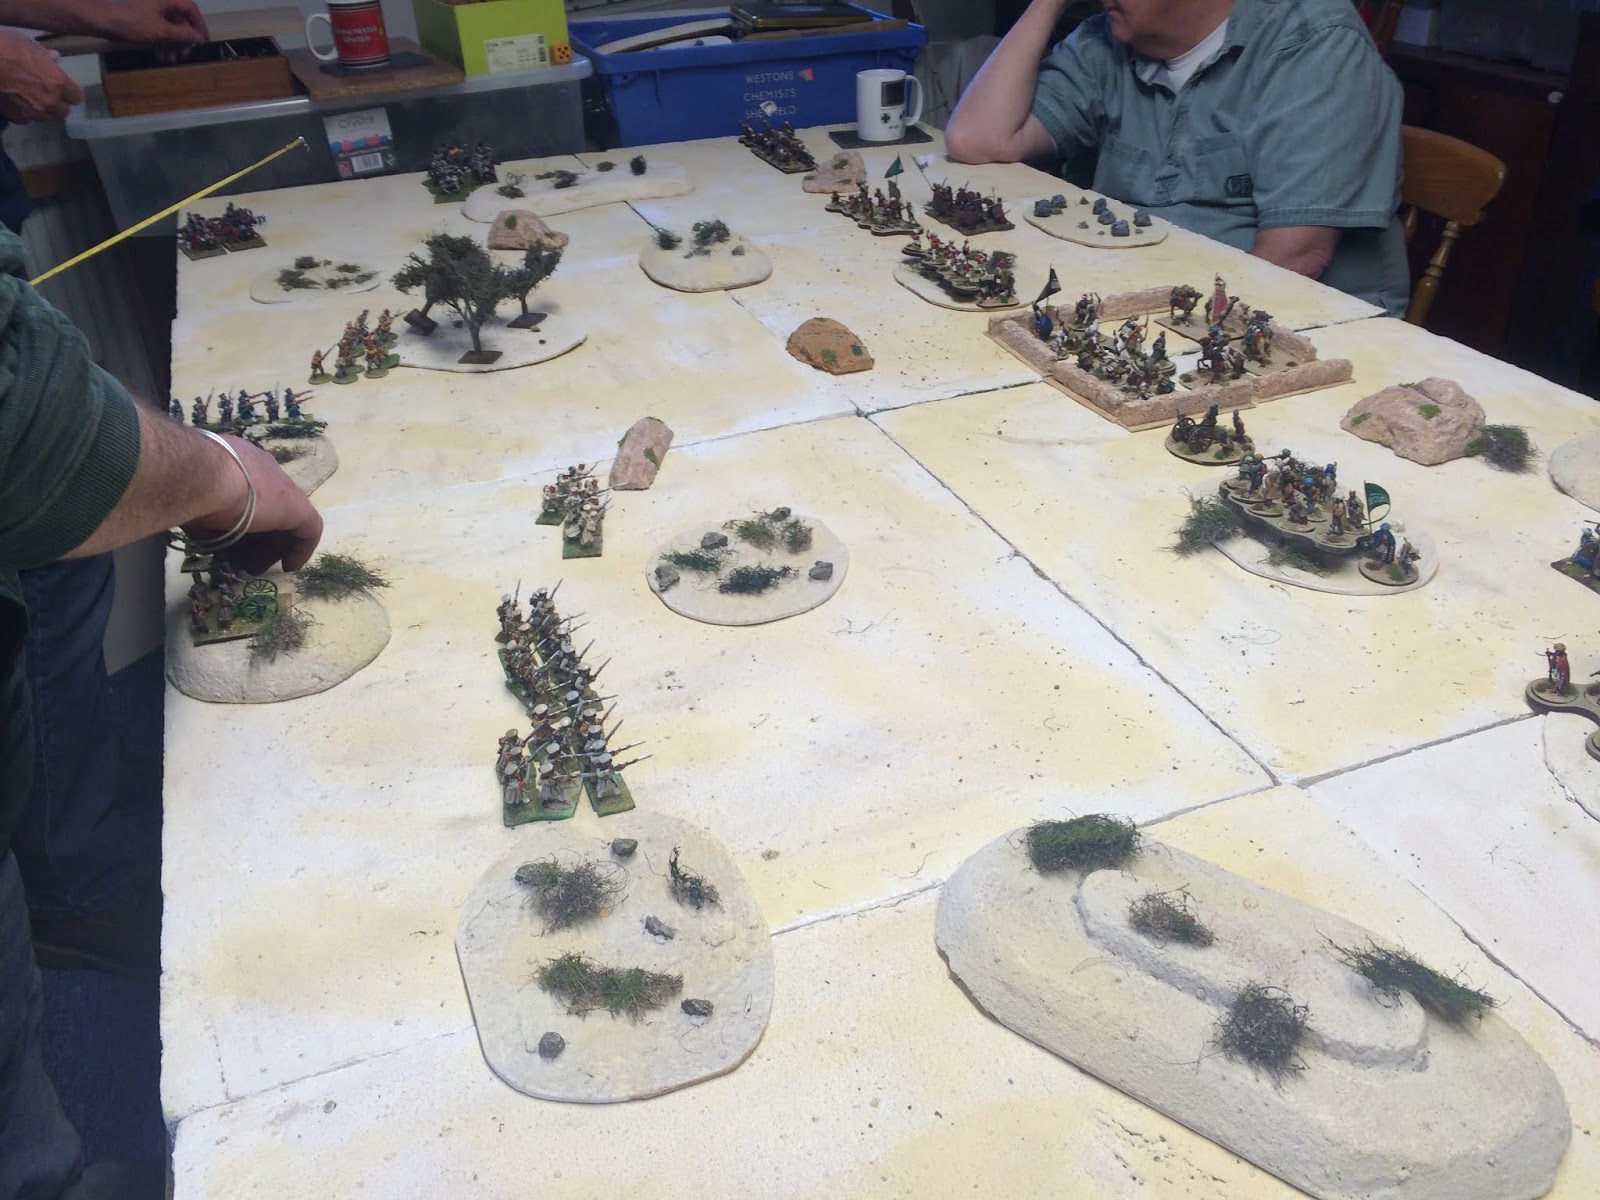
Game 7 of our Northwest Frontier finally brought the Russian and British forces into direct conflict for control of Burphistan. As both had won the same number of battles (one) they received the same number of allied units - a Tribal Horse, a Tribal Foot and an Irregular foot. The battle centred on a small village with 1 VP awarded for each enemy routed and 2 VP for holding one of the three objectives on the table.


Both armies deployed with infantry in the centre and  cavalry on the flanks. The Russians had a slight numerical advantage and so could deploy two cavalry on their right opposite the Bengal Lancers.

Russian right

Russian centre

Russian left

British left

British centre

British right

The opening action saw some preliminary artillery bombardments while the infantry cautiously advanced onto the hills and towards the village. The Bengal Lancers easily routed the Russians Burpha cavalry but were themselves caught and wiped-out by the Cossacks - a good swap for the Russians.


In the centre and on the Russian left their rifle and especially artillery fire proved much more effective than the British and so casualties began to mount in Her Majesty's ranks. They bravely threw forward some Burpha's  to soak up the punishing Ivan's fire but sensing the  ploy they promptly routed after a single casualty.  


The Russians then occupied the village and quickly fortified their position. From this hard cover they were able to pour close-range fire into the British units stranded in the open.


As the British casualties mounted it was clear they had no hope of achieving a victory and so back leaving Burphastan to the Tsar's men.  


So victory in the campaign goes to the Russians. The games were certainly very attractive and pretty quick once we learnt the rules, although we did simplify the unit commander rules as we had about 12 units a side most weeks.

The main tweak we made was to allow volley fire in open order to improve the western forces shooting. This was a necessary change given the scenarios to give them a chance to win.
     

Thursday, 30 May 2019

The Great Game - battle 6

This is the final battle before the battle royale that will complete the campaign. The plucky Brits were charged with defending an oddly immobile heliograph station from attack by the Burpha's. They could begin with about 40% of their forces on table and the rest arriving as the dice determined.

The British opted to place three infantry units guarding the heliograph leaving the remaining 2 units, a couple of guns and the Bengal Lancers off table. The Burpha's filled the horizon in an attempt to swamp the Brits.


The Burpha pressed forward across the line with accurate artillery and rifle fire thinning the ranks of the British troops. Three moves in it was glum faces for the Imperial forces as they anticipated being overrun by a tidal wave of sword wielding maniacs.  


The rapid Burpha advance brought them in range of the British artillery that had arrived as reinforcements and they began to take a heavy toll on the Burpha cavalry that had tried to turn the flank. For two vital turns they pinned the Calvary and whittled them away.  More centrally accurate British volley fire at short range pinned the Burpha units as they tried to advance on the heliograph.


As the Burpha attack stalled, the Bengal Lancers arrived and promptly routed the Burpha horse before being shot-up by some lurking riflemen. The Burpha enthusiasm began to wane and one unit of Afghan deserters rolled double 1's three turns in a row for activation - a sign they might be planning to change sides again!  


As we entered turn 8 it was clear the Burpha lacked the strength to mount a serious attack on the heliograph. So it was declared a victory for the British - their first of the campaign. Both sides now enter the final battle with a single win and so equal numbers of Burpha allies.    


Friday, 17 May 2019

The Great Game - battle 5

The third battle for the Russians was Take the high ground, in which they were attacking a heavily defended compound containing a number of vital military supplies. To improve the western forces we decided to allow the infantry to volley even when not in close order.

The Russians deployed their infantry centrally, with support from artillery. The cavalry deployed on the left. The Burphas spread-out across the table with the riflemen taking most of the cover. As the defender they had less points and so lacked their usual cavalry support.    


The Russians began a steady advance, looking to get into close range to deliver volley fire into the defenders.  Meanwhile the Cossacks forged ahead looking to engage the enemy as quickly as possible.


The Cossacks initial attack proved successful, routing a unit of Burpha from the table after a single charge and follow-up. The Russian infantry continued their dogged advance pinning several units of Burpha with accurate fire at close range.


With the Cossacks still rampaging around the Burpha rear things were looking good for the Russians as they made good progress towards their objective. The Cossacks finally managed to rout 3 Burpha units and certainly destroyed the left flank.


It was at this point that things became suddenly much less serine for the Russians as a unit of Burpha appeared on the flank of the line, just at the point the unit on the right flank became pinned by rifle fire. The Burpha crashed into the hapless Russians and sent them reeling back. They then pushed back a second Russian unit but crucially failed to pin them.  


This pause in the attack enabled the Russians to pour artillery fire into the Burpha and stop them in their tracks. This stabilised the position and allow them to resume their advance on the objective.  


Victory is life!

And so we have our first win for the western forces. The additional firepower we allowed the infantry certainly made a difference. The stars of the show were the Cossacks though as they made big inroads into the Burpha position and generally made a nuisance of themselves.      


Tuesday, 7 May 2019

The Great Game - battle 4

As the British lost their first battle (Game 2), like the Russians before them, they were forced to stage a retreat from the battle field with the Burpha in hot pursuit. The scenario was therefore the same as last week - the British had to retreat off the far end of the table having sprung the Burpha trap.

The Brits tweaked their army list a little - the gun was traded-in to upgrade the cavalry to Lancers and to add a unit of Irregular infantry, which we modelled as recently arrived troops from England still sporting their red coats.

British square from the south 

From the north - Burpha visible in the foreground

The British began is square but their plan was to rely on movement not firepower. The Bengal Lancers and most of the infantry would try to march off whilst the gun and 2 infantry would form a rear-guard. The key was not to stop, so the Burpha could not overwhelm them.


Things did not get off to an auspicious start as the Lancers and one of the infantry failed to move in the first turn, opening up some gaps in the formation.


Into this gap gleefully leapt some Burpha cavalry. Accurate Burpha rifle fire pinned the defending Brits, placing them at a disadvantage in the ensuing melee. The hapless British were destroyed by the Burpha in the follow-up melee, leaving a gap in the formation as  a second unit of horse appeared.  

Burpha get stuck in

Burpha horse close in

The trouble at the front of the column forced the advance to halt and the British to begin exchanging fire with the Burpha missile units. Whilst the Brits did ok having halted the Burpha infantry began to close-in on the rear of the now halted column - just what they wanted to avoid.

Column's rear under threat
Back at the front the Bengal Lancers smashed one unit of Burpha horse, but were in turn destroyed by some waiting Fierce Tribal Infantry, which left the second unit of Burpha horse free to attack the highlanders in the rear and rout them.

Bengals death charge

Scots are swept away at the top

With casualties mounting from Burpha rifle/artillery fire, the British found themselves under sustained attack from Tribal Infantry with units routed one-by-one.

Rally to the colours!
The battle ended with heavy Burpha losses but the British column virtually wiped-out more-or-less in their starting position. The plan was a decent one but the advance became bogged-down  early on and some good rolling for the Burpha shooting really took its toll on the British by pinning them consistently.

Our general feeling was that the western forces need a bit of a boost to make them competitive. A couple of options occurred:
1. Make their shooting better - say 4+ to hit
2. Allow reserve fire - a very major change we parked for now
3. One not discussed but in the game, is to give the Regular troops a plus for the pinning and morale tests to they are more resilient.

Finally some footage of the battle with the Brits using their new laser cannon