Title

Title
Tally Ho!

Sunday, 5 January 2020

Battle of Lutzen (1632)

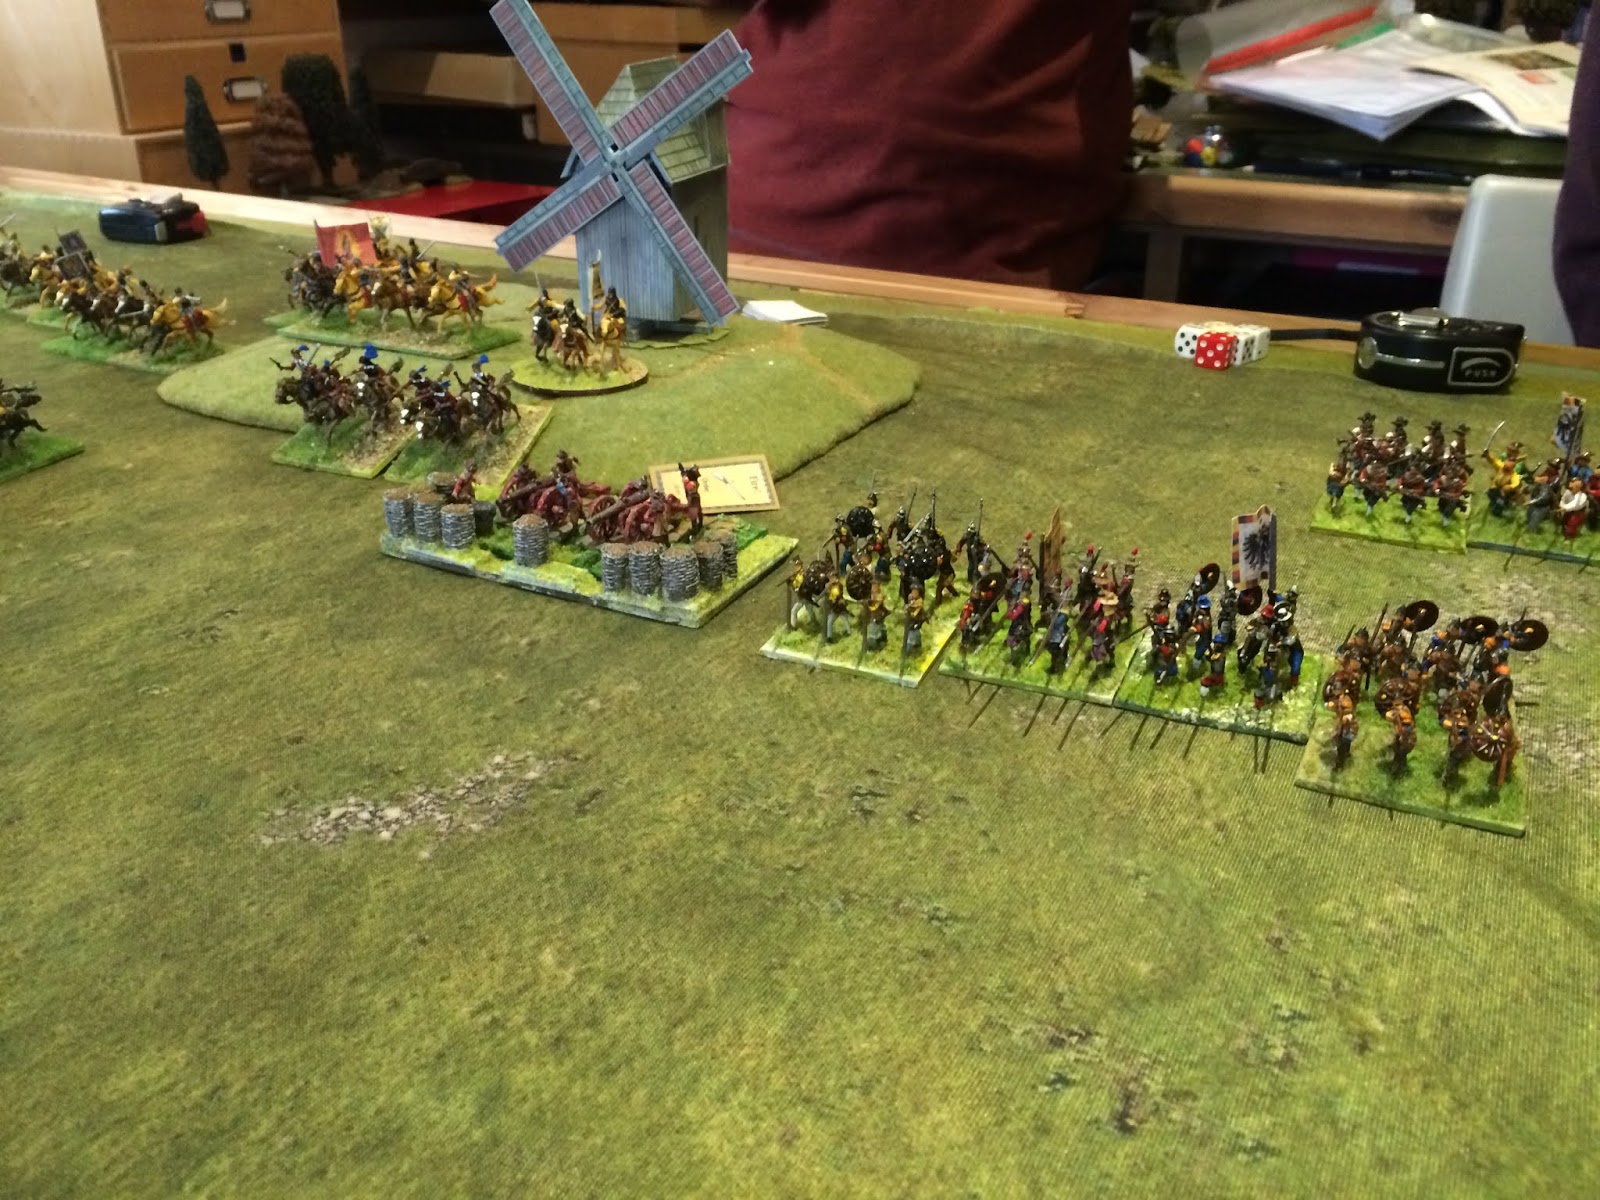
For our Christmas holiday game this year we fought Lutzen - one of the key battles of the Thirty Years War, and the one that claimed the life of Swedish king Gustavus Adolphus. A too-and-fro affair historically, it was a narrow tactical victory but a greater strategic win as it prevented the Imperial forces under Wallenstein from invading Saxony.

Our refight was done in 20mm using the Tercio rules we tried out earlier in the week. The Imperial forces began on the defences but were expecting a relief force of cavalry to arrive on their right. The Swedes had a mobility and firepower advantage but were generally less good at grinding combats or protracted firefights being smaller units.


Swedish centre

Imperial tercios stand ready

Seeking to maximise their initial advantage the Swedes attacked on their left and pushed into shooting range in the centre. The immediate arrival of the Imperial reinforcements prompted a more cautious advance by Gustavus Adolphus on the right.

Swedish horse attack

Swedish infantry pop away


On the left the Swedish horse pushed the enemy aside and advanced past windmill hill whilst the command shot occupied Lutzen. The centre became a fire combat which was obviously favouring the more modern Swedes. However on the right the hordes of Imperial cuirassiers drove the Swedes back and began to weaken that flank.  

Imperial cavalry making good progress on the right


Imperial tercio charges in


After a couple more turns the Swedes had largely won the left and threatened the Imperial on Windmill Hill. Fearing they would simply be shot to pieces the Imperial tercios charged forwards. They routed a couple of Swedish units but most were destroyed by concentrated musket fire.  


On the right Gustavus was able to stabilise the flank - it was not a winning position but did buy time for the centre to defeat the Imperial infantry. He even managed to survive unharmed!  

The king survives


The final result was a Swedish win with the Imperial right and centre largely routed. 

The game progressed rapidly and we certainly were able to fight to a conclusion within about 4 four play (not counting setting-up time). As always Châteaux  Boss provided a convivial atmosphere and excellent vittles' for the seasonal game. 


Friday, 3 January 2020

Brains...Brains....

Its been a busy Christmas break for gaming and in the last 2 days I've played twice against the Undead at KOW. Once with the Abyssals (Fishponds) and once with the Basileans (Cirencester).

Undead vs Abyssals


This version of the Undead was pretty Elite with Mhgoroth the faceless, 3 units of Soul Reaver Vampires and flying units backing up the shambling hordes.  The scenario used bluff counters which were dealt randomly so neither side knew value of the objective counters.


The Flamebearer's shooting and Succubi's melee proved very effective and together with some combo charges I was able to take down the feared Soul  Reavers without them doing too much damage.  I had much less success though with my Seductress and  Abyssal Champion in hunting enemy characters. The Undead depend heavily on them and I failed to inconvenience them at all!


The Abyssal central block - very shooty


I've no decent pictures of the flying wing but basically my Archfiend chased the enemies flying units up the table for 3 moves and then was chased back for three moves.

The last Vampires die.....again

My greater Unit Strength in the centre proved decisive with the Abyss winning 4-2 on VPs


Undead vs Basilea


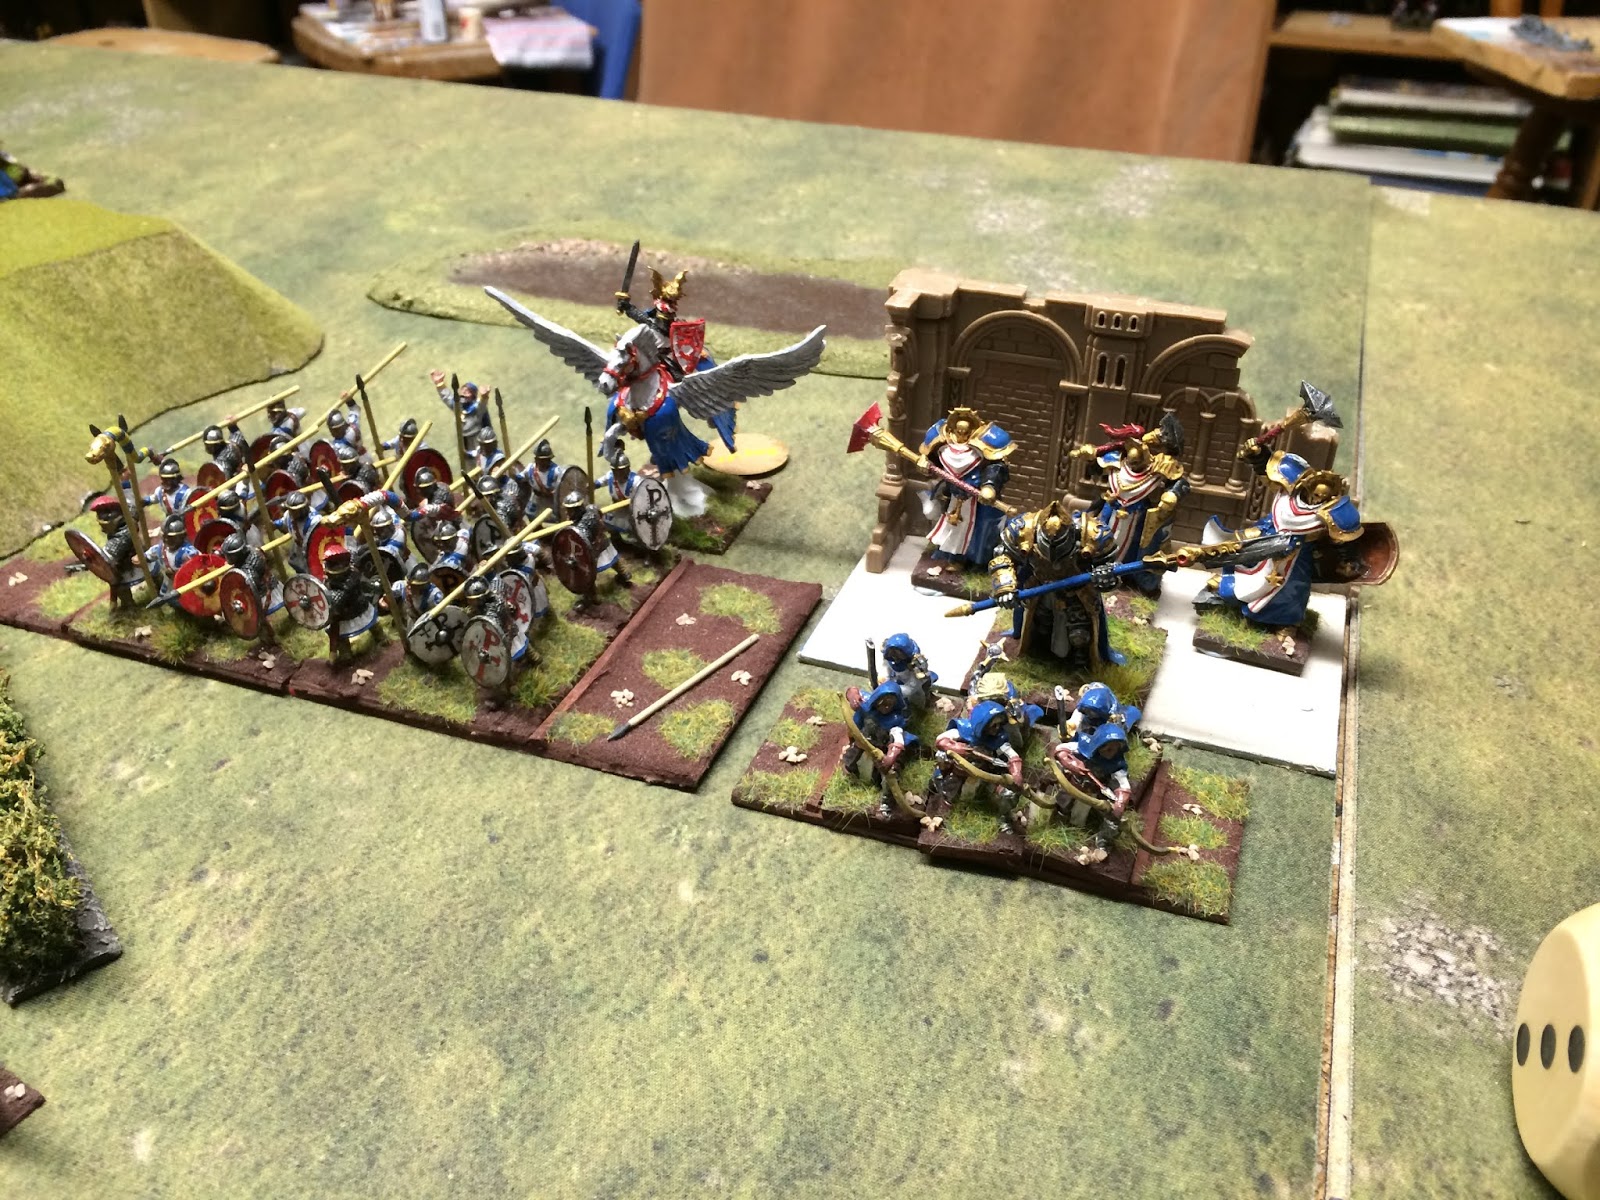
This was Game 3 of the Mhgoroth Rises campaign saw the Undead trying to recapture the territory lost on Game 2. This undead relies on hordes of skeletons / zombies and featured the recently completed Vampire on Dragon subbing for the cheaper Revenant King on Flying Wyrm.


My hope was to tangle-up the Undead in the rough terrain on the eastern half of the table and get some heavy hits in the centre to weaken the Undead. The Dragon would be tackled by some cheap mounted Heroes and the Ur Elohi flying hero.


Centrally I lost my missile troops early on and got overwhelmed by some Surge-shenanigans that cost me a couple of flank charges. The innate toughness of the Basileans meant they sold themselves dearly though.  


My attack on the congested eastern end quickly turned into a grinding match with my Paladin Foot guards steadily wearing the skeletons there. A dreaded snake-eyes meant the Trolls last longer than they should have.


I was pretty successful in bogging-down the Dragon / Wyrm but could nt kill the thing. It did however play no meaningful part in the game so that's a win.


In turn 6 I mounted a triple charge on some Werewolves  - the game deciding combat, Victory would give me a 10-8 win but defeat would be a 10-11 loss. I needed a 10 on the nerve test but got 9 so a narrow loss.

 
My deployment was nt great but I got a little overrun in the centre with surges, drain-life and life leech all adding-up against the units there. Still a good game that could have gone either way.


Wednesday, 1 January 2020

Tercio 30 Years War rules review

This years all-day game will be Lutzen so this week we had a quick trial of the rules before the big day. We've opted for Tercios by a Spanish company and seems to have some Kings of War concepts included, which was also first developed in Spain I believe.


Basic units are infantry regiments or cavalry squadrons with guns, commanded detachments and dragoons sprinkled in. They are intended to be fast play so the basic mechanics are pretty simple.


Units are allocated orders (Ready, Fire, Double, Assault, or Resist) denoted by cards placed for each unit or brigade. Units activate one at a time revealing their orders, but the twist is that a unit that has yet to activate may react to an enemy activation if they assault you, shoot you, or come within 3".

The Ready order allows movement, reforming, shooting (reduced effect) or a facing change if attacked 


The outcome depends on the orders for example assaulters gain a bigger bonus in melee if they activated than they do if reacting. Conversely though Fire orders give a bigger bonus if you react but at the expense of being shot first. So part of the game is guessing who may do what an maximising your activation.

Both combat and shooting involve the attacker rolling a number of D6 and trying to achieve a score determined by the type of troops e.g. cavalry tend to be easier to shoot than infantry but harder to kill in melee. The defender then takes an armour save with failures being accumulated as Disorders. Typically you would acquire 1-3 per turn and 4-6 are enough to give a decent chance of a rout. So combats / fire combats last a couple of turns usually.


A Tercio approaches the town


Movement, shooting and fighting factors are reflected in "advantage" or "disadvantages" e.g. horse vs formed pike get a "disadvantage". These are totalled and the overall score applied - typically an "advantage"  gives you a 50% boost and a "double advantage" a 100% boost, conversely a "disadvantage" will be a 50% reduction. Most factors come from terrain or the order cards so there are only a few to remember.


The game is pretty quick to learn and the key seems to be to have the right orders on the right units, much more than it is to activate in the optimum order. The older Spanish style infantry have lower firepower than the new Dutch system but higher morale. Similar the older Cuirassier cavalry have some shooting good morale but are less effective than newer systems in melee. Guns do little damage but can disrupt the enemies formations for others to exploit.

Mighty Fortress

I've also found a bit of time for a terrain project this Christmas. I wanted fortress large enough for my KOW figures to populate on their multibases. This is from black foamcore and some cardboard offcuts.


The garrison is Byzantine / Basilean on this occasion.


Saturday, 28 December 2019

The tinkerman returns

Sometimes Christmas is a good time to return to old projects and rework a little. So this year one thing I've done is to modify the Fireteam WWII platoon-level rules with new vehicle combat sections.

In the previous rules you rolled to hit and then rolled for damage with the various outcomes equally likely. Even though there was only a 1-in-20 chance of a first time kill it "felt" to some players it happened a lot. So the new rules work by accumulating hits and separating minor / major hits. So the first two damage will always be minor and its not till you get to the third that something bad could happen.

We played a medium-sized game with 3 Germans tanks + mechanised infantry vs Russians witjh 3 AT guns and a T-34/85.


The game ended with the T-34 immobilised, one German tank destroyed, one had its main gun disabled and the Tiger undamaged.


I'm going to say mission accomplished for now as the tanks survived pretty well. Now just to thin about the relative point of tanks and AT guns.


Thursday, 26 December 2019

Mhogorth Arises - round 1

In round 1 both sides attacked across the border towards the enemy strongholds.  The board colour will be the guide as to who's defending.

Game 1 - Salt the Earth (capture the objectives and you may destroy ones you hold)


The Basileans deployed with a strong centre of Paladins and Ogre Guards with spearmen ready to attack the left. Knights, panthers and Elohi looked to delay on the right.  


The Undead had a big centre of zombies and skeletons. Lycans and Trolls would attack the right with horsemen and more skeletons on the left.


The Basileans quick-marched up the centre and left, grabbing several of the objectives and awaiting the Undead swarms to hit them. The Basilean right sought to avoid combat, falling back a drawing the enewmy forward.


Whilst the Basilean right ensnared the Undead's mount the strong assault on the Lycans / Trolls broke through and turned inward to roll-up the line.


A good win for Basilea and the invasion was repulsed. It was our first game with surge and it needs some practice. The Undead lost troops surging out of line and being doubled-charged but managed one sneaky flank attack.


Game 2 - Raze (Capture objectives in the enemy half)


Some minor tweaks for this game with one less catapult but more Drain Life spells on the Undead side. As before the Undead flooded the centre with (dead) bodies. Their left was horsemen and zombie trolls with the right Lycans and elit skeletons.

Basilea went again for a of Paladins and Ogre Guards. The main effort was on the right with Spearmen, Knights, Elohi and Gnaeus positioned there. A refused right was held by some Ogre Guards and an Ur Elohi.


Basilea moved first and sought to close the space, whilst using some impassable terrain on both flanks to anchor the positions. The Undead were more cautious than previously but were forced into an unequal fight on their left.  


Centrally the sides got into a grinding match which both armies are pretty good at. The Undead have big fearless units and the Basileans have lots of heal / Iron Resolve to remove single wounds.


On the Undead left they lasted longer than expected but eventually the superior Basilean forces broke through and captured 2 objectives, before turning into the centre.


On the Undead right their overwhelming force was held up for a couple of turns by the Ogres / Ur Elohi but were able to overrun the flank by the end of turn 4. Helped by two sets of snake-eyes some zombies hung around for ages before being wiped-out in the end.  


By the end of the game both sides had won on their right flanks but crucially the Basileans held the central objective and so were 3-2 winners.  


So after round 1 the Basileans have established a salient and attack the Barrow in round 2.