Title

Title
Tally Ho!

Saturday, 10 June 2017

Punic Wars - Armati Campaign week 3

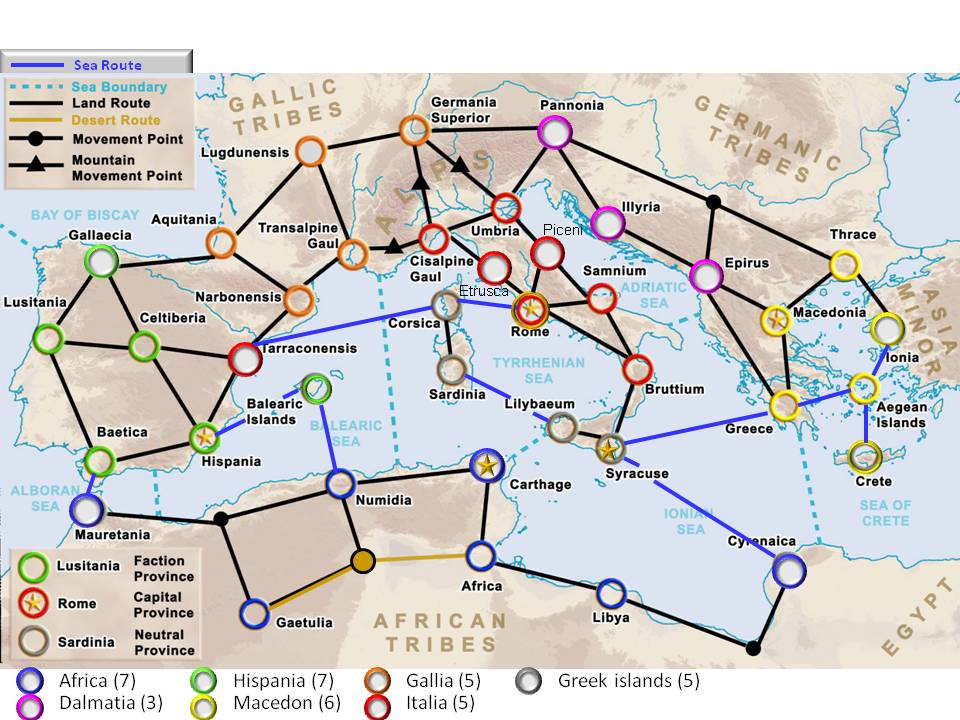
This week same the resumption of our Punic campaign with the Roman's seeking to expand their colonies in Spain through an attack on the province of Hispania. This weeks reinforcements cards produced an interesting mismatch with the Romans very strong in heavy infantry but facing a deficient of  7-2 in cavalry. The terrain was open with rough ground to the west of the battlefield and couple of low hills near the edge.


Deployment


The Romans decide to deploy a strong left flank with all their cavalry, the Triarii, and most of the skirmish infantry in support. The weaker right was covered by some skirmishers with a second rank of Hastati  deployed as flank guards. So a classic attempt to attack on the left looked in prospect.
 
Roman centre

Skirmishers cover the right

The main attacking force on the left
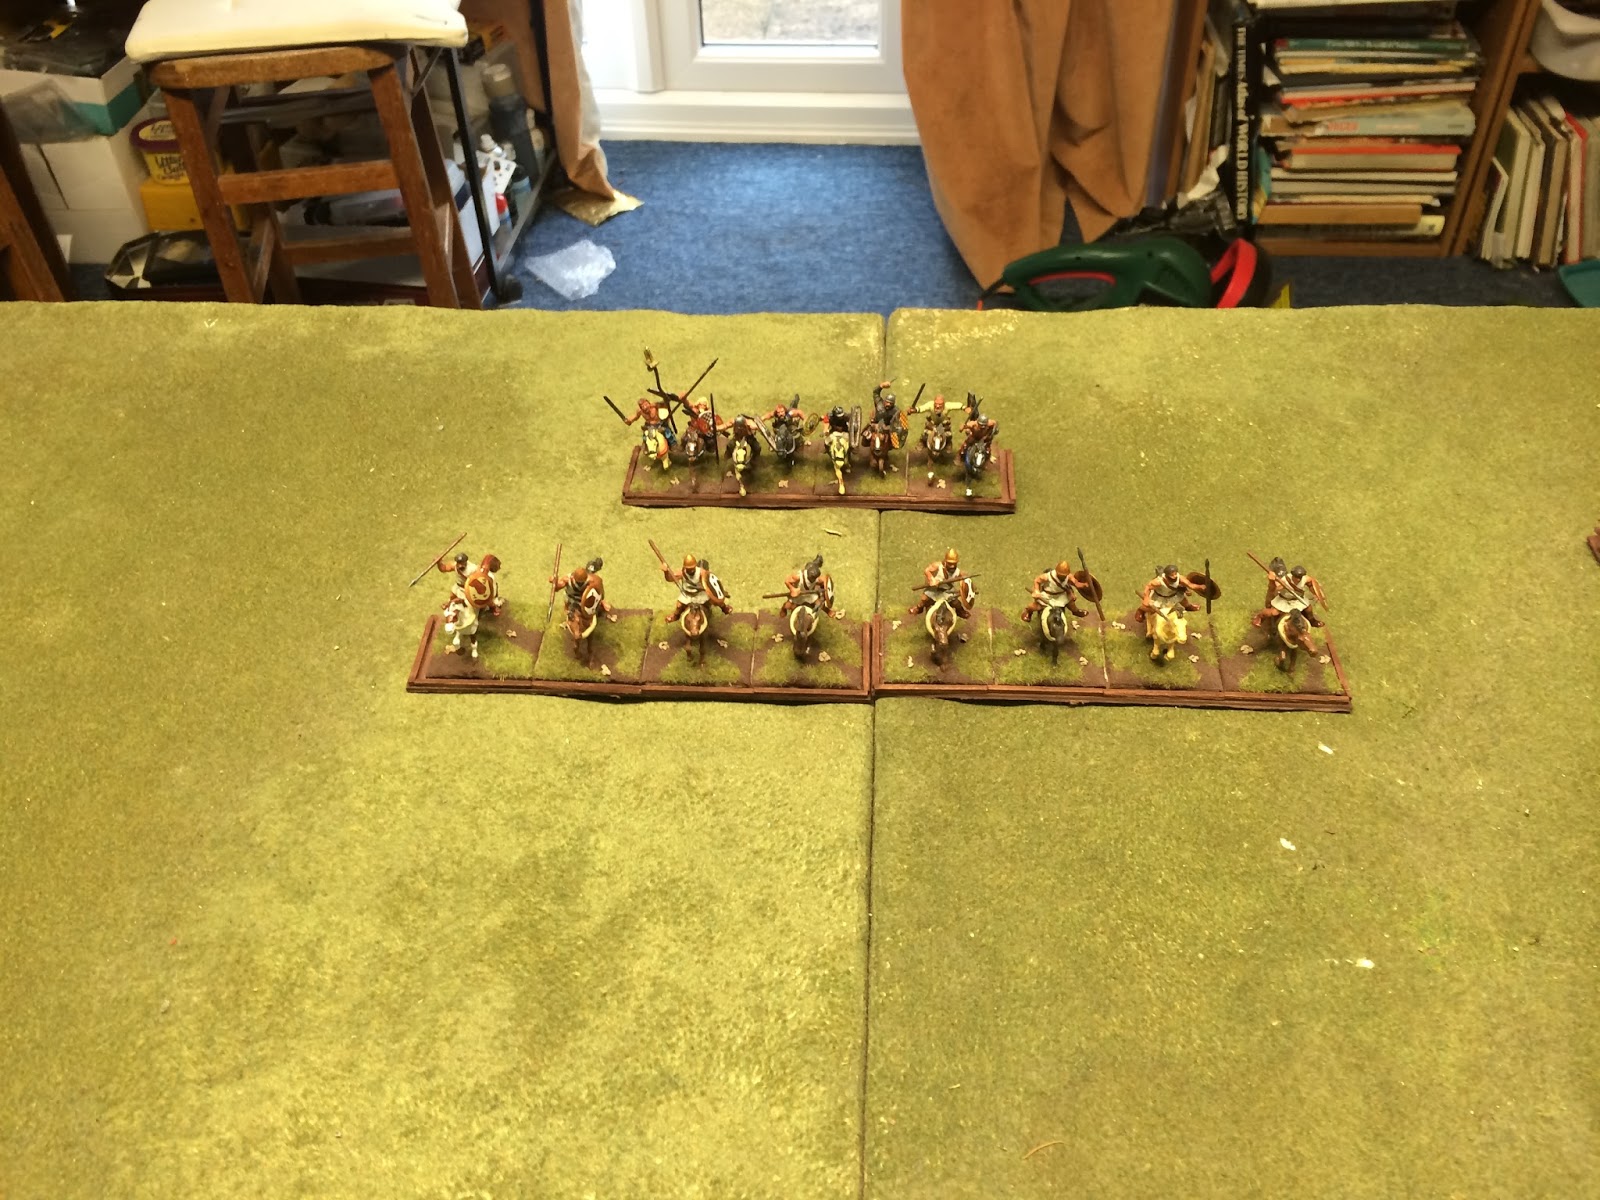
Roman horse
The larger Carthaginian force was weaker in heavy infantry but had a wider set of attacking options. Hannibal had hoped the Romans would deploy a weaker flank and so split is cavalry evenly between the two sides hoping to contain the Romans on one flank and turn the other. The large numbers of cavalry meant the Carthaginians were forced to have a single large infantry command and so not be able to exploit their African Veterans manoeuvrability.

Punic left flank

Punic centre - Celts and Africans

Punic right - a larger force of cavalry and skirmisher

The Battle

The deployment meant that the two sides stronger flanks were facing each other on the Punic right, with the Roman's likely having the edge due to the Triarii presence. On the Punic left side though a flanking move looked very possible as the area was only guarded by skirmishers.

The Romans adopted a fairly cautious early approach, holding back with their outnumbered cavalry and seeking to deploy their flank guards into action, especially on the outnumbered right. The Carthaginians pushed forward with their flank attacks and sought to support this with their infantry, hoping they might catch the flank guards in an awkward position.  

Roman right deploys

Roman left deploys and the skirmishers move up to harass the Punic horse 

Punic hordes move forward to support their cavalry

Celtic cavalry bear-down on the Roman skirmishers guarding the left 

On the Punic left they were able to push the skirmishers aside and  begin to outflank the Romans while applying pressure from the front with their Celt-Iberian troops. Even with the presence of the Roman commander they made steady progress.
 

Roman right under pressure
 
Celtic horse moves to flank the Roam right

On the Punic right their were difficult choices to be made so Hannibal tried to block the Triarii with one unit of Punic horse whilst attacking the Roman cavalry with the other and some Numidian light horse. This was partly successful in tying down most of the Romans but did leave one unit of Triarii unengaged.
Triarii seek to block the Punic Horse.

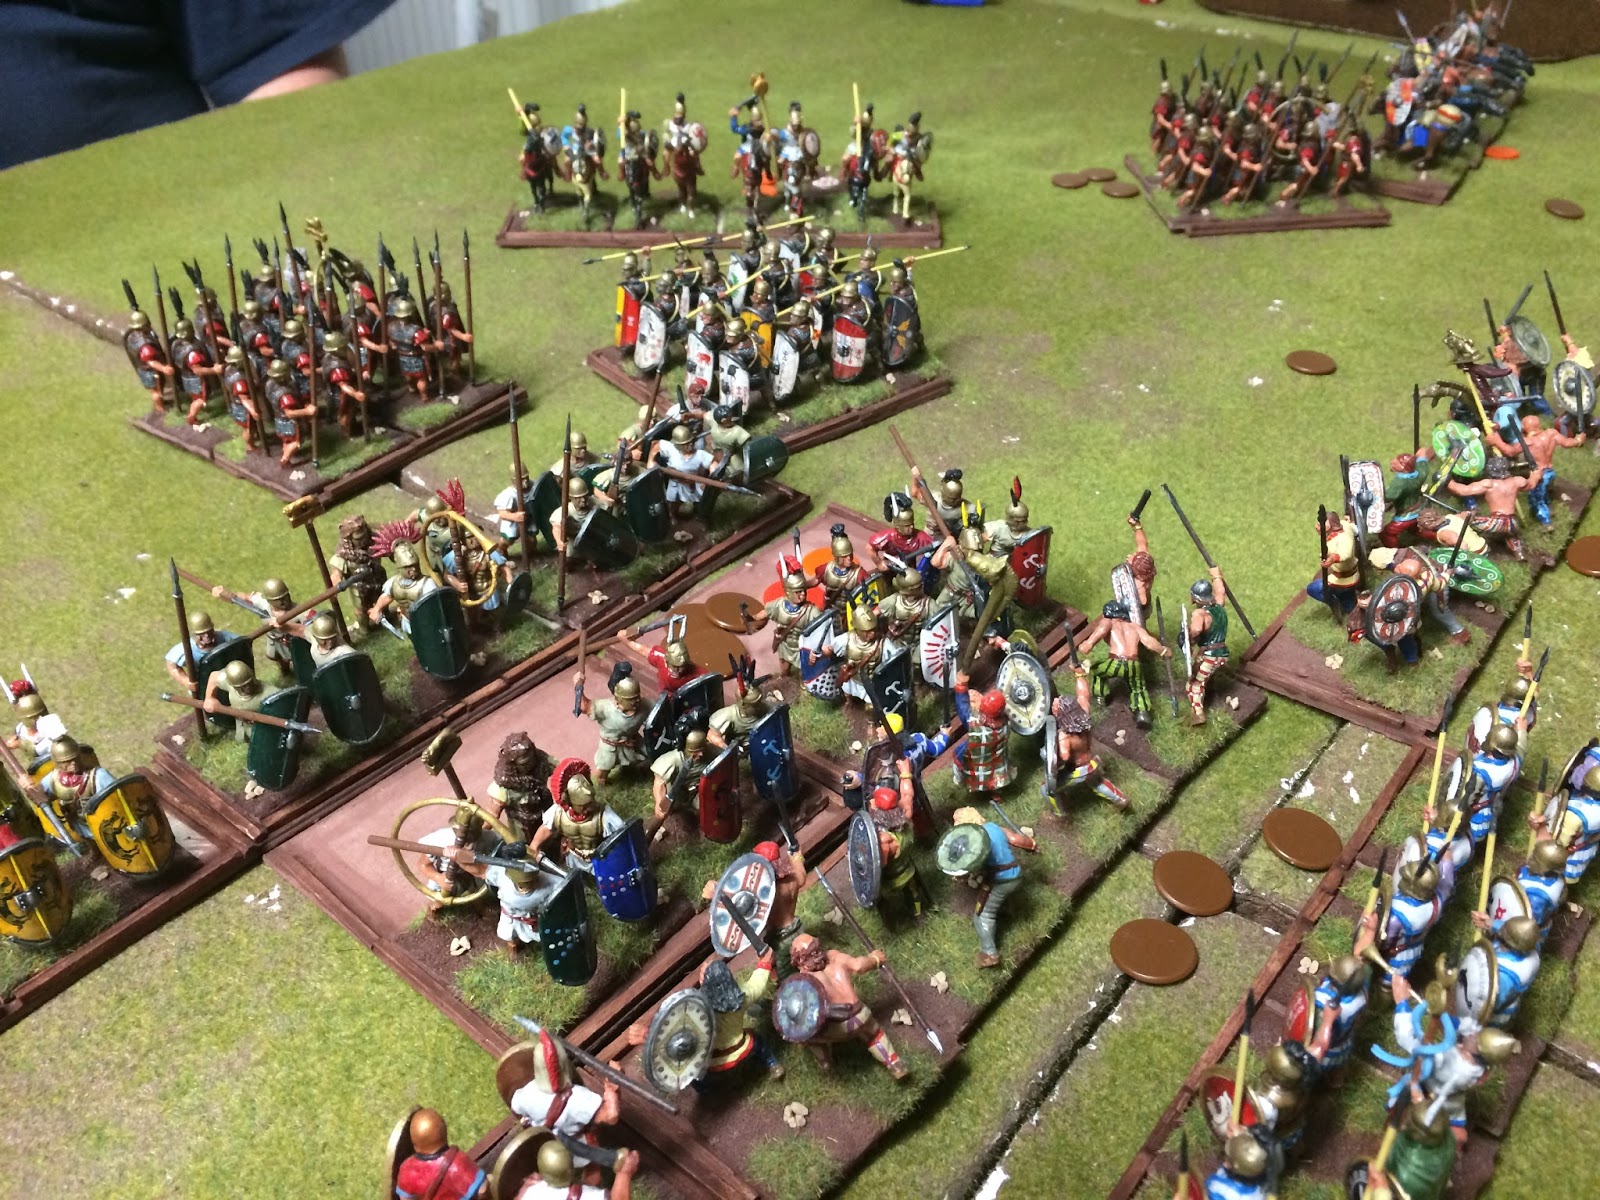
 In the centre both sides heavy infantry came to blows as the Carthaginians sought to pin the Romans while their attack on the right developed. Honours were fairly even with the  Celt-Iberians performing well and almost  breaching the line.  
 
Heavies slug it out with Celt-Iberians on the left of shot

The Roman left is almost flanked 
The Punic line became slightly over extended which allowed the unengaged Triarii to about face and attack the end of the Carthaginian line.

Triarii about face


And attack the Punic line

In a tense last round it was the Roman flank attack that proved deadlier than the Punic, and so they were able to secure the victory.

Conclusion

A close encounter in which side was able to attack the other on their own left flank. Perhaps the critical point was the Carthaginian decision to press past the Triarii rather than seeking to engage them, although that would have been tricky with the commands as they were. an additional move would likely have seen their cavalry assaulting the Romans in the rear and so securing their own win.

Saturday, 3 June 2017

The Battle of Zama - an Armati scenario

Our most recent game fell on a bank holiday so we had a slightly larger turn-out than usual for a regular club-night. So this week we fought a larger game and restaged the Battle of Zama. This was the final battle of the 2nd Punic Wars and pitted Scipio Africanus against Hannibal uncomfortably close to the very gates of Carthage.

The Romans and Latins deployed in their traditional 3 ranks supported by a strong force of Numidian cavalry. Hannibal deployed his infantry in three ranks  (Mercenaries, Citizens, and then Veterans) with elephants in front to disrupt the Romans.

The Armies


For the refight we few compromises were required due to the figures available. The Roman 2nd and 3rd lines each consisted of 6 units, split 50/50 between Romans (7 [2] 0) and Latins (6 [1] 0), all deployed in width. They were preceded by a first line of javelin armed skirmishers and supported by 2 units of Triarii. The largest comprise was on the flanks, as we only had few units of Numidian cavalry. So the Romans had 2 deployed facing the Carthaginian 1. Ideally we would have doubled or tripled this. We ignored the Numidian infantry mentioned by several authors that appear not to have fought on the day.  

Latins on the left of the line

Romans on the right of the line

Numidian's on the right

Italian cavalry

The Carthaginians deployed in three main lines with Hannibal's veterans forming a reserve at the rear. The first line was composed of elephants and supporting skirmishers.  To allow our elephants to stretch we used just one model per unit. The second line was  composed of Celts and Celtiberian's with the third line of Spanish foot (6 [1] 0) and experienced citizen infantry (6 [1] 0). Again all infantry deployed in width. 

Punic right - citizens and celts

Right of the Punic line

Left of the Punic line

Punic left flank

Special Rules

The main special rule applied to the elephants. We allowed a mixed light/heavy division to manoeuvre and act as single entity. Also breaks in this division did not reduce initiative as this was expected to be a largely sacrificial force. Elephants were not Key for the same reason.

The second special rule was that all infantry were allowed to breakoff from combat and ranks could interpenetrate without penalty. This would allow lines to reinforce each-other if needed.

Deployment


Troops were deployed as described above, with the Romans in three main lines matching the Punic forces. Both sides had cavalry to their flanks and enjoyed a superiority on the own right.

View from the Roman right flank

View from the Punic left flank


The Battle

The battle opened in line with history as Hannibal sent forward his skirmishers and elephants in an attempt to weaken the Roman's line. They in turn responded by pressing forward on the flanks and deploying their own skirmishers in an attempt to kill the elephants before they hit the main line.

Velites advance

Romans and Latins prepare to receive the elephants

Elephants supported by Libyan Javelinmen

Elephants with Celtic skirmishers

The first major clash was in the centre of the table as the Punic first line tangled with the Roman skirmishers. Usually skirmishers are deadly to elephants but on his occasion they were only to kill one of the beasts and somewhat enrage the others. Sensing they were loosing the skirmishers retreated behind the Roman second line to regroup.

Punic forces attack

Patiently the Romans wait

Skirmishers clash

Roman skirmishers withdraw

On the Roman left the Italian cavalry clashed with their Punic opposite numbers. Honours were pretty even, with the Carthaginians making an error in deploying their second rank too close to the fight and risking its loss.

Charge!
In the centre the elephants trundled into the waiting Romans and met with some initial success in breaking a couple of units from the second line. However the elephants lower Fatigue rating meant they tired first and were destroyed by the Romans. The impetuous Celts had been drawn close to the fight and so many were swept away by the routing elephants. At this stage things suddenly looked pretty even.

We have nt mentioned the Romans right where they had the advantage so far - suffice to say that with numbers on their side they were able to push back the Punic cavalry. Hannibal deployed part of his reserve veteran infantry to counter this and stabilise the flank.

Stomp stomp

Romans fight-off the elephants

Ouch - two elephants
With the elephants destroyed there was a short pause while Hannibal reorganised his troops and resumed his attack. The remaining Celts were thrown against the Roman second line to weaken it further. Crucially the Punic forces were able to defeat the Italian horse and so turn the left flank of the Roman line. This was the fatal move with the Romans reaching breakpoint and so a win for Hannibal.

Roman second line somewhat fragmented

Hannibal turns the flank

Hannibal overseas the coup-de-gras

Conclusion


An interesting refight and easily the largest Armati game we have fought so far. Although the elephants killed as many Celts as Romans they did weaken and pin the Romans for most of the game. The difference though as that the Punic Calvary were able to exploit their advantage and create a flank attack whereas the Romans became bogged-down and could not influence the outcome.

It would probably have been more decisive though had we been able to scale-up both sides Numidian cavalry units and give the Romans a larger force on their right.  

Monday, 29 May 2017

Kings of War - a quick review

Image result for kings of warThis weekend I travelled to my brother's Wargames room for a game of Kings of War - a set of fantasy mass-battle rules from Manic Games. The core rules and army lists are available free to download from their website at http://www.manticgames.com/free-rules.html. They are clearly aimed at those with Games Workshop armies as the troop-types and unit sizes map across very simply.

The Rules


The rules are aimed at being simple and lightweight to enable a quick game and certainly a decent sized game is possible in about 2 hours. The rules have something in common with the original Warhammer (troop factors) and Armati (flanks matter).

Units have a series of factors denoting their attack ability (number to beat on D6), defence (number of beat to kill), number of attacks and morale. Crucially there is no figure removal so a units resilience and attacks are based on its size, with units being; Troops (10 figs), Regiments (20 figs), or Hordes (40 figs). There are also heroes, monsters, and war-machines all based singly.

When testing morale you roll 2D6 and add the number of "hits" previously taken. Exceeding a certain score means wavering or routing. So for example with a small Troop being perhaps 10/15 you can see that with 4 casualties you are very likely to waiver (10+) or route (15+). With a Horde at perhaps 20/25, then 4 casualties gives no risk at all of bad morale. So larger units are more resilient but take up more space and are more costly if elite troops.

The core of the rules though is movement and especially charging. Most units are allowed to wheel then move but must then go straight ahead. More complex manoeuvres can take a whole turn. So the Armati influence comes from the relative immobility of many units other than moving ahead. Charges are always straight ahead and by the shortest route so bad planning can see you charging through rough terrain and being Hindered in the combat. Flank attacks are deadly doing double damage and with hard-hitting units possibly having 25 attacks they are often decisive.

Finally the turn sequence needs some careful thinking - each player moves, shoots, fights, and then rallies in turn. So oddly you will charged and attacked without fighting back. If you are not broken the enemy falls back and you charge them in the next turn. So initiative can be key, as is planning your moves and charges. Fortunately pre-measurement is allowed although in competitive play markers are usually banned and a chess clock used to limit time otherwise players can try to simulate the whole battle!    

Magic and heroic leaders are modelled but don't seem to have a major effect. Magic mostly boosts units combat abilities and does some limited ranged attacks. Heroes are not all conquering and are best used to support key units or boost morale.

The Game


Our game featured Ratkin (Skaven in GW-speak) verses Kin (night-elves) aiming to capture 3 treasure tokens from the centre of the table. The Kin were faster with more firepower but the Ratkins had the larger army. For a fuller description of the battle see http://fishpondswargames.blogspot.co.uk/2017/05/first-blood-rats-vs-kin.html

The Ratkin deployed fairly evenly across the table seeking to contest all three counters. The Kin focused on only two, having a smaller force to begin with.

Kin on the Ratkin left - Gargoyles and a Hydra

Kin centre - powerful combat and middle units

Kin opposite the right - a hero and Gargolyes

Ratkin right - assault troops and a flamethrower

Ratkin left - more assault troops and flamethrowers 

Ratkin horde occupies the centre

 
That must hurt!
 
The Ratkin pushed forward across the line seizing two of the three objectives very early by making double moves. The third (on the Ratkin's right) was contested by the Kin's hero and a unit of flying gargoyles.   
Ratkin left captures the uncontested objecitve


Ratkin centre


The early advantage did nt last though. The Kin have lots of firepower and some hard hitting units. As they had the imitative for the whole game well-timed charges and shooting are powerful as you can be badly damaged without being able to respond. This fate befell the Ratkin Horde in the centre as they were assaulted by two powerful Kin units.

Ratkins also capture the right-hand objective

The horde under pressure - with 18 hits they can nt stand

Kin blade-dancer elite troops 

Ratkins escape with one obective
Over on the Ratkin's right they held their own but were eventually flanked by troops freed from the  Kin's centre and so succumbed.  On the left they captured a largely uncontested objective.
The Kin hero swoops in

The game ended 2-1 to the Kin in objectives, but the Ratkin's having suffered much heavier damage. In hindsight the Ratkin's were greedy in trying to contest all three objectives but with a larger force its tempting to try this. It was also a compromise list based on the models available - I suspect the way to play the Ratkins is to have more of the cheap but large Horde units, and rather less of the elite units which are not as tough as the Kin. The Kin look good though with a decent number of tough / manoeuvrable units and solid fire power.  

Kin hero on a Griffin

Rakin snipers - team of the day


The Verdict


Angles and moves do need careful planning, as with poor initiative you could be caught out badly by being assaulted without the ability to fight back. This does however mean sacrificial units could be used to good effect to lure enemies into a trap.

The game was certainly quick, bloody, and simple so meeting our needs of a 2-3 hour game we can play on an occasional basis without needing to learn complex rules. With angles and distances so critical for charging I can see competitive play being contentious affairs with lost of laser-based aids being popular. Not an issue for friendly games though.

I am tempted to look into an Arabian army based on my Gripping Beast Arabs but need to find some Djinn to field flying units or perhaps a Troop or two of flying carpets