Siege Failed, Crusaders defeated
The first battle on the southern route had the Crusaders trying to defeat a force attempting to relieve Antioch, The scenario selected was Eliminate in which each sides 3 most expensive units were the targets, along with a single central objective. Its an interesting one as you must decide when to risk your most powerful units in the combat. With 3 players aside we went for 3100 points and a 10' table.
The Crusaders deployed with the Byzantines drawn-up deep on the left, the main crusader force in the centre and a refused right flank of knights / light horse. The target units were spread across the line with only the Templars hidden at the back.
 |
| Byzantines |
 |
| Part of the centre |
 |
| The refused right flank |
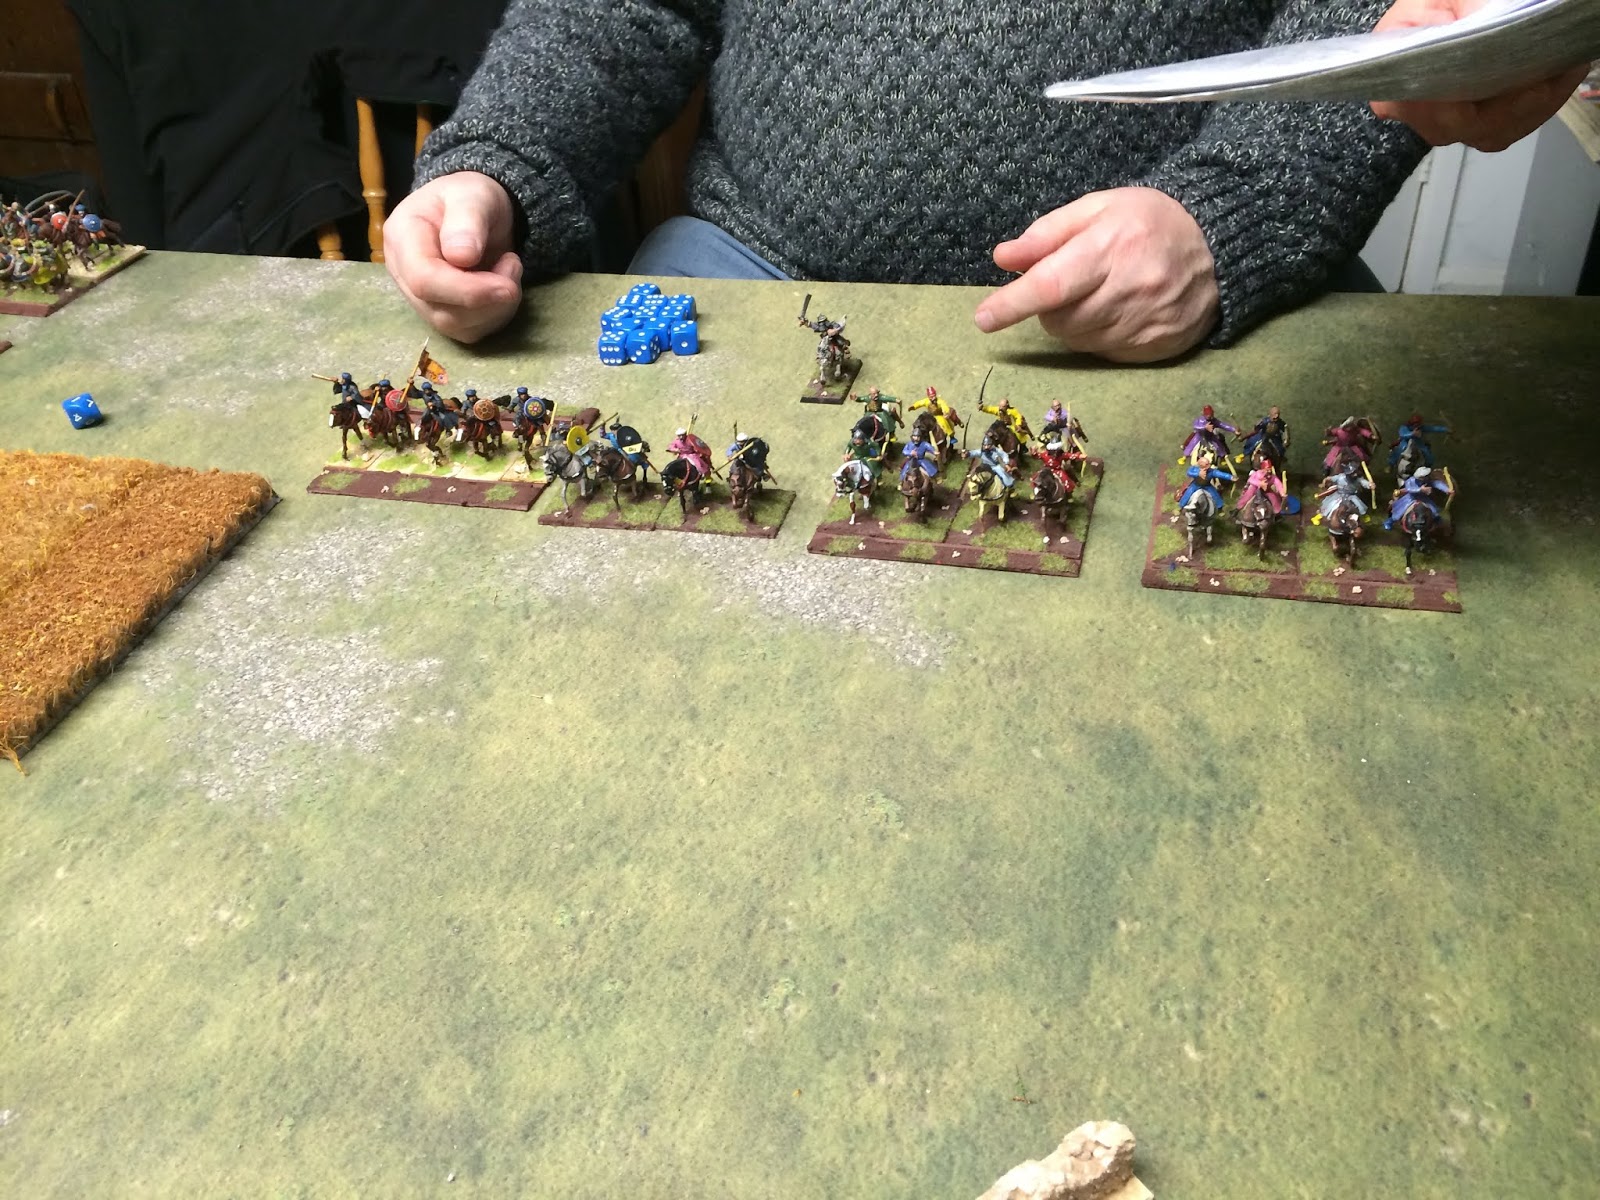
The Saracens opted to hide their best units (Mamluks and spear horde) in the second rank. Their left was mostly horse archers, the centre contained the bulk of the cavalry, with most of the infantry on the right opposite the Byzantines.
 |
| Horse archers on the left |
 |
| A cavalry-heavy centre |
 |
| Refused right with the spearmen hiding away |
The battle opened with Crusaders advancing in the centre and the left. The Byzantines were more cautious, advancing a couple of units into bow range of the defending Saracens.
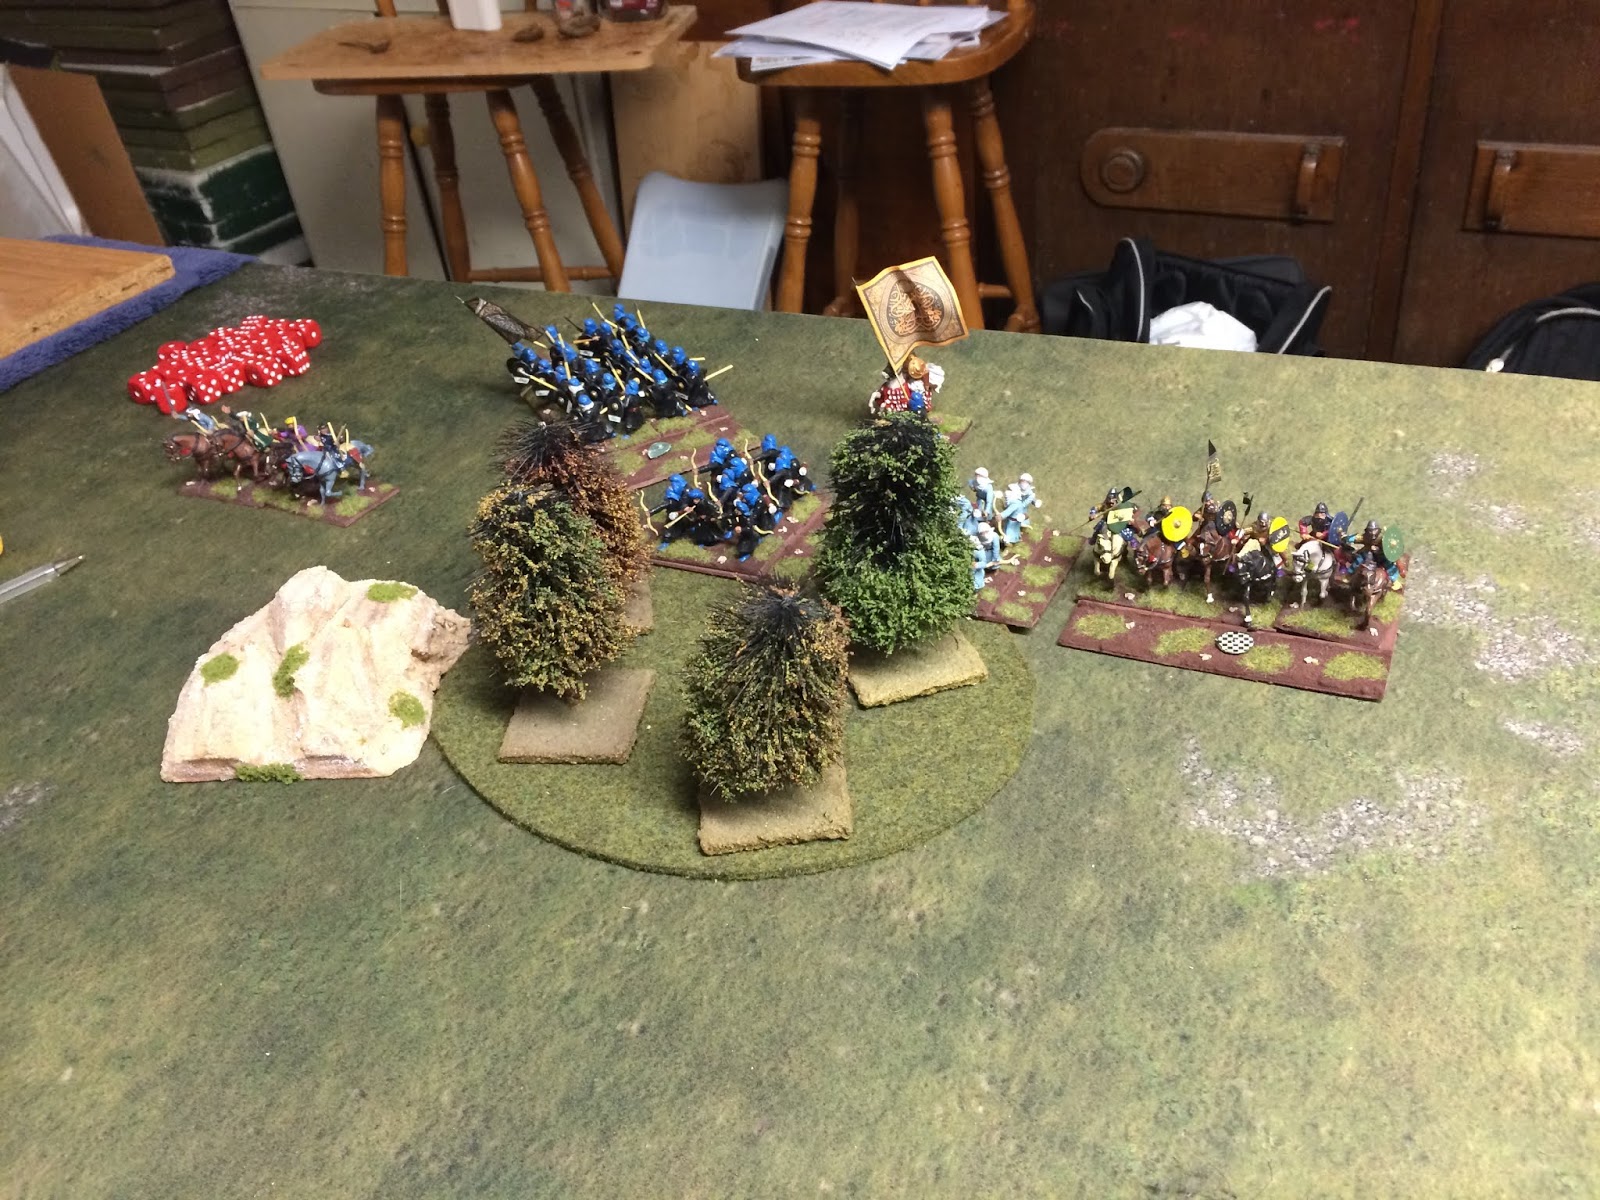
The Saracens had massed their Lance & Bow cavalry in the centre with additional support from more horse archers and light horse. Two rounds of focused fire quickly removed the Crusaders spear horde, scoring vital victory points and making a hole in the centre.
 |
| Saracens clear the centre |
On the Crusaders right they pushed forward against the weaker Saracen force in the hopes of causing carnage with their knights and turning the flank. Some doughty defence delayed them but it would not last for many turns.
 |
| Crusaders have the edge on their right |
With the loss of the infantry horde in the centre the Crusaders had to attack with their knights but found themselves against several ranks of Saracen troops. The archers weakened the knights with the Mamaluks finally unleashed at them.
 |
| Crusaders attack but are outnumbered |
 |
| Saracens pounch |
The Crusaders found themselves with a disputed formation allowing the Saracens several flank charges or 2-1 opportunities. This proved decisive as the Saracens were able to gobble-up the Templars and a couple of knight units.
In the final move the Crusaders had caused rather more damage than the Saracens but critically had lost all three of their target units without killing any of the enemies. We assessed the outcome would have been 10-3 to the Saracens on victory points.
 |
| Crusaders mount a decisive attack but all a little late |
So a decisive win for the Saracens. You will notice there is little mention of the Byzantines - they were initially quite cautious, only launching any meaningful attacks late in the game. More aggression from them may have reversed the result but it was perhaps the good use of the Saracens firepower that set the tone.


Are you playing Crusaders on the northern or southern route ?
ReplyDeleteI'm in the north so will be doing the odd numbered battles. Both Crusader armies still need t capture the first town - my army gets +2 on the siege next time so has a better chance but it could all be even still after the second round.
ReplyDelete