Title

Title
Tally Ho!

Saturday 22 April 2017

A quick game of Ronin

Image result for ronin ospreyAs we gorged ourselves over the weekend on a WSS all-day game, this weeks club-night was a quick game of Ronin from Osprey's gaming series. The game is based on semi-legendary heroic combat in medieval Japan, with players typically fielding forces of 6-12 figures. The factions available include Samurai, Bandits, Iki-Iki rebels, Koreans, and fighting schools. Games usually last about an hour.

The heart of the system is the combat which features a fun system. Players make opposed attack vs defence die roles with high scores in the attackers favour resulting in wounds. Each figure fighting has a Combat Pool of counters that can be used to enhance attack or defence rolls in that round of combat. Pool sizes vary by quality and you can choose freely between attack and defence counters each round. So the tactical sophistication comes in choosing an appropriate  pool for that round. It gets even more subtle when you have one model against several as the larger side can combine their pools but loose counters if people die. Pretty initiative after a few minutes and the game flows well.

We fought a quick attack verses defence game over about an hour.

Archers defending a gate

The defenders

Half the attackers - my favourite red devils

The other attackers

The town


Defenders move into action

Battle is joined - not going well for the reds

Review of the other attackers

The red devils leader gets stuck in
 

Sunday 16 April 2017

War of Spanish Succession - the Easter game

For our Easter game we reverted to a favourite period of the War of Spanish Succession in 28mm using Beneath the Lilly Banners. The scenario is from Miniature Wargames 431 and concerns a combined British/Dutch force trying to capture the road to Lutzingen, defended by a combined French / Bavarian force. The defenders have a hill and some emplacements covering the road. The large wood is impassable.

The Setup


The British / Dutch deployed with their right flank refused and held by an infantry brigade. In the centre was a further brigade and some cavalry, whilst on their left were their final infantry & cavalry brigades.
The British of the right flank
 
British cavalry in the centre 

The Dutch ready to attack the hills
The French deployed on the right of their line with two brigades of infantry and two of cavalry. The defences were occupied by Dragoons and the Bavarians deployed on the left of the line.  


The French hold the high ground
 
The Dragoons and Bavarian cavalry


View of the Bavarian position

View from the French guns 
During the briefing the British commander on the right flank misheard who he was facing and thought he was facing a force of Barbarians. So briefly Conan was leading then attack.
  
Conan the Bavarian

The Battle

In the centre the French began a cautious cavalry advance against the outnumbered Dutch while on the opposite side the Bavarians began their circumnavigation of the woods. The British / Dutch were initially on the defensive.

French cavalry move forward to attack

Bavarians begin their long march
The Dutch seeing they were outnumbered held-back with their cavalry and advanced the infantry into a flanking position to fire into the French horse. This proved successful as they were able to halt one of the French cavalry brigades and so even-up the numbers for the coming cavalry battle.   

The Dutch infantry occupy the woods

British advance against the redoubt
The cavalry battle in the centre proved pretty even with both sides routing a few of the enemy but themselves pushed back. This is pretty typical of BLB cavalry melee - a far bit of luck is involved and normally forces cancel each other out.


In the centre the British toiled forward under musket and artillery fire towards the redoubt. This was  looking fairly ill-fated until the British cavalry were able to rout the Bavarian horse from the field and support the assault. 
 
British pushing forward

Bavarians long march continues

British horse rout their opponents
 
The British line-up for an assault on the redoubt

 In the final act of the game the British launched themselves into the redoubt and pushed the outnumbered Dragoons out.
 
French guns pour fire into the advancing British

Tally ho

The Bavarians finally get into position but too late to affect the game

Up and at um

The redoubt falls

The objective is secure

Conclusions

An impressive and somewhat unlikely win for the British / Dutch, especially as towards the end of the game a quick head-count revealed that Marlborough was so certain of victory he'd left an infantry brigade in the box, thus ensuring he was outnumbered!


Thursday 13 April 2017

ECW Musklets and Marshalls - the all new Capatines and Calivers


As the commander of the Allied forces for the Key Points campaign is away, we decided to test out some ECW rules I've been working on. These are a conversion of the Muskets and Marshalls rules we've been using for the Napoleonic games recently that are available from http://hintonhunt.blogspot.co.uk/.

A number of tweaks are needed so its probably easiest to reproduce my design notes from Captaines and Calivers, the ECW version of M&M.   

The Rules


Cavalry

Many rules like to distinguish between fast-moving Gallopers and static Trotters relying more on firepower, likely in search of tactical differences to spice-up the rules. I see little evidence this was true with many units charging somewhere between a trot and a gallop, and with no-one relying on caracoles or static shooting.

The main point of difference is therefore the quality and also the discipline. Horse are likely to pursue defeated opponents so having greater discipline gives more chance of them influencing the remainder of the battle.         

 Infantry

 Infantry is where the greatest adjustments are needed from a Napoleonic rule set. The firing systems were very different and the volley is seen as more the prelude to an assault than a normal fire mode or a attempt to stop an assault. In fact defenders in a melee usually attempted to keep-up steady fire as the attackers advanced in the hopes of inflicting some damage. For this reason the defender does not shot to halt the attack but rather receives an additional combat dice to reflect their shooting.      

So the volley is something the player with initiative can initiate, but leaves them unable to shoot next turn, so vulnerable should they not charge. Equally though it has a morale impact on the enemy possibly weakening them. 

 A number of formations have been introduced - partly to provide some additional tactical choices and partly to enable Dutch or Swedish deployment methods to be employed.   

Artillery

Artillery were not the great killers in the ECW they were in later conflicts - rates of fire were lower, pieces hard to manoeuvre and grapeshot being rare. Also the crews were largely civilian and so took less damage to see them off as most were relatively unskilled.

For this reason close-range fire hits on a 4 not 3 as in M&M. Also the light batteries have been made a little smaller at 4 for Gallopers.   

Mechanics

A morale test has been introduced to charge or counter charge as there is no longer the natural trigger of volleying to halt the attacker.  Fresh units (+1), with support (+1), attempting to charge (+1)  are bound to charge even on a roll of 2.


The Game 

 
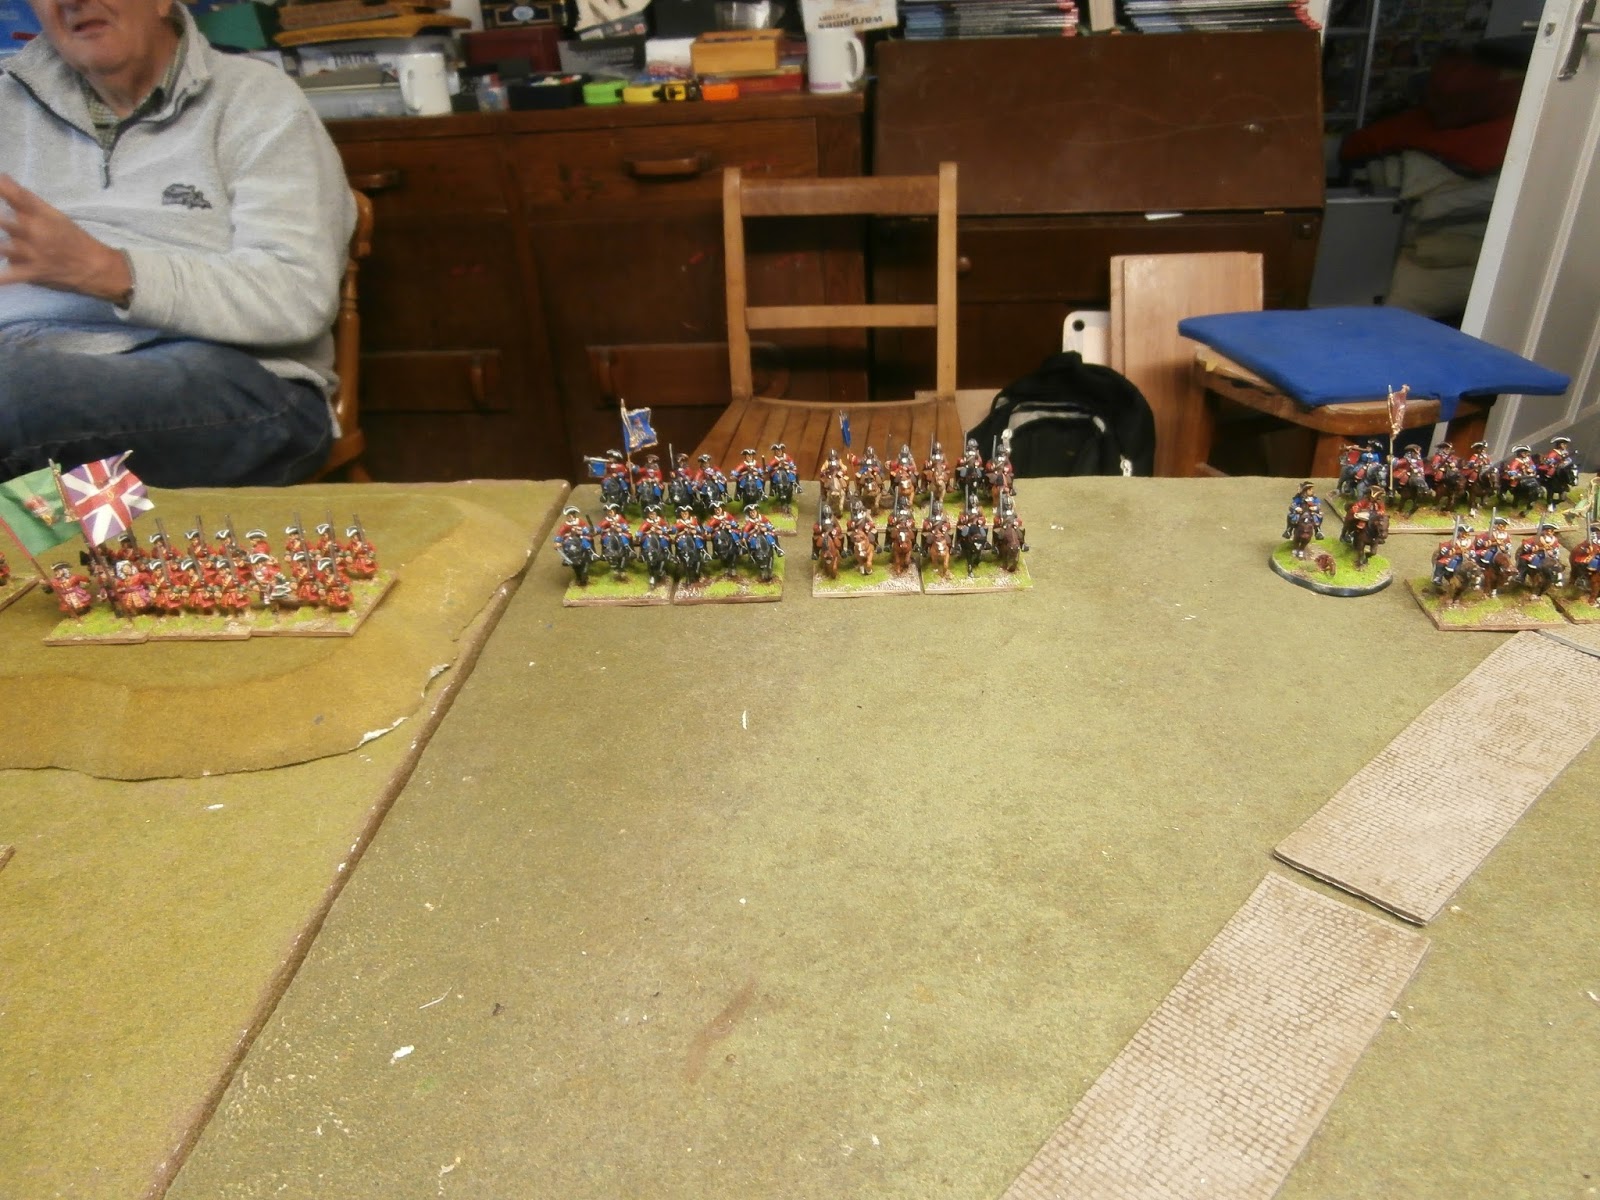
To speed things along on the test game I pre-deployed all the forces adopting a classic ECW formation with both sides having pike & shot in the centre and Horse on their flanks. Parliament had a forlorn hope of Dragoons deployed forward in a small field, faced by an assault party. Parliaments Horse were rated Disciplined so there was more chance of them remaining on the table should they win a melee.  
 
Forces of parliament arrayed for battle

Scottish Horse on the Royalist right 

Parliaments left flank

Parliaments centre

Royalist forces 
The Royalist forces made the early running, advancing across the line to engage the parliamentary troops opposite them. The Horse lead the way with the assault party also rapidly attacking the Dragoons holding the field.

Scottish Horse advancing

The assault party prepares to attack the Dragoons
Fortunes were fairly mixed for both sides in the early cavalry exchanges. On their left the Royalists gained the  initiative and managed to catch their opponents at the halt, predictably pushing them from the field. On the Royalist right the fortunes were reversed with the Scottish Horse soundly beaten by the parliamentary forces and routed from the table. As expected the Dragoons were pushed out of the field  by the assault party.
Scottish Horse take to their heels or maybe hooves
In the centre the main infantry lines came in range and commenced a steady fire upon each-other. Both sides began to inflict casualties and a few disparities emerged between the shooting effectiveness. The Royalist Irish brigade fired a lively volley and then charged, routing their opponents and  pursing into the second rank. The parliamentary foot also tried a volley but with less effect and were stopped dead as a struggle developed. 


View from the Irish Brigade position before they routed their enemies

Montrose scots advance
In the centre a slogging match ensued with the tide ebbing and flowing but with the Royalists having the upper hand. On the flanks each had one side had cleared one flank but crucially the more disciplined parliamentary Horse had remained on the field and was ready to intervene. With time running-out we declared the game a draw and reviewed the rules 


Scots move forward

The Irish charge-in

Parliamentary cannons take aim

The Irish in action again

The Verdict


The rules held-up well for a first outing with no obvious major glitches. It certainly had the feel on an ECW battle and if we had played a little longer (or faster) then the returning cavalry would have had time to make their presence felt on the centre.

+1 combat dice for standing and firing felt too powerful so part-way through we opted for +1/2 on the die roll instead. This puts it on a par with infantry charging but you don't receive the morale bonus.

The decision on when to risk a volley and charge felt meaningful and added an additional tactical choice.

We will play a second test game on our next regular club night so watch this space for more on this and also the up-coming Easter game - 28mm War of the Spanish Succession        

Sunday 9 April 2017

Key Points Napoleonic Campaign - Battle 6

The Scenario

In battle 4 the French were victorious against the Prussians at the crossroads and so pursued them back to a defence position anchored on two fortified farms. This being 1815 and somewhat inspired by Waterloo they are substantial affairs modelled after Le Haye Sainte and Papelotte farms.

Each farm counted as 2 BU zones with the winner being the one who held the most at the end of the game.

The Setup

The Prussians naturally focused their defensive position on the two farms that were deployed on either side of their main lines, occupying each with 2 battalions of infantry. The allied right was refused but their left was loaded with 2 brigades of cavalry. More infantry and the artillery covered the centre between the farms. Their plan was to attack on their left with the cavalry whilst holding-on grimly in the centre.

Right-hand farmed with Prussian defenders

Left-hand farm occupied by the Dutch-Belgium's

The Allied centre - pleasingly symmetrical

The Allied left poised to attack
The French plan was more innovative, having learnt from previous games that BUAs are very difficult to capture quickly, even when you have better and more numerous troops.  Against the farm on the Allied right they massed 6 battalions of A-class troops with the all the heavy cavalry covering their exposed flank. Against the farm on the Allied left they massed most of the guns with support from infantry and the light cavalry.

The plan was bombard one farm until it caught fire whilst capturing the other - so the French were going for a 2-0 win on BUAs as they felt they could not capture both farms.   

Heavy cavalry brigade covering the attackers flanks

Assault troops opposite the farm on the Allied right 

The centre and Grande Battery

The troops guarding the flank opposite the Allied left 

The Game


The game began with a rapid assault by the Swiss, Irish, and Young Guard units against the farm on the Allied right. Such combats are a hard slog for the attacker by they were wearing-down the Prussian defenders and hoped to break through in 3 or 4 turns.

Tally ho - the French attack the farm
 
 
In the centre both armies advanced hoping to dominate the ground between the two farm complex's. Both sides had deployed some cavalry in the centre so these clashed between the waiting infantry lines, with honours largely even. On the Allied left their combined-arms counter-attack began to rumble forwards in the hopes of disrupting the French advance.
 
This of course left the French cavalry on the Allied right totally unopposed for they pushed forward with horse artillery in support and forced the Prussian reserve units guarding that flank into square. Classic Napoleonic's - cavalry, squares, and canister!  
 
Cavalry class in the centre

The allied spoiling attack

Prussians forced into square start to suffer some hits 

On the Allied left the heavy French bombardment forced one Dutch battalion back from the farm and started several fires that would eventually gut that side to the farm.

Meanwhile the Allies pressed forward in both the centre and on their left as they had a numerical advantage with the main French forces deployed over on the Allied right. This attack was a strong-one and stood a real chance of pushing the French back before they had managed to capture the farm on the Allied left.   

Allied cavalry push forward

Swiss still bashing away at the farm

Battle is joined in the centre
 
 
The crucial part of the battle as now at hand. The French finally managed to force the Prussian defenders from the farm on the Allied right and with the other farm half ablaze they were leading 2-1 on BUAs held.
 
The attack by the Allied cavalry met with initial success bursting through the French front lines but was halted in its tracks by a unit of Dragoons deployed from the centre. The Prussian Cuirassiers gallantly charged a French square but were repulsed with steady fire from the unflappable Leger. 
 
French Dragoons intervene just in time

Prussians fall back from the farm

7th Hussar's eye view of the French

So with night falling the Allies still posed a real threat but the French were firmly in control of an entire farm complex so claimed the battle 2-1. A close-run game and some interesting tactics from both sides.   

Irish and Young Guard claim the farm

The other farm in flames
 

Campaign Situation 


So after 6 battles the campaign has turned in favour of the French with them opening a 5-3 lead over the Allies and poised to attack the final square.

At this point we are pausing the campaign as the British commander has been posted to India as punishment for his misfortunes on the battlefield. Well actually its a holiday in Mauritius but you get the idea. So the next few weeks will be dedicated to testing some ECW rules.