Title

Title
Tally Ho!

Tuesday 29 May 2018

Aramti Pyrrhic Wars - Beneventum 275 BC

Following an unsuccessful campaign in Sicily, Pyrrhus returned to Italy to once again challenge the might of Rome. Attacking towards Roman territory he found his way blocked by Consul Manius at the head of several legions. Pyrrhus attempted a night attack against the Roman camp but his troops became lost and ended-up fighting Manius in an open plan flanked by wooded hills.

In this battle the Romans had a fortified camp for additional support. We treated this as an area of difficult terrain. The occupants (two SI with Javelins and two SI as Crossbows - the artillery) each counts as a separate light division while within the camp.

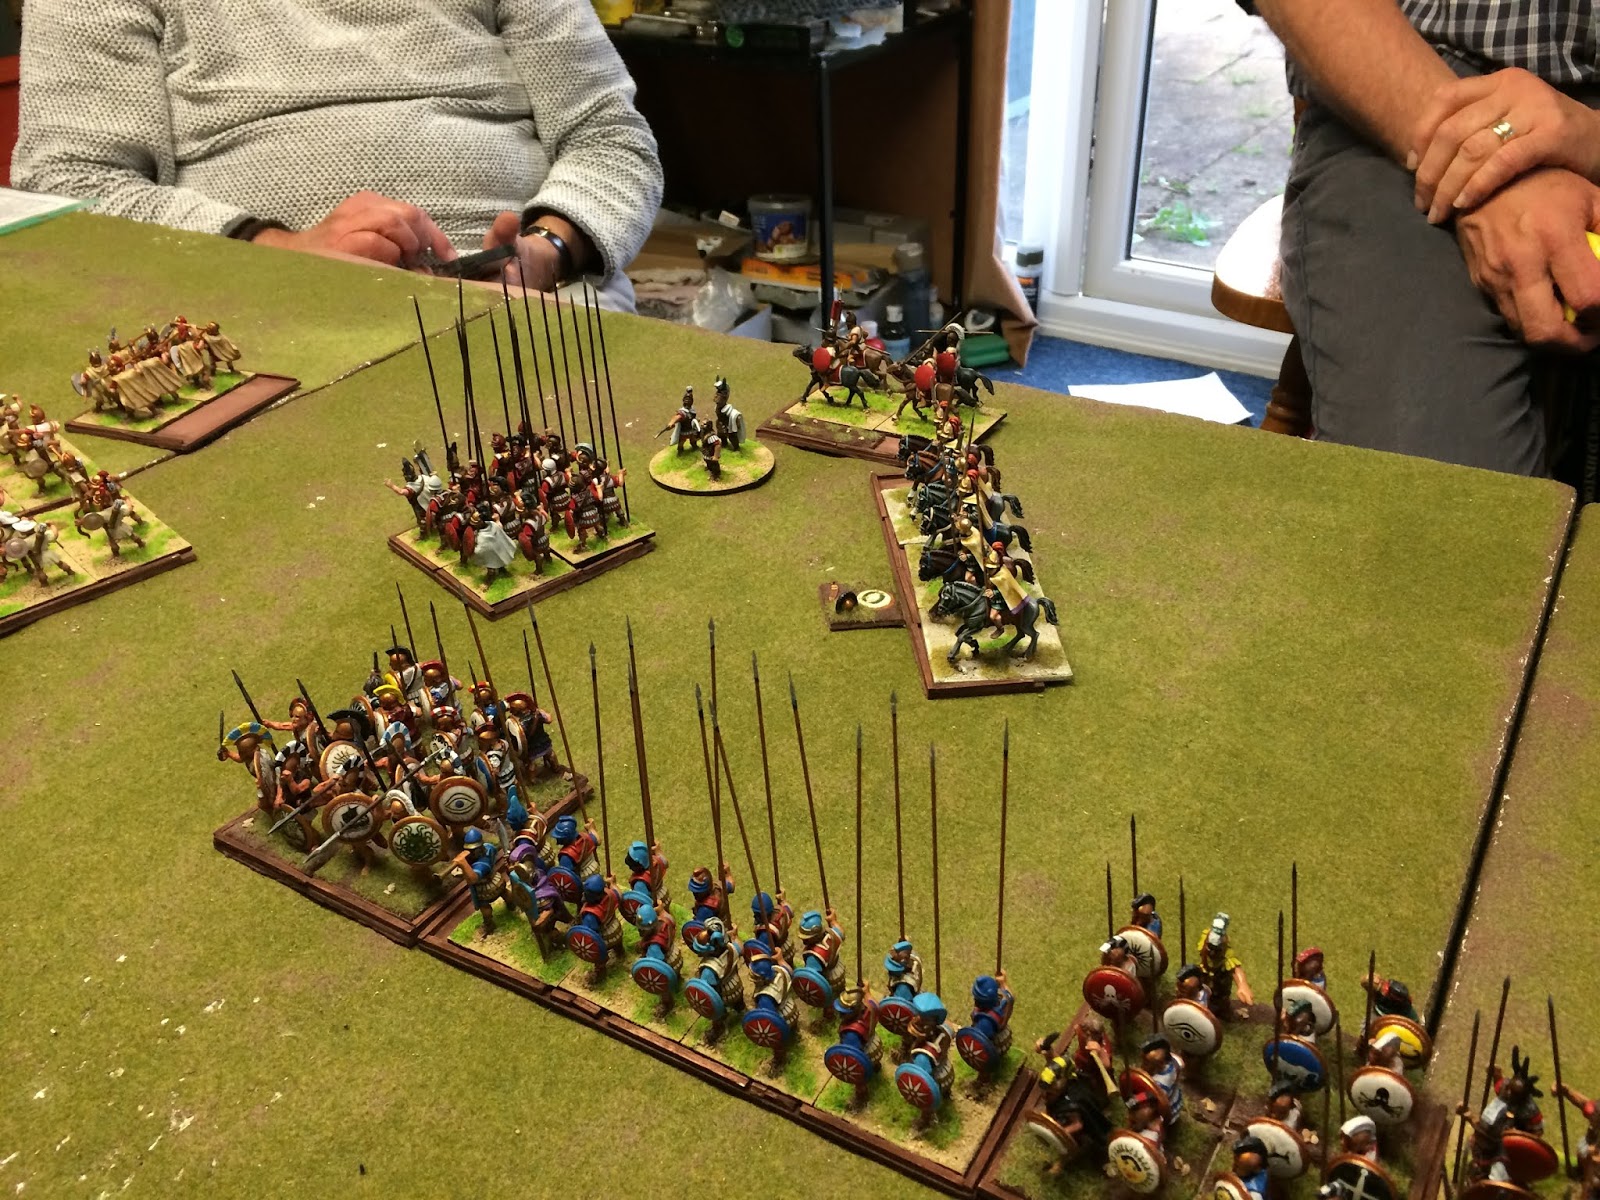
The Pyrrhic army was of the "classic" type - lots of pike phalanx supported by 3 units of cavalry, some lights and a unit of elephants. The cavalry and lights split between the wings, with the elephants in the centre in the hopes of disrupting the Romans.

Pyrrhic left

Pyrrhic centre - elephants to the fore 

Pyrrhic right with the Companions in reserve

The Romans deployed a solid mass of infantry immediately in front of the fortified camp. Their left contained all the cavalry with support from slingers and the Spanish LHI. The right was held by the Triarii and several units of Velites.

Roman left with the massed mounted

Roman centre and left

Roman right with the Triarii 
For this game I had a rare chance to breakout my Roman marching camp. This is scratch built from artist mounting board with the facing from a sand/paint mix.  It was not expected to play much of a role in the game but did break-up the board.

Romans defending the camp 

Camp's eye view of the action
Having deployed with a heavily weighted left the Romans advanced rapidly against the Successor right, hoping to flank them before the phalanx could reach the Roman main lines. The Successors looked to counter with the Companions and elite pikes trying to block the attack.

Pyrrhus repositions his right
On the Roman right the Triarii advanced smartly to cut down the Greek cavalry's space and threaten the left of the phalanx.

Roman right counters the Greek advances. 

The Pyrrhic forces advanced at full speed in the centre seeking battle in the centre where they had a clear edge.

Trundle trundle

Heavy metal on the move - well mostly resin actually...
On the Roman left the horse advanced in pursuit of the Successors lights and in attempt to get beyond the phalanx's flank. A good plan usually but on this occasion they probably overran and ended-up too far towards table edge.

Roman horse chases down some skirmishers

Spanish move up but are blocked by some pikes 

Rather penned-in the Roman HC found themselves under threat from the flanks and under sustained, but largely unproductive, archery fire. As the mists cleared the Spanish caught against the elite pike, one unit of HC was routed by a rear Light Infantry charge and the second being lined-up by the Companions. Not a great mid-game on the Roman left.  

Companions covering the flanks

Spot of bother for the Roman lef
As the main heavy infantry lines came together the early action went in favour of Rome. The elephants took heavy damage and as some of the pikes were deployed wide to extend the line they faced two opponents.    

The hit comes in - Romans ahead at the start

Elephants are roughly handled 

On the Roman left the Greeks were able to perform a combat and bear-down on the Triarii flanks.  

The flank is turned

The Triarii quickly fell but in a rare stroke of luck, fire from the bolt shooters in the camp was able to destroy the weakened Greeks and prevent them causing further damage. The respite was temporary though  and losses in the centre combined with the destruction of the cavalry meant a 7-5 loss for the Romans.

Gaps open on both sides

The Roman line crumbles
 
It is hard to point to a single error that led to Roman defeat, rather a number of bad manoeuvres and some rules mistakes that allowed the Successors to escape harm at key points.

The final verdict 

So the campaign ended 3-2 in favour of Pyrrhus with Romans and Carthaginians each recording a win, which is an improvement on history. 

The Pyrrhic army is a potent one although elephants are less deadly in Armati than they proved in the historic wars. Its main issue is that the infantry is costly and so the line will always be shorter than the enemies.


Sunday 27 May 2018

Snakes in the grass...more Kings of War Lizardmen

I'm about two-thirds of the way through painting my Lizardmen army - this weeks output is just a couple of units.

First-up is a unit of heavy infantry which can be used as either Primes or Ancients from the Salamander list. These both form the infantry core of army.

Lizardman heavies

The includes a mounted officer as I had a few Ancients riding Coldones left over from the units I wanted to build.  All figures from Games Workshop.

Officer leads the advance

Secondly I have some chaff units in the form of a horde of snakes (or two regiments). These do not feature in the Salamander lists, so will instead be fielded as Tidal Swarm from the Trident Realms list. Cheap and nasty they feature high attacks but virtually no defence.  

Hissss

The models came as ground clutter with the Game Workshop Coldone riders, but I had so many it seemed worth doing a unit of them.


Sunday 20 May 2018

First Crusade - Byzantine allies

After a short break to complete a Dark Ages Irish I've returned to completing my armies for the First Crusade. With all the Crusaders done its time for a few Byzantine allies.

First cab off the rank is a unit of the iconic heavy cavalry. All the figures are Gripping Beast with a LBMS flag rounding-off the unit.

A unit based for Armati or DBX

Close-up of the flag

The boss-man on a cataphract horse 

Charge!

Shields also from LBMS
My plan is to add another unit of heavy cavalry, some spearmen, and a few archers to provide a decent allied force. Although intended for Armati I'll base so as to allow them to be reused for Saga.

Friday 18 May 2018

Armati Pyrrhic Wars - Lilybaeum, 276 BC

A year on from the battle Eyrx Carthage is once again at war with the Greek cities of Sicily and their ally Pyrrhus. He was able to clear many of the Punic forces from the island before besieging their fortified port at Lilybaeum. In a bold move the Carthaginians chose to meet him in open battle in the hopes of lifting the siege.

Pyrrhus' army contained a hard core of Greek / Eporite pikemen, but on this occasion very few elephants, so they are not included in the lists. The Punic army was once again mercenary forces gathered from across the Mediterranean world.

Pyrrhus opted for a balanced deployment with one Calvary unit on each flank and skirmishers scattered across the front. The left flank was slightly stronger with the Peltasts supporting the cavalry. A slow and steady phalanx advanced looked the plan on this occasion.

Pyrrhic left - horse and peltasts

Heavy metal in the centre  

The pikes ready to rumble

The right flank guards - a Companion cavalry unit

The Punic army was larger but of lower quality. Its main advantage was the superior numbers of cavalry and some mobile Spanish LHI. They opted for a double envelopment with their mounted units supported by skirmishers.

Punic left - lots of horse

Punic right - more horse and the Spanish

Punic centre - Africans, Italians, Celts and more Spanish
Sticking with their plan the Punic army immediately advanced on the wings in the hopes of flanking the Greeks before they came to grips with the centre. In theory they had stronger forces on both wings but as we know wargames are not fought in theory!

Celtic and Punic horse attack

Punic right attacks too 

On the Punic right their horse and LHI clashed with their opposite numbers. Despite their superiority they quickly found themselves on the wrong end of events. Inspired by Pyrrhus himself leading the HC, they began to push back the Carthaginians.  

Messy action on the Punic right

On the left the Punic's tried the classic tactic of attacking in waves so that the second unit of HC would have impetus against the stationary enemy and sweep them away. Luck was with the Companions though as they held off against two units of Punic horse.

Companions holding the flank

As the centres came to blows things looked decidedly dodgy for the Carthaginians - their right had been largely destroyed leaving the Greek horse free and their left was stalled by the Companions. The superior Pyrrhic infantry charged their pikes and got stuck in.    

Bump and grind in the middle

The early action was fairly even - the Greeks caused more caused overall but the Celts proved effective and caused some carnage on the Punic left. Then came the decisive moment of the game - having finally overcoming the Companions a unit of Numidian light horse arrived in the back of the Greek army. It quickly gobbled-up a general and stated to chew through the unprotected rear of the Phalanx.

Gaps appearing in the line as the Celts punch through

Spanish held up by the Peltasts

Despite good progress against the Punic left, the casualties began to mount and eventually it was a win for Carthage by 1 kill at the last gasp.  

Celts beaten back temporarily

The cavalry arrives

A very close game and the Punic's were close to breaking themselves. Both sides made errors that meant their heavy cavalry end-up too far from the action to affect the outcome of the game. Perhaps the battle-loosing error though was allowing the Greek general to be captured for a soft kill.

Sunday 13 May 2018

Kings of War Lizardmen, the new hatching...

Over the bank holiday weekend I was able to complete a new batch of figures for my Kings of War lizardmen but had nt had time to post them to the blog. I've been able to add three new units to the growing roster.

The first are Kaisenor Lancers - the fastest of the mounted units at 8" but with average melee and survivability. Likely they would be decent heavy chaff or back-line units, but the lack of Nimble makes them less powerful than some armies medium cavalry.


The models are a bit of mix. The raptor mounts are 1990's GW Coldones that originally mounted Dark Elves, who look hobbit-like by modern standards. The riders are new GW Skinks - small lizards whose cousins will feature in a unit of their own.  


The second unit is my first flying unit for Lizardmen - a Ghekkotah Skylord. The mount is a Schleich Pterosaur with a spare GW rider perched atop it. This gives a striking-looking mounted hero to ravage the enemies backline.


Finally there is a hero mounted on a dinosaur. This came as part of the GW lizardmen starter army and will probably feature as a Clan Lord on Firedrake. Its a costly unit but is tough and boasts 16 breath attacks, which could be fired over intervening troops.  


It is a beast though as you can see against a standard 25mm figure and stands over 150mm high, making it fairly hard to miss.