Introduction
Some
military campaigns involved grand sweeps across large tracks of open country,
but much more typical was seeking to dominate several key strategic features
connected by a barely usable road network. This campaign depicts the later and
pits French vs Allies in 1815.
Maps
and Movement
 Both
sides write orders for each turn and then play these through. Where both sides
would meet on a connecting node then dice to see who falls back and defends
(1D6, +1 for 50% more cavalry, +2 for 100% more). Units may move 1 connecting
line per turn. Each turn you receive 1
victory point (VP) per key point held.
Both
sides write orders for each turn and then play these through. Where both sides
would meet on a connecting node then dice to see who falls back and defends
(1D6, +1 for 50% more cavalry, +2 for 100% more). Units may move 1 connecting
line per turn. Each turn you receive 1
victory point (VP) per key point held.
Battles
and Key Points
In
an encounter both sides deploy behind screens or from a map. If one side is
defending then they deploy first but will have advantageous terrain
There
are no draws unless it was an encounter. The defender wins unless driven off or
the objective captured.
·
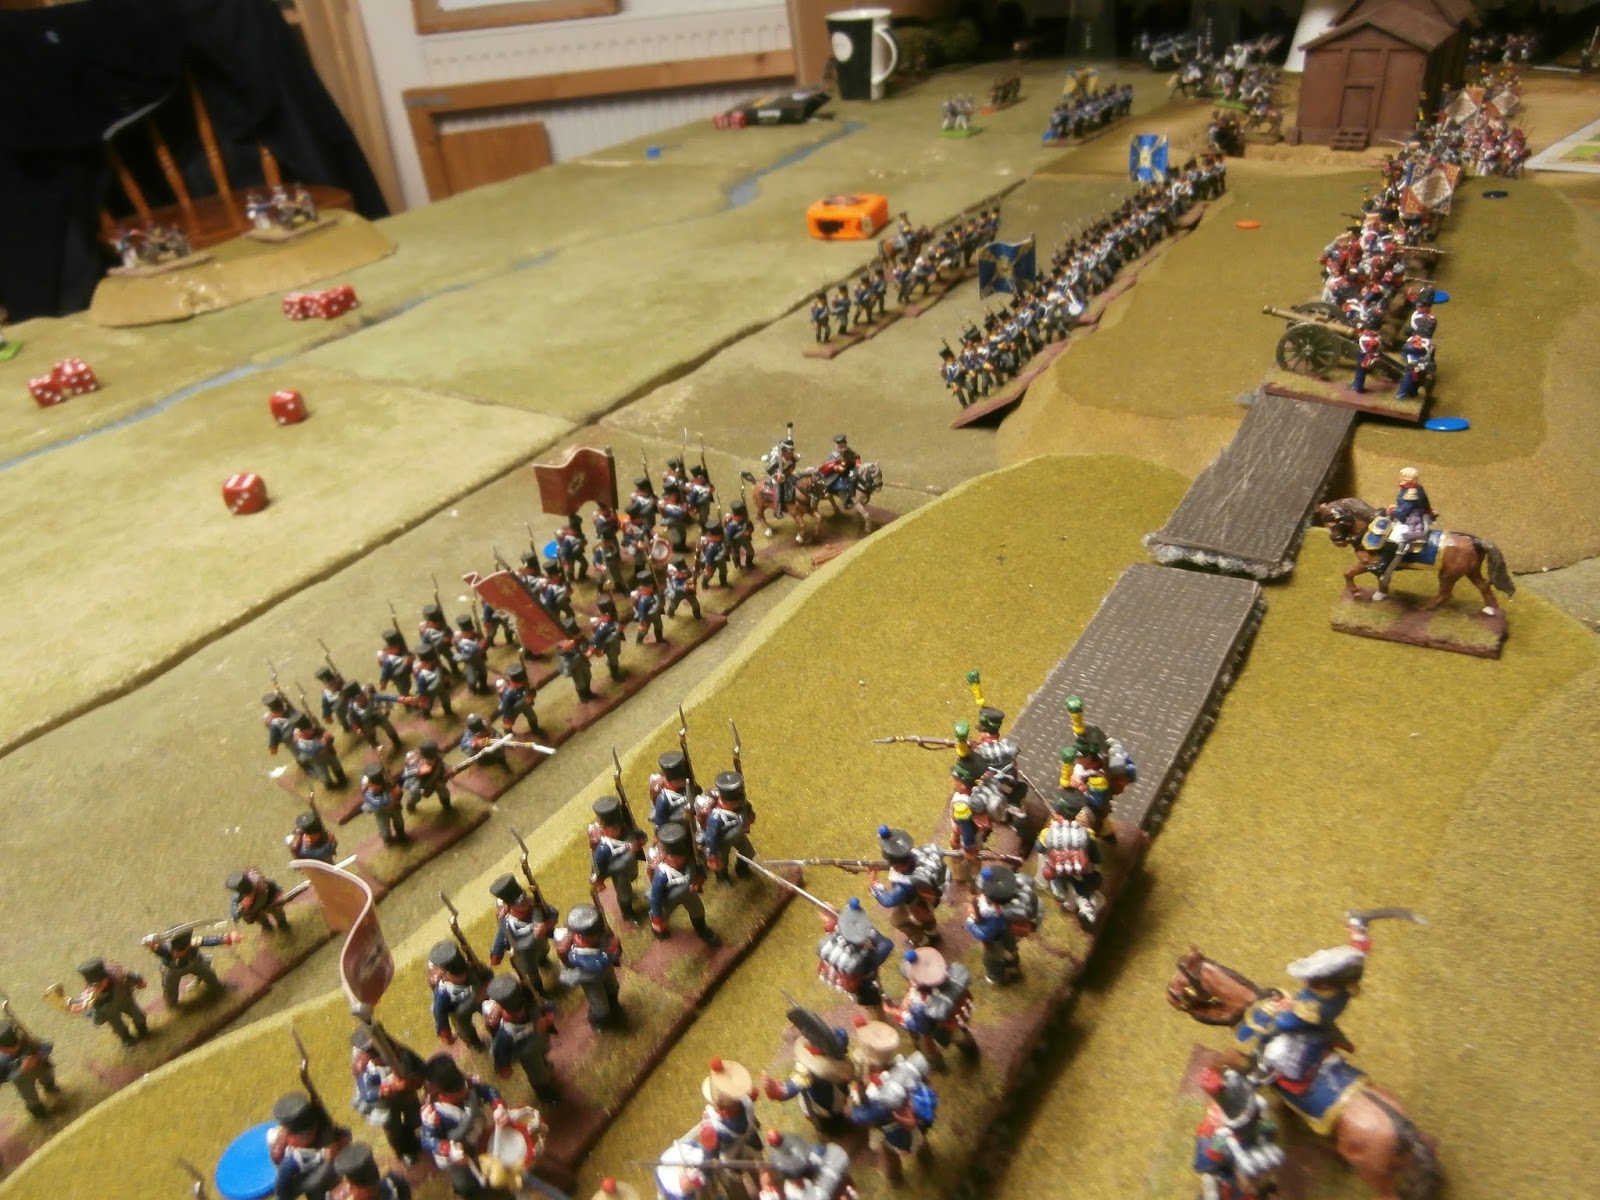
River Crossing:
There is a village with two river crossings and a chance to find a ford
(D6/turn per section finding on a 6). If you defend the far-bank then the river
counts as held by you. If you defend your own bank then it counts as contested
and a draw allows the attacker to remain. If it's an encounter then dice to see
who arrived first as they have the choice (+2 if you have more cavalry)
·
Strategic Crossroads:
Hold the crossroads and rout the enemy to count as held.
·
Fortified Position
(guarding a major port): Hold the fort to count as holding the square.
·
A strategically positioned farm complex.
Hold the farm to count as the winner.
·
A town (acting as a supply depot):
Hold the town to count as the winner.
·
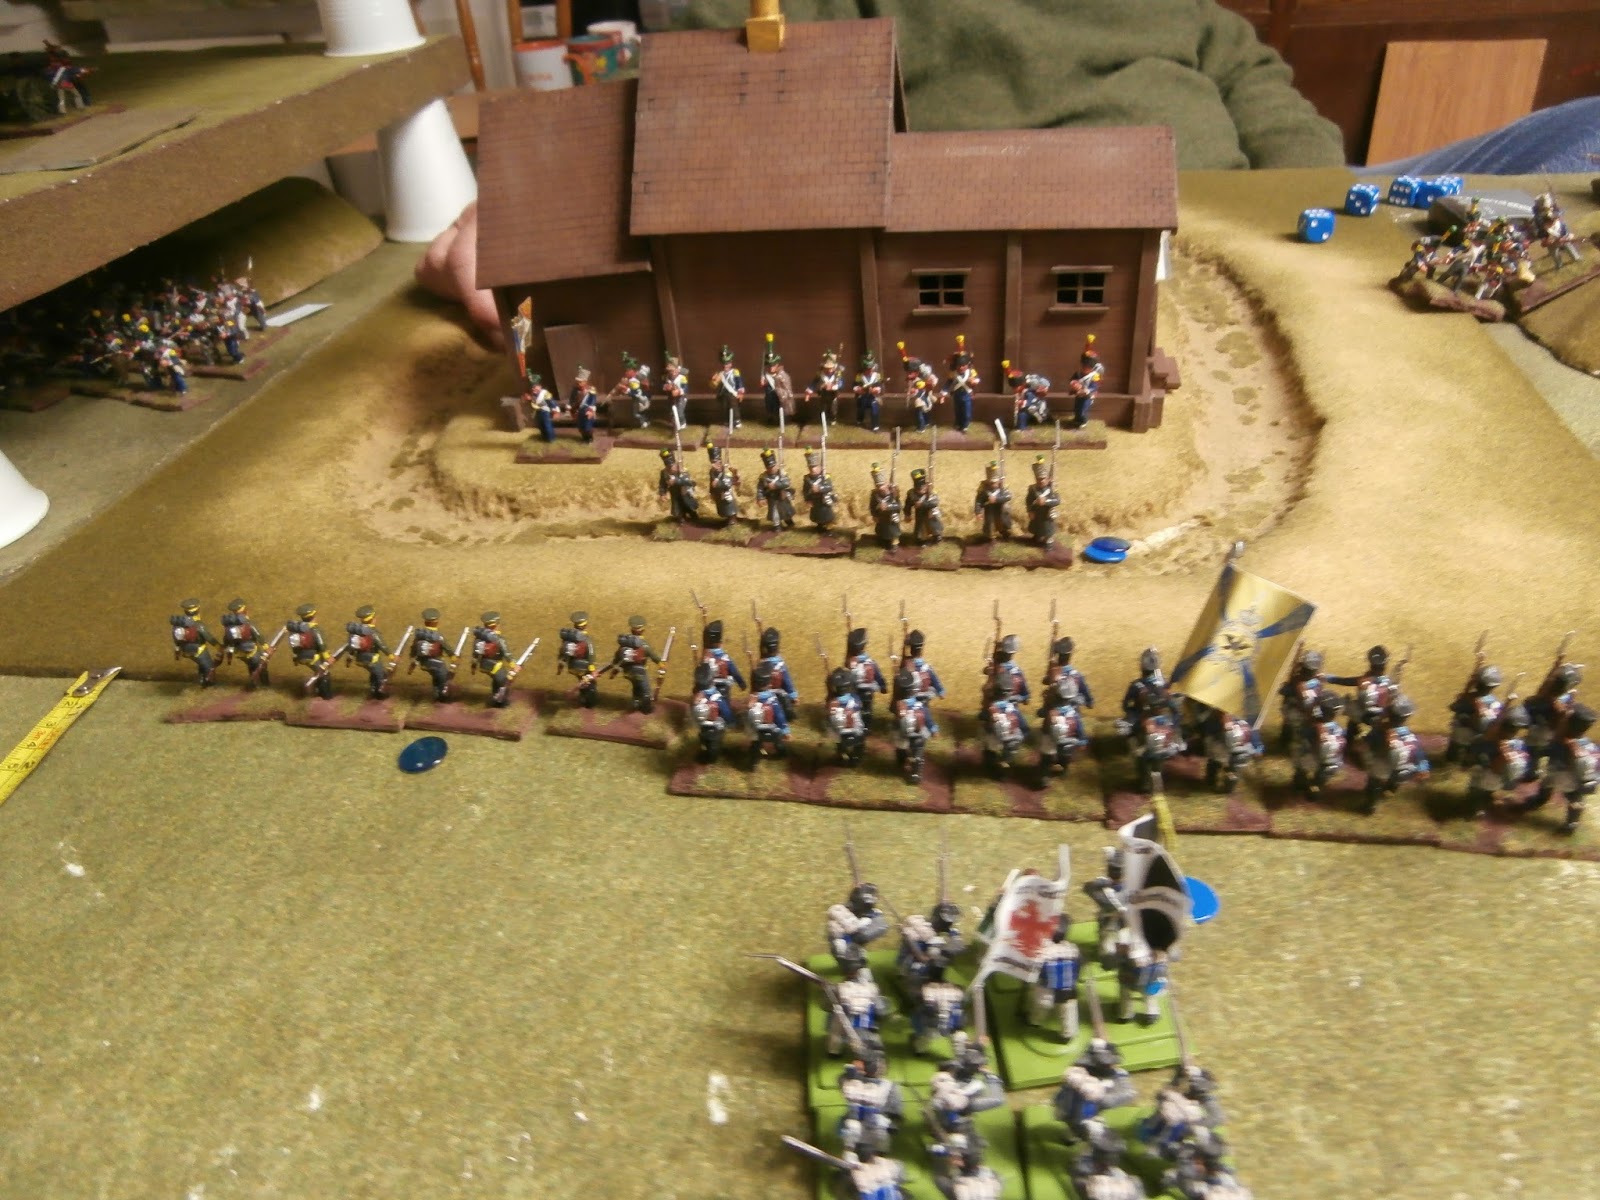
A series of hills protecting the
approach to a town: Hold the heights to count as the
winner. Rout the enemy to count as the winner or hold the line with at least a
brigade of fresh troops.
Forces
Both
sides have the following forces available:
·
3 x command-level generals
·
2 x Infantry Divisions
·
1 x Cavalry Brigade and 1 x Special Brigade
(lights or guards)
You
may deploy Infantry Division and a maximum of 2 supporting Brigades in a key
point. You must have a command-level general to move troops, those without may
only form a garrison.
Replacements
are allocated each move. You receive a maximum of 25% of your starting force
per turn, but capped at the original size of the force. This costs 2 VPs. The
replacements are in proportion to the original structure of the force as noted
in the army lists.
Jagers
/ Rifles: These can be broken-up before
the campaign and a company allocated to an infantry brigade. They may not be
later recombined though and whole battalions must be broken-up.
Light
infantry: These may deploy half their number as skirmishers with the rest in
reserve. The skirmishers deploy 12" in front of the reserves. Casualties
are taken from the reserve.
Light
Companies: These may deploy up to 12" in front of their unit. They don't
trigger morale tests if lost but do count
towards overall casualties.
Heavy
Cavalry: Cuirassiers and British dragoons count as "heavy" against
other heavy cavalry.
British
Cavalry: These must charge viable targets in range on 4-6 (D6). They will count
as -1 melee as they are tired if they charge immediately following a melee, but
have been made better as compensation.
| French |
|
|
|
|
|
|
|
|
|
|
|
|
|
| 1st Infantry Division |
|
|
|
|
|
|
| |
Class |
Note |
No/unit |
cost/stand |
Units |
cost |
| General |
|
+1 |
1 |
20 |
1 |
20 |
| Line Infantry |
Veteran |
|
6 |
32 |
3 |
576 |
| Leger |
Regular |
Skirm |
6 |
30 |
3 |
540 |
| Line Infantry |
Regular |
|
6 |
27 |
6 |
972 |
| Dragoon |
Regular |
Shock |
4 |
27 |
1 |
108 |
| Hussar |
Regular |
Skirm |
4 |
21 |
1 |
84 |
| Heavy Battery |
Regular |
|
1 |
78 |
1 |
78 |
| Medium Battery |
Regular |
|
1 |
78 |
2 |
156 |
| |
|
|
|
|
Total |
2534 |
|
|
|
|
|
|
|
|
|
|
|
|
|
|
| 2nd Infantry Division |
|
|
|
|
|
|
| |
Class |
Note |
No/unit |
cost/stand |
Units |
cost |
| General |
|
+1 |
1 |
20 |
1 |
20 |
| Line Infantry |
Veteran |
|
6 |
32 |
3 |
576 |
| Leger |
Regular |
Skirm |
6 |
30 |
3 |
540 |
| Line Infantry |
Regular |
|
6 |
27 |
6 |
972 |
| Dragoon |
Regular |
Shock |
4 |
27 |
1 |
108 |
| Hussar |
Regular |
Skirm |
4 |
21 |
1 |
84 |
| Heavy Battery |
Regular |
|
1 |
78 |
1 |
78 |
| Medium Battery |
Regular |
|
1 |
78 |
2 |
156 |
| |
|
|
|
|
Total |
2534 |
| Guards
Brigade | | | | | | |
| | Class | Note | No/unit | cost/stand | Units | cost |
| General | | +1 | 1 | 20 | 1 | 20 |
| Old Guard | Elite | Shock | 6 | 35 | 1 | 210 |
| Young Guard | Veteran | | 6 | 32 | 1 | 192 |
| Leger | Veteran | Skirm | 6 | 35 | 1 | 210 |
| Medium Battery | Veteran | | 1 | 100 | 1 | 100 |
| | | | | | Total | 732 |
| | | | | | |
| | | | | | |
| | | | | | |
| | | | | | |
| | | | | | |
| | | | | | |
| Cavalry Brigade | | | | | | |
| | Class | Note | No/unit | cost/stand | Units | cost |
| General | | +1 | 1 | 20 | 1 | 20 |
| Dragoon | Regular | Shock | 4 | 27 | 1 | 108 |
| Chassuer | Veteran | | 4 | 26 | 1 | 104 |
| Cuirassier | Veteran | Shock | 4 | 32 | 1 | 128 |
| Horse Battery | Regular | | 1 | 78 | 1 | 78 |
| | | | | | Total | 438 |
| | | | | | |
| Total | 6238 | | | | | |
| Allies |
|
|
|
|
|
|
|
|
|
|
|
| Anglo-Dutch Infantry Division |
|
|
|
|
|
| |
Note |
No/unit |
cost/stand |
Units |
cost |
| General |
+1 |
1 |
20 |
1 |
20 |
| British Line Infantry |
|
6 |
32 |
3 |
576 |
| British Line Infantry |
|
6 |
27 |
3 |
486 |
| Hannovarians |
|
6 |
27 |
3 |
486 |
| Dutch Line Infantry |
|
6 |
27 |
3 |
486 |
| Dutch Jagers |
Skirm |
4 |
30 |
1 |
120 |
| Dutch Carbiners |
Shock |
4 |
27 |
1 |
108 |
| Dutch Hussars |
|
4 |
21 |
1 |
84 |
| Medium Battery |
|
1 |
78 |
2 |
156 |
| |
|
|
|
Total |
2522 |
|
|
|
|
|
|
|
|
|
|
|
|
| Prussian Infantry Division |
|
|
|
|
|
| |
Note |
No/unit |
cost/stand |
Units |
cost |
| General |
+1 |
1 |
20 |
1 |
20 |
| "Old" Line Infantry |
|
6 |
27 |
4 |
648 |
| "Old" Fusiliers |
Skirm |
6 |
30 |
2 |
360 |
| Reserve Infantry |
|
6 |
27 |
2 |
324 |
| Reserve Infantry |
|
6 |
21 |
2 |
252 |
| Dutch Line Infantry |
|
6 |
27 |
3 |
486 |
| Dutch Jagers |
Skirm |
4 |
30 |
1 |
120 |
| Cuirassier |
Shock |
4 |
27 |
1 |
108 |
| Hussar |
|
4 |
21 |
1 |
84 |
| Medium Battery |
|
1 |
78 |
2 |
156 |
| |
|
|
|
Total |
2558 |
Light
Brigade |
|
|
|
|
|
|
| |
Class |
Note |
No/unit |
cost/stand |
Units |
cost |
| General |
|
+1 |
1 |
20 |
1 |
20 |
| Jager Companies |
Regular |
Skirm |
6 |
30 |
1 |
180 |
| Light Infantry |
Veteran |
|
6 |
35 |
1 |
210 |
| Rifle Companies |
Veteran |
Rifles |
6 |
39 |
1 |
234 |
| Medium Battery |
Regular |
|
1 |
78 |
1 |
78 |
| |
|
|
|
|
Total |
722 |
|
|
|
|
|
|
|
|
|
|
|
|
|
|
|
|
|
|
|
|
|
|
|
|
|
|
|
|
|
|
|
|
|
|
|
|
|
|
|
|
|
|
| British
Cavalry Division |
|
|
|
|
|
| |
Class |
Note |
No/unit |
cost/stand |
Units |
cost |
| General |
|
1 |
1 |
20 |
1 |
20 |
| Dragoons |
Regular |
Shock |
4 |
27 |
1 |
108 |
| Hussars |
Veteran |
|
4 |
26 |
2 |
208 |
| Horse Battery |
Regular |
|
1 |
78 |
1 |
78 |
| |
|
|
|
|
Total |
414 |
|
|
|
|
|
|
|
| Total |
6216 |
|
|
|
|
|