Title

Title
Tally Ho!

Sunday 28 October 2018

Kings of War Lizardmen - first outing

Having finally completed my KOW Lizardmen (Salamanders / Trident Realm) I got a chance to try them out this weekend against my brothers Herd. Its an interesting matchup; the Herd are quick and hard hitting but fragile, whilst the Lizardmen are slow but tough.


Knowing I'd likely be charged first I went for a core of infantry tough Hordes (Primes, Tyrants, and Placoderms) supported some flyers (Skylord and Skyraiders) and mounted (Ancients and Lancers). This mix meant I could also look at all my different options.

Primes heavy infantry in the foreground
 The Herd went for lots of fast and high attack  units - Spirit Walkers, Brutox, Stampede and Werewolves. A few monsters and flyers rounded-off the army.


Winning the initiative I pushed forward slowly to preserve my front-line and allow my Chaff units to do their job of shielding the heavy hitting units. As the Herd are so quick caution is needed not to expose a flank to a sneaky charge.


As expected the Herd quickly got in range and charged straight into my force across the line. Three nasty units crashed into the Primes Horde holding my right flank. The casualties were high by an unlucky "snake eyes" meant they held rather than crumbling. This was crucial as in the next turn I was able to flank the attack and destroy all three units - a battle turning event.  

Lizardmen victorious in a key combat
 On the other flank my phalanx was routed but this bought precious time for Ancients and Tyrants to chew through the Herd's centre and open up the board.

Herd's centre collapses
On the left both sets of flyers faced-off against each other. For most of the game neither was prepared to make the first move and risk being charged. In the end I sacrificed my lancers to draw out the Chimera and tie-up the flank.

Skylord into the action

We declared win for the Lizardmen as the Herd was shattered by this point. A somewhat lucky win though as the right flank likely should have collapsed when the Primes found themselves  facing off three units.

The unit-of-the-day was the Tyrant Hordes - although slow they are hard hitting and munched through quite a few units. The archers also did well (Naiad Heartseekers), chipping away the enemy and mounting a flank charge.

Tyrants - Schleich mini dinosaurs

Archers - Karnac's Regiment of Renown from Oldhammer

Saturday 20 October 2018

KOW Lizardmen - done at last

Its always nice to feel you've completed a project and this weekend I based my last unit for my Kings of War Lizardmen army. They will be mostly Salamanders plus some Trident Realm. This unit is a further lot of heavy infantry that could serve as either Primes or Ancients.


They are individually based and attached to magnetic strips to fix them to the unit base. This allows them to be used as a Vanguard unit for Mantic's new skirmish rules. We plan to incorporate this element into our future KOW campaigns.

Some detached infantry

Units commander
 

Midweek WWII

This week I managed to sneak-in an addition game at Boss Towers, a quick WWII Flames of War set in Italy. I was the British on this occasion in a straightforward attack vs defence. 

I decided to play to play to the British strength, so covered one objective with 2 batteries of 25pdrs, 2 batteries of AT guns, and some infantry. The other objective was covered some infantry and a all my tanks (6 Sherman's) poised to counter attack.  
British gun line

The AT guns
The Germans split heir forces; Tigers + infantry in the centre, AT guns covering an objective on one flank and assault guns + infantry on the other.

Tigers ready to roll
Those who have played at Boss Towers will know there are always tasty snacks to hand, on this occasion a mixed savoury plater. 

Yummy
The Germans pushed forward after an initial bombardment whilst I sat back relying on my fire power to blunt the attack. Post deployment it was clear that the German right was weakly defended opposite my Recce units. So I quickly changed plan and advanced them rapidly to contest the Objective there.  
German attack stalls

Bren carriers win the day
The result was a marginal win for the British as the Germans made no real headway with their own attack.

Tuesday 16 October 2018

Crete 1941 - week 2, attack on DZ Sturm

In the second battle of the campaign the plucky Tommie's launched their own attack to try and overrun one of the four Drop Zones needed to win the campaign. The target was one of KG Sturm's DZs on the north of the map. The terrain consisted of a wooded valley occupying about half the table with a area of scrub and fields in the other. A church provided the Germans with some cover.


The British mostly picked off-table mortars as their reinforcements, rounding the force off with a Matilda, some HMGs, and a little additional infantry. The British attack started cautiously with infantry deploying into the wooded valley whilst the mortars quickly found the Germans range.


The damage was limited against the Germans deployed along the ridge, but did keep them pinned for the opening parts of the action so limiting their ability to react to the British build-up.

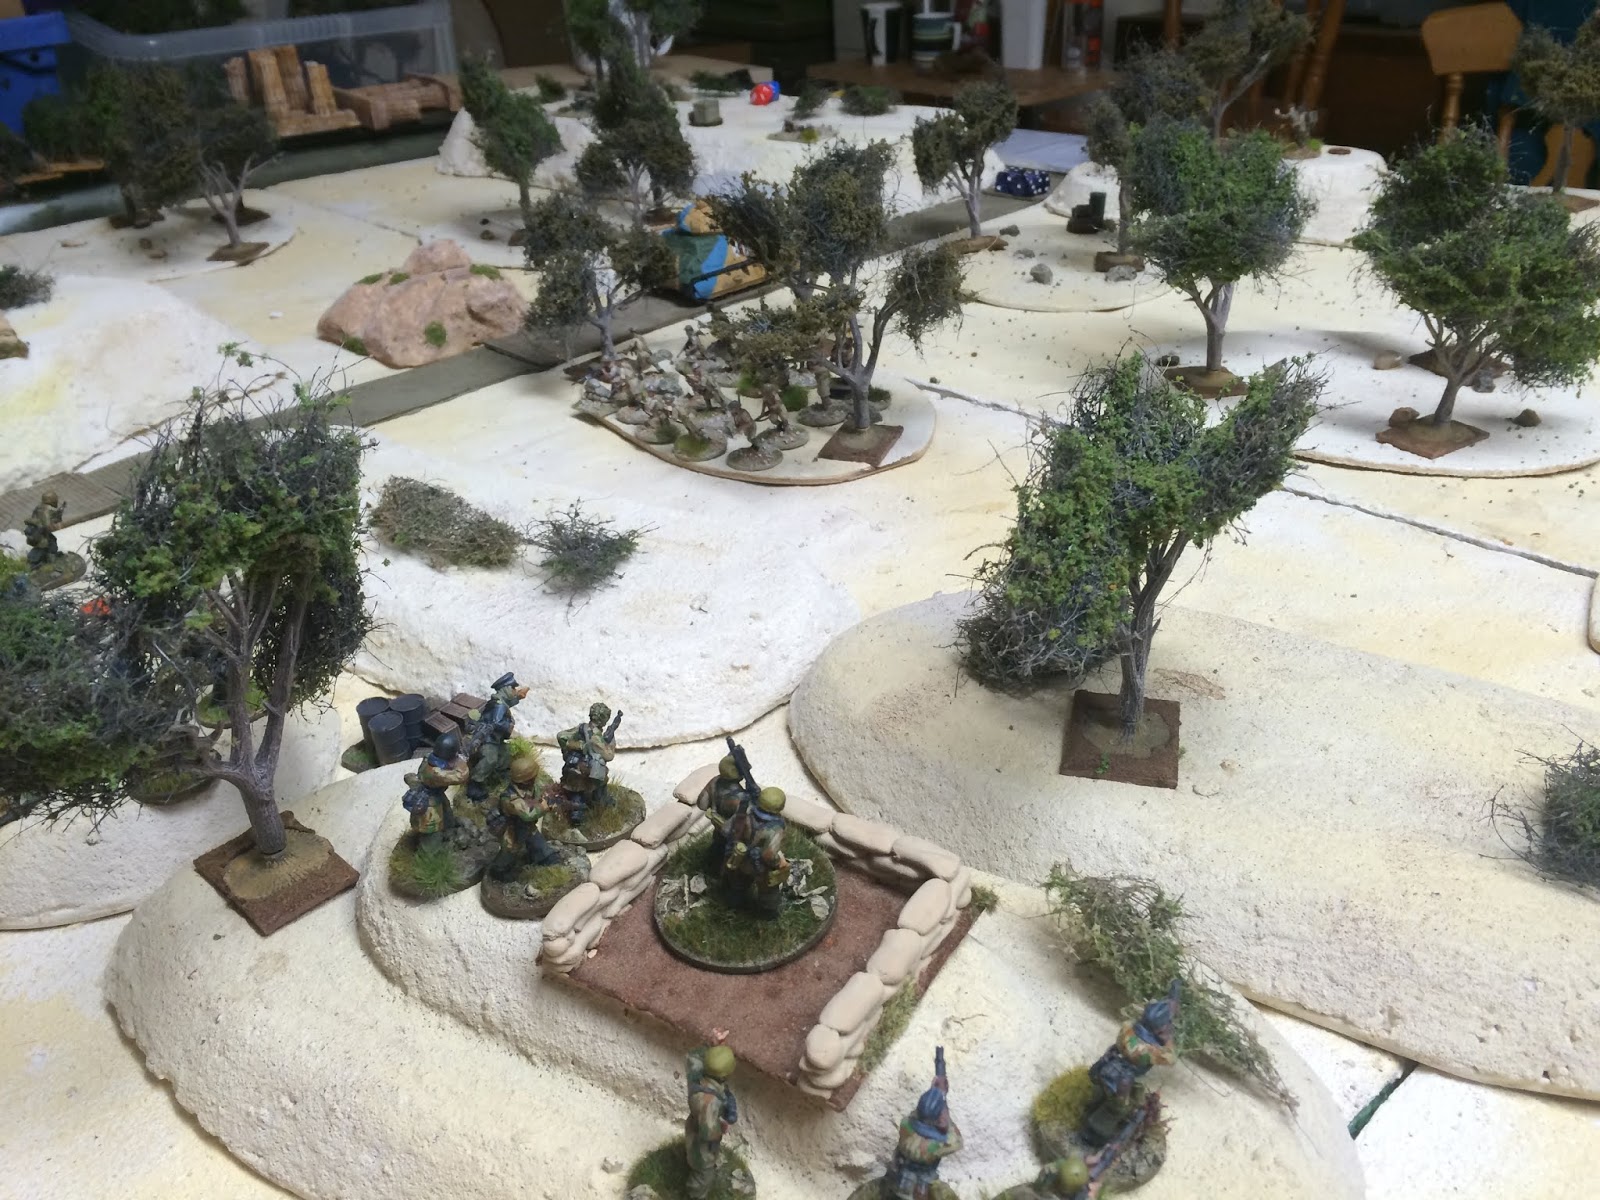
The Germans also occupied the church guarding their left, with one (later two) sections of Gebirgsjager occupying the churchyard.  
With the appearance of the British armour their attack moved up a gear. As the tank trundled up the road towards the Germans main position, the British massed two sections for an assault against right.  
Scary sight - observant readers will spot its actually a Soma subbing for the Matilda

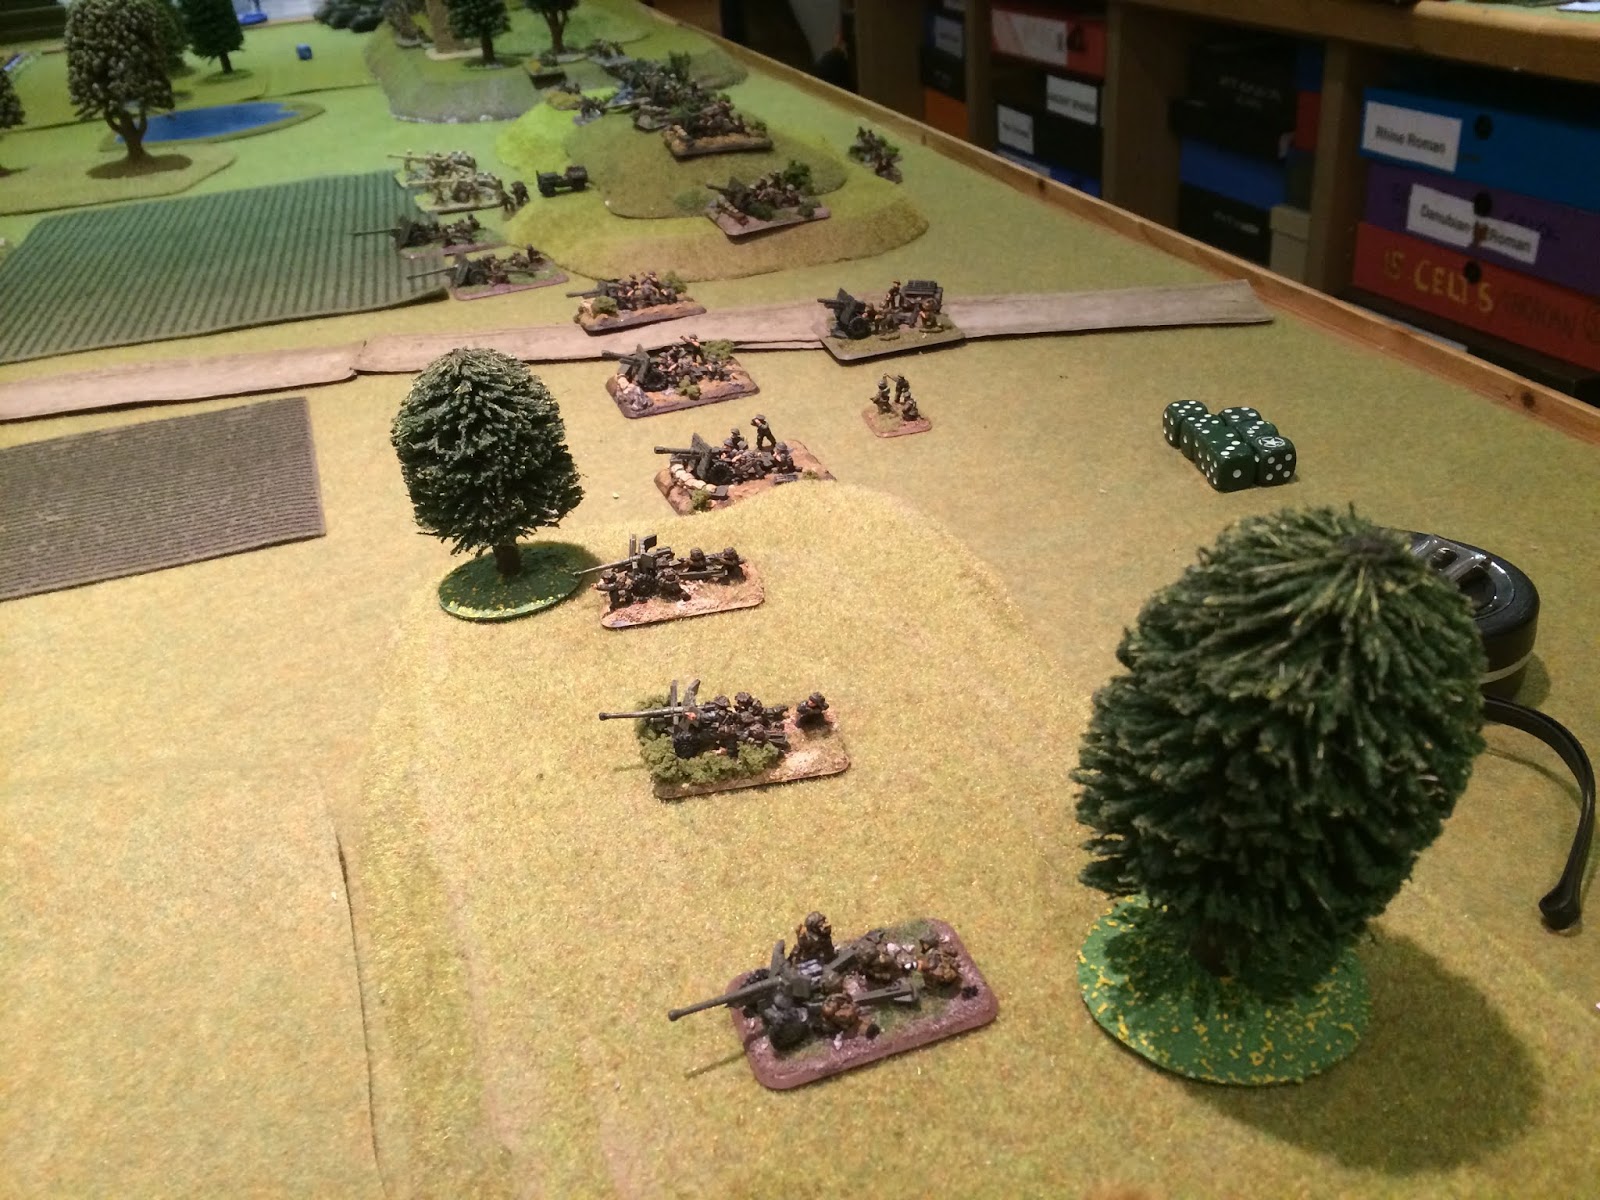
Glad the Germans have no artillery!
Disaster struck though as precious armour was brewed-up by a lucky hot from a German recoilless gun located on a hill top. It was rapidly dispatched but the damage had been done.  
Not in the plan!
On the British left a small force kept the Gebirgsjager occupied and eventually attracted the attention of the Marder II we had allowed the Germans to air-land into the DZ. Although making limited progress they did occupy the Germans attention and thin-out the defences.

Despite the loss of the armour the British were in a position to launch and assault against the Fallschrimjager holding the ridge-line. Accurate mortar and HMG fire pinned the Germans whilst two sections stormed the hills. They swept the outnumbered defenders aside and captured the hill. More or less in concert a Bren carrier was able to storm forward and capture one f the German Jump Off Points.    
Tally ho

Looks bad for the Germans


The German line was now flanked and one JOP had fallen with little chance the Germans could stage a successful counter. A second JOP looked likely to fall and so a British victory was declared rather than fighting into a second week.
British HMGs pour on the hurt

Cautious advance

The church is safe at least

Bren Carrier holds the JOP
Having completed the first round of battles both sides have succeeded in capturing one of their objectives. The Germans are slightly ahead as the British have lost one of the tanks in their strategic reserve.
 

Tuesday 9 October 2018

Crete 1941 - week 1, attack on Hill A

The campaign proper began with the Germans launching an assault on Hill B, which guarded the western approaches to the airstrip of Rethymnon. The battlefield featured a large hill on the British side, with a farm house in the centre of the position. The Germans would attack through fields and small wooded areas.

View from the Brits left

View from the German centre of Brits right, the focus of their attack
The Germans first move was to deploy a large force of the veteran Fallschrimjager on the right of the British defences whilst the Gebirgsjager occupied a more central position.

FSJ into cover early

Brits well dug-in

GBJ move through a vineyard
The Brits responded by occupying the farm in the centre of their deployment zone and lining the hill top. Several units deployed on the right to oppose the expected FSJ attacks there.

The farm strongpoint
 We then saw a series of ebbing and flowing attacks by the Germans. The first attack by the FSJ pushed the Brits out of the woods guarding their right but was itself halted by accurate fire.

Germans 1st attack

Germans 2nd attack

Looking good but the FSJ soon fell back under heavy fire

Determined counter attacks restored the British line but were themselves threatened by further FSJ and GBJ assaults. Clever use of Over watch orders allowed the Brits to pin three separate attacks as soon as the Germans broke cover and looked to be leading to a German loss.

Attack #3 pinned down

Attack #4 also pinned

Attack #5 pinned - a pattern here!

In the end the Germans got some luck though as run of bad shooting enabled them to eventually get into contact with their 6th and 7th attacks, pushing the Brits back and routing 2 sections. This gave them a 2-1 lead on objectives captured

Finally attack #6 works and the emplacement falls

FSJ reluctant to attack the Brits on overwatch

With their final attack the FSJ managed to dispute, but not capture, a third objective whilst a charge by the British HQ section recaptured the ridgeline.

A desperate dash and bad shooting gives the FSJ a win
 As darkness fell the score was 2-1 to the Germans on objectives captured, so they were awarded a marginal victory. We've not shown the British sole victory but essentially a Matilda II plodded across the table with shots bouncing off and lumbered over a German objective to claim it.

British HQ clears the hill of Germans

A fun game played out over two weeks due to the size and intensity of the battle. After a cautious initial phase we saw plenty of action with the FSJ fighting ability to the fore, but the Brits doing well to hold them off until they ran out of units to oppose the focused German attacks.