Title

Title
Tally Ho!

Saturday 30 June 2018

Take me to your leader

As I near the home straight on my Kings of War Lizardmen army I've completed a batch of officers and heroes. The group compromises
  1. A Hearld - a standard bearer who gives a cheap source of Inspiring
  2. A Clan Lord - an Inspiring hero with decent melee output
  3. A Mage-Priest - a bog standard wizard-type
  4. A Battle-Captain - an uninspiring, but cheap,  melee hero   


The commanders of the Lizard army

Herald

Mounted Clan Lord

Mage-Priest

Battle-Captain

I've also completed a couple of Troops of Skinks which can either be armed with melee weapons or with blow-pipes. I've done both Troops as suitable for either. Tactically they are useful as chaff units to shield the front-line infantry or as flanking units.

Two Skink Troops line-a-breast

Skinks deployed as a Regiment

Tuesday 26 June 2018

ACW Campaign - Week 3

For our second battle of 1862 we had an attack vs defence scenario. The slightly outnumbered Confederates were dug-in behind an embankment, with the Union forces seeking to oust them from their position.

The Rebs had to hold at least 10 bases off table as reinforcements until turn 7, so opted for a 6 stand infantry regiment and an 4 stand cavalry regiment. Their deployment was a simple one - they lined the cover and interspersed guns across the front.


Reb left

Reb centre

Reb right

Faced with a solid defence the Union decided to assault the flanks with infantry attacks made through cover and place a grand battery in the centre to bombard the Confederate lines.

Union left

Union right

As planned the Union flank attacks moved out smartly in columns of march to close the ground before the Rebs reinforcements arrived to strengthen the defences. A withering bombardment quickly destroyed half the Union artillery as they attempted to manoeuvre into the firing line - so much for the grand battery!  

Nice little stroll

Very pretty

In an attempt to disrupt the Unions attack, the Rebs pushed troops forwards from the relative safety of the embankment and into some rough ground.  This led to them being charged by three units of Eager Union troops and rapidly pushed back into the defences for the loss of the gun.      

The Rebs form a salient

Union attack goes in

Rebs pushed back

As the Rebs stood-to in their defences the Union flank attacks developed with units infiltrating forwards and opening up a lively musket fire on their serried grey-clad ranks. On the Union right this was enough to weaken the Zouaves opponents and allow them sweep gloriously across the embankment to secure a foothold.

All quiet on the southern front

Union right

NY Zouaves attack

The Reb right under threat

Despite the Union penetrating the defences on both flanks the losses incurred had pushed them close to the army breakpoint. This was the point when shortage of command cars for the Rebs bit hard - although the Union was close to breaking the Rebs opted to skip a round of shooting in order to move some badly needed reinforcements into the line.

Zouaves face-off

Tally ho

This decision gave the Union a chance they had not expected - some solid shooting and a lucky roll meaning the Rebs reached the army breakpoint just ahead of the Union.

Rebs hanging on

Reb cavalry makes ready but all a bit late

So a slightly unexpected Union win and the first for an attacker. Previous form was restored in the  post-battle phase though with the Federal forces again suffering heavily with the pox and receiving little by way of replacements. With both sides below the minimum force size, they each received a unit of Cautious Recruits to bring them up to compliment.  

Tuesday 19 June 2018

ACW camapign - week 2

Week 2 of our Longstreet campaign featured an encounter game - a classic ACW battle, especially if it involves fighting over shoes....

Both sides deployed in one corner to the table, with the simple aim of destroying the enemy forces and pushing them back. The respective plans were heavily influenced by the outcome of the campaign reinforcements from the last battle.  The Confederates were strong in infantry and so opted for an attack on their left, hooking around a wood while holding their right with cavalry and the remaining infantry. The Union being stronger in artillery and opted for a defensive posture with some optional digging-in.

Rebs ready to move out on the flanking attack

The field from the Union deployment zone

Union ready to shake-out
The Rebs began with a rapid advance on the left moving quickly to establish an artillery position on the hill  and pressing forward in columns. Mean while the Union deployed to meet this threat and to manoeuvre so as to be able to able to bring flanking fire on the attacking Confederates.

The hill falls to the Rebs

The Blues establish a position
Sneaky use of cards enabled the Union to plonk a patch of stony ground in front of the Rebs in the hopes of slowing them down or channelling the attack. This gave them time to establish their blocking force in strong position and deploy a cavalry skirmish-line to further inhibit the Rebs.    

Where did that come from?

Union position develops

NY cavalry forms a screen for the main line
The Rebs pressed forward, but fearful of being flanked diverted one of the attacking regiments into a more central position. Shaking into line they came under effective fire from the dismounted cavalry but were unable to inflict much damage in return.
   
Reb columns attack

A firefight breaks out
Over on the Union left they saw that they were not heavily opposed, so feeling the attack was well covered they advanced on the dismounted confederate cavalry in the hopes of damaging them.

Union attack develops

Blocking force looks well set

We then entered what proved to be a decisive turn for the battle. After some light Confederate shooting the Union unleashed a fire-storm of musket and artillery fire, assisted by some powerful shooting cards and good rolling.

This turn left the Rebs cavalry all but destroyed, an artillery piece ruined and two confederate regiments at 50% losses. A truly devastating onslaught that pushed the Rebs beyond their breakpoint and left the Union the winners.  

The survivors of the Texas cavalry

Confederate attack stalls
The reinforcement phase was somewhat the obverse of last time, with the Union receiving plentiful infantry and the Rebs receiving artillery.  What did not change was that Union losses from the pox again outstripped battlefield losses.


Saturday 16 June 2018

Kings of War - scratch built artillery

In my previous KOW games I've not used any artillery as this did not really fit with my Arabian themed army. So as I'm building my Lizardmen I spotted the option for some artillery from the Trident Realm list.

Leviathans Bane is a giant harpoon gun, so a fairly simple design. The frame is made using a spare saddle from a firedrake model with a pen barrel and a leftover spear.


I've opted for a subtle grey colour scheme, hopefully reminiscent of a cold, grey, British seaside day.


The crew are some figures from the mists of time - Citadel AD&D Sea Devils from the 80's, but they look the part.


Tuesday 12 June 2018

ACW Campaign - week 1


This week sees a bumper crop of posts as I've played several games recently. This Monday we started our ACW campaign using the Longstreet rules. The unique point of these rules is the heavy use of a deck of activation cards to drive the game and some of the key decisions.

In Longstreet the cards can be used in one of three ways:
  • Any card can be spent to shoot, move, or charge (but not both move and charge)
  • A card can be used to mitigate casulultiers (usually 1 or 2 per card) 
  • It can be used for its special effect on shooting, combat, or moving etc
You can only hold a limited number and when all your cards are spent you loose the game. So lots of choices to make and management needed of your resources as the battle progresses.

For this campaign we are using some classic/ retro "true 25mm" figures owned Roy. Some rapid measuring shows they are in fact an inch from base-bottom to hat top.

The Battle


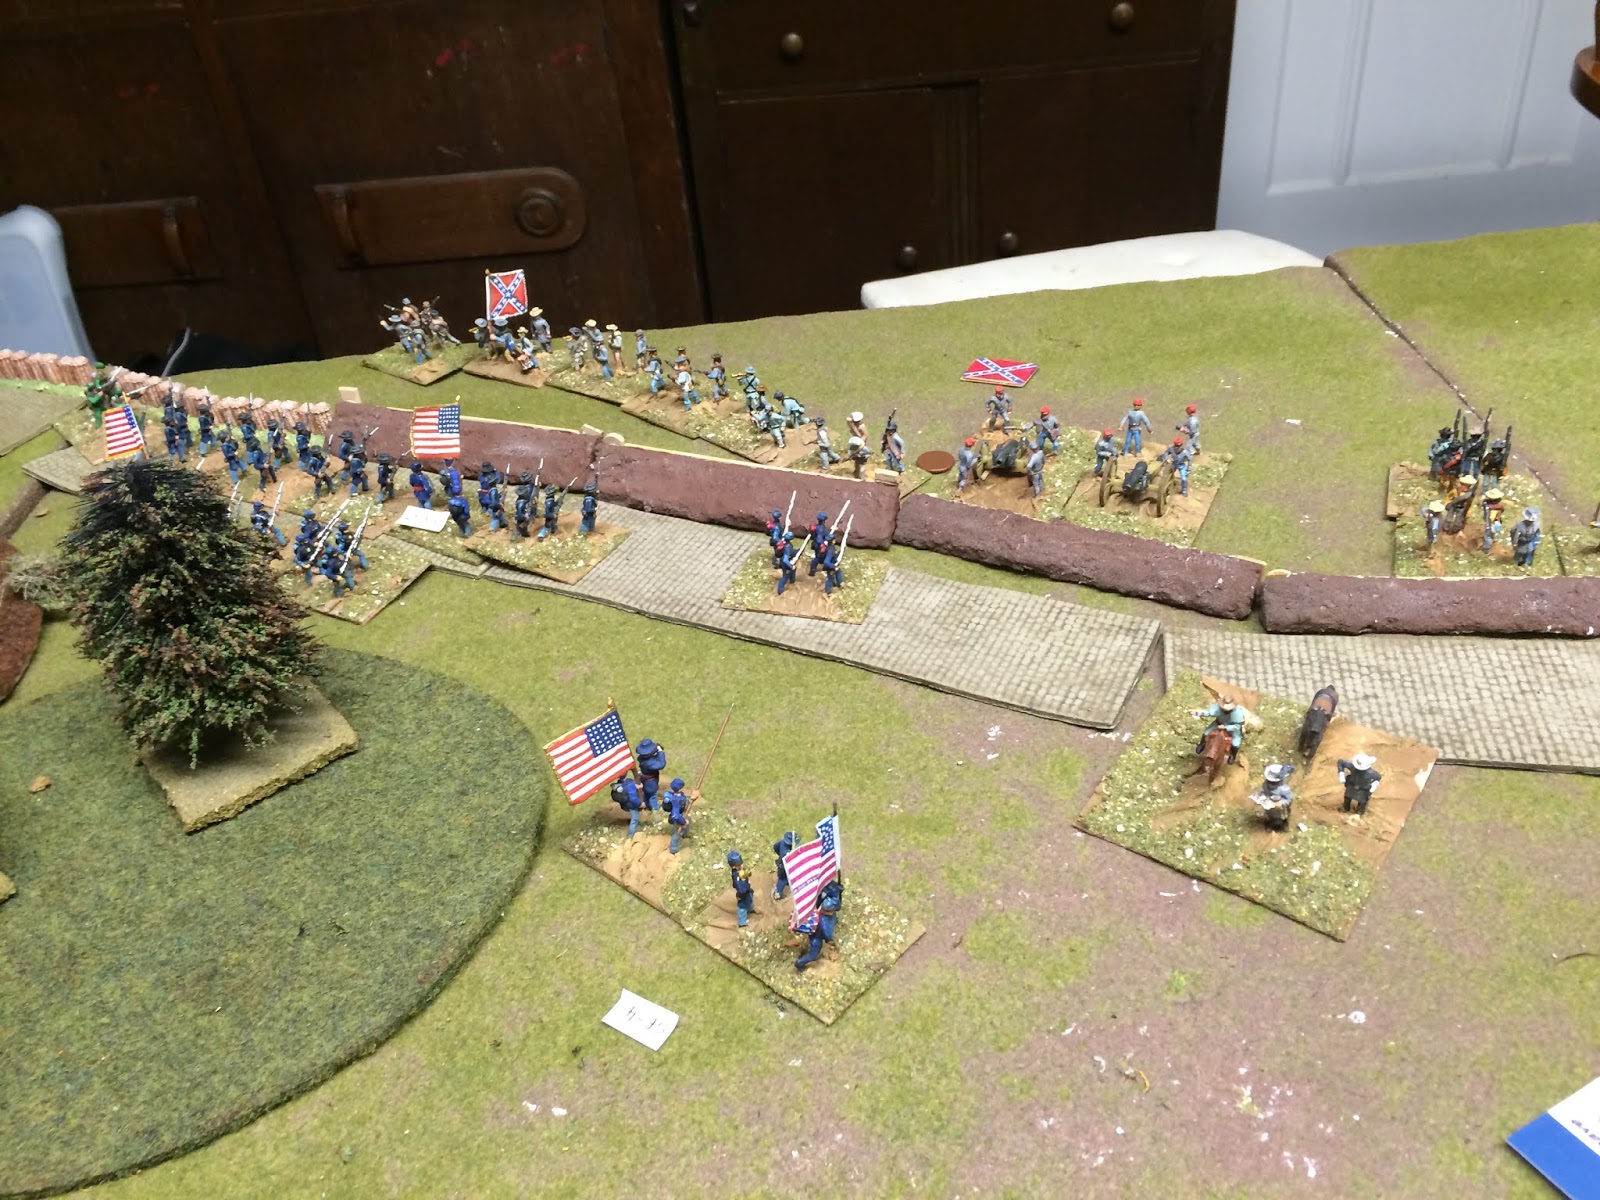
Game 1 was a simple attack vs defence, with the Union holding one objective and deployed near a second. The Confederate aim was to seize both the objectives.  Both sides had 4 regiments of Eager Recruits (8 stands), 3 guns, and an Eager Recruit cavalry regiment (6 stands). I found myself in the unfamiliar role of Union commander, having mostly fought Fire & Fury as a Reb.

The Confederates attacked towards both Union-held objectives with 2 regiments each. Their left was the stronger attack as this had support from the artillery and cavalry. The presence of a pesky wood placed there during deployment forced them to attack in depth though.  


Rebs attack on their left

Attack on the Rebs right

As the Rebs moved forward, the Union fanned out to cover both objectives and rolled-up the guns. The cavalry reserve was deployed in the centre to link the two groups of infantry. A very neat looking defensive position.  

Union seizes the second objective

Union lines looking well set

As the Rebs tried to line-up for their assault the Union played a few cards that hampered their attempts to coordinate the attack. A previously unseen marshy area appeared before some of the infantry and confusion over orders lead to the Confederate cavalry not attacking as hoped.

Rebel cavalry stalls in confusion

Missed that on google maps

The wavering Confederates then came under heavy and sustained fire from the Union defensive line. On the left a regiment was rapidly reduced to 30% strength and the supporting unit badly damaged as it  moved through to continue the attack. On the right both attacking regiments took damage and paused to draw breath.

Reb advance takes heavy casualties

Union left - nice looking firing line


Rebs second wave on the left

As the firefight continued the Rebs reached their army break point (21 stands lost from 42) and so a Union victory was declared.

Union right looks strong

Union left looks good too

With the game won we then move into the post battle phase where units are upgraded and reinforcements received. The Rebs did jolly well in this phase with most of the losses restored to the ranks. A bad outbreak of the pox (rolling lots of 1's for attrition) actually left the Union the smaller army, but strongly augmented with additional 4 artillery.


Image result for longstreet rules