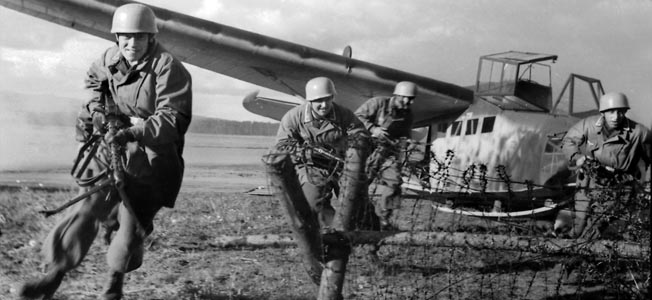
Operation
Merkur – the invasion of Crete
In May 1941 Germany launched its first (and
last) major airborne operation of the war, aimed at capturing the strategically
important island of Crete. This campaign focuses on the attack by Major Walter
Koch’s 1st Btn Luftlande Sturmregiment against the town of Rethymnon,
held by the 2/1st Australians under the command of Lt Colonel
Campbell.
Turn
Sequence
The campaign area is
composed of a series of linked zones, with attacks being launched from zone to
zone as denoted. There are a limited number of heavy support units so these are
only available as reinforcements if they are in that zone:
1.
Support
unit moves (one hop per turn).
2.
Launch
attacks – one each per turn.
Hills A and B consist
of 2 squares that must be captured, the first battle being an attack uphill and
the second down hill. The airfield consists of hills guarding it and the runway
itself.
Either side may
secure a partial victory by claiming two of the enemy squares (Hills/runway
count as 2) whilst contesting the others. Capturing 4 sqaures is a total
victory
Forces
Both sides receive core units (infantry
platoons) and then reinforcements depending on the mission involved. Core units
are always = 8 points. The reinforcements available depend on the reinforcement
strength score of the zone you are attacking from (the black square on the map).
The Allies are strong in the area of Hill B, whereas the Germans are strong in
the area of Hill A.
Allies
|
Germans
|
Matilda
II’s x 2 (max 1 per zone)
Bren
Carriers x 2 (max 1 per zone)
|
Off
table LG40 battery x 1
Marder
II x 1
|
Battles
The attacker must win in order to
capture or remain in the square, otherwise the assault has failed. Should
neither side win an encounter game then the battle is drawn and both fail to
capture the square.
Casualties are NOT carried forward from game
to game - this is an important sector so the whole battalion is available to
support you.
Fallschirmjager (Veterans)
HQ: (0
points)
·
CO (SMG), 2IC (SMG)
2 *
Squad (2 points)
·
FT1: LMG + 2 crew, SMG
·
FT2: Rifle*7
The CO may act as an AOP on different radio net
to the artillery
|
Commonwealth & Gebirgsjäger
(Ave)
HQ: (1 point)
- CO
(pistol), 2IC (SMG)
- FT:
AT rifle + 2 crew
- FT:
Lt mortar +2 crew
3 * Squads
(1 point)
- FT1:
LMG+ 2 crew, SMG
- FT2:
Rifle * 7
The mortar is direct fire only
|
Fallschirmjager (Average)
1.
Upgrade a support team to Vet (1 point)
2.
Weapons section (1 point)
·
HMG + 4 crew
·
Panzerschreck
·
Light mortar + 2 crew
3.
Support team #1 (1 points)
·
1* Sniper team
·
2 * Medics
4.
Support team #2 (1 point)
·
Flamethrower team
·
1 * LG40 recoilless rifle + 3 crew
5.
Mortar Section (4 points**)
·
AOP team
·
2 * Medium mortar + 3 crew
6.
Artillery Battery (2 points**) (off table)
·
CO (SMG/pistol)
·
2 * LG40 recoilless rifle + 3 crew
7.
Marder II (2 points)
** A single weapons team can be fielded at half
the cost.
|
British and Commonwealth (Average)
1.
Matilda II ( 2 points)*
2. Mk
VI Lt Tank / Bren Carrier (1 point)
3. AT
battery (2 points**)
·
CO (pistol)
·
2 * 2pdr + 4 crew
4. HMG
team (1 point)
·
CO (pistol)
·
2 * HMG + 4 crew
5.
Support team #1 (1 points)
·
1 * Sniper team
·
1 * Medics
·
1* Flame thrower
·
1 * extra AOP
6.
Mortar Section (4 points**)
·
AOP team
·
2 * Medium mortar + 3 crew
*If a double 1 is rolled for move it breaks down
and may not move again that game. If a single 1 is thrown it bogs down and
does not move that turn.
** A single weapons team can be fielded at half
the cost.
|
Name
|
Type
|
Speed
|
Weapons
|
Notes
|
|
Matilda
II
|
Heavy
|
Slow
|
Light,
coax MG
|
No HE
|
|
Mk VI
light tank
|
Light
|
Medium
|
HMG
|
|
|
Recoilless
rifles
|
|
|
Medium
gun
|
|
|
Bren
Carrier
|
Light
|
Fast
|
MG or
AT rifle
|
Open
topped
|
|
2 pdr
|
|
|
Light
gun
|
|
|
Marder
II
|
Light
|
Medium
|
Medium
gun
|
Open
topped
|
|
|
|
|
|
|
|
|
Airborne assaults
Attackers
·
Assign
teams (weapons or half sections) to a wave (4 teams per drop)
·
Have
4 JOPs. Dice randomly to see where they land, 5,6 = go around again, so
assigned to the next available wave.
·
Usual
rules the move you land – no move or fire.
Defenders
·
All
begin on over watch.
·
Become
active when
o
Fired
on or attacked
o
Enemy
spotted in the open
o
On a
6 (D6) +1 / turn.


