Title

Title
Tally Ho!

Sunday, 4 February 2018

28mm first crusade - the first batch

Over Christmas I was busy painting ECW figures for the 1650 Scottish campaign, but I've now returned to my current long-term project - the first crusades. The Muslim force were completed months ago and have been doing duty as fantasy Arabians for Kings of War.

The crusaders are mostly Norman figures from Conquest Miniatures and the first two units are now completed - one infantry and one knights. Assembly and painting were pretty simple but the shield transfers proved a little tricky. They are of the type that must have a thin plastic sheet peeled-off and then stuck down. The sheet is more or less impossible to get off an individual shield so I ended-up doing larger sheets then cutting-out the stick shields - fiddly but it worked.

All are based for Aramti / DBx.

Crusader Infantry

Crusader Knights

Knights close up

Infantry close up
     

Friday, 2 February 2018

Strike Fast ECW campaign - week 1

Our campaign opened with Cromwell launching an attack into Dumfries & Galloway to confront the Royalist forces holding that region. For this campaign the Royalist armies have a small force of loyalist English exiles, but are mostly Irish troops and Highlanders.

The terrain was mostly flat with a few low hills. The Royalists had a good defensive position on their right as a village and wood sealed-off the flank. Both sides placed victory markers in the enemy half, that counted towards the win. The Parliamentary forces deployed theirs wide on the flanks whilst the Royalists placed theirs centrally.

Both sides deployed most of their infantry centrally, but chose to load their Horse onto their own left flanks.      

Battlefield from the English left 

Battlefield from the English right

Irish foot in the Royalist centre 

The game opened with the English pushing a Storming Party into the village and ousting a small force of Royalist dragoons holding the position.

Parliament storms the village and ousts the Royalist dragoons

Cromwell moved quickly on his left to attack the enemy cavalry with his veteran Ironside troopers supported by commanded shot. The attack progressed well with the Royalists thrown back and leaving the Irish infantry holding the victory marker isolated.  

Ironsides attack on the left

Ironsides push back their opponents

Ironsides win the day - Irish troops are isolated on the flank

On the Royalist left, after some initial delays, they too launched their own attack but met with more mixed results. They managed to rout half the outnumbered Parliamentary Horse but were themselves halted by the other half.

Royalists attack on their own left

Highlanders are thrown-back at the village 

With the battle about half done the cavalry battles on the flanks were becoming settled. On their left the English had destroyed the Royalist Horse, turned the flank, and were threatening the main infantry line. On the English right the Royalists had an edge but were not able to threaten the main infantry line in the same way.  

The struggle continues on the Royalist left 

Sensing they were in trouble the Royalists began a general infantry advance led by the Highlanders. It was clear though that this attack was at grave danger from the flanking Parliamentary Horse and so the advance was halted.

English stand-too as the Highlanders advance 

Out numbered highlanders run into trouble

So the battle was declared a Parliamentary win as the Royalists felt they were bound to be broken before they could inflict sufficient damage on the enemy. Our post-match analysis was that perhaps the Royalists got trapped between partly attacking and partly defending, so lacked a clear plan of action. They could also have defended their right flank as the terrain was very advantageous for this.

Week 1 map

Sunday, 28 January 2018

Kings of War - assualting the river

This weekend we played the fifth game in our ongoing Kings of War campaign featuring my fantasy Persians against my brothers Dark Elves (Kin). In this game both sides had to carry as many victory markers as possible over the half way line (marked by a stream) with one additional marker in the centre. Both sides started with 3 markers, which must be assigned to a specific unit.

Thinking through the scenario in advance it occurred to me that as the Dark Elves have several cheap units of flyers (Gargoyles) they may well give the markers to these and try to "snipe" a win by hiding these at the back then suddenly rush them over the half way line in the last 2 moves. To counter this I selected 4 small units of cavalry (Scouts and Sergeants) to act as a mobile backline to sweep-up these.

When deployment began it was clear I was wrong though - the Dark Elves assigned the markers to the heavy infantry and massed most of their troops on their right. I in turn had massed my best troops and the victory markers (Kings Guard infantry and Knights) opposite the ford on my own right, where they would be least hindered by the stream. So I abandoned my backline and instead deployed the cavalry to try and delay the Dark Elves advance.
   
The field from my left

Field from the Elves left with their lancers in the foreground

the mighty Mamakil

Elves main attack
So given our deployments this was going to be race in two parts, Firstly which of us could advance our right flank quickest to get our markers over the line then threaten the enemy. Secondly who could seize the 7th (central) marker which might be the tie breaker.

My own advance was swift and largely unimpeded as the Dark Elves only had a unit of skirmishers opposing them who were quickly brushed aside. Over on my left my small cavalry units succeeded in slowing the advance of the Dark Elves, aided by some spoiling attacks from my infantry and Jinn.

Persian Knights advance

The delaying action

In the centre the Dark Elves lancers pushed forward crushing my Mamakil and unit of archers before capturing the all important 7th victory marker.

Nasty lancers roll me up

Still delaying

Elves turn to face my flank attack

As my own right flank advanced in a wide arc into the enemy centre I was able to continue delaying the Elves own advance with my small cavalry force and some well timed fireballs from my wizard. In the centre the Elves lancers fond themselves isolated and were attacked by two units of my heavy infantry. who succeeded in retaking the 7th objective.

Lancers are isolated

Still delaying!


Persian Knights sweep away the Elves flank

As we entered turn 6 my flanking manoeuvre finally arrived and the Knights were able to attack and rout one of the Elfish infantry units carrying a victory marker. So in the end my Persians held the objectives 5 - 2. The score perhaps did nt reflect the full action as my casualties were about double the Elves.

lovely Gargoyles

Victories Knights

So an interesting game and not quite the one I'd expected. In hindsight had the Elves sought to contain the Persians then use flyers to get their objectives  over the line at the end I may have really struggled to move rapidly enough.

For the elfish version check here http://fishpondswargames.blogspot.co.uk/2018/01/artefacts-of-kyron-campaign-battle-5.html

Friday, 26 January 2018

Strike Fast ECW Campaign - second practise game

For our final warm-up game before the campaign proper, we used the other force available to the Scots - the Covenanter army. This only had 3 units of Highlanders but had additional artillery and 40% more infantry overall than the Royalist army. As agreed after the last game, the Highlanders would be allowed to fire volleys but would have its combat bonus reduced to +1/2.

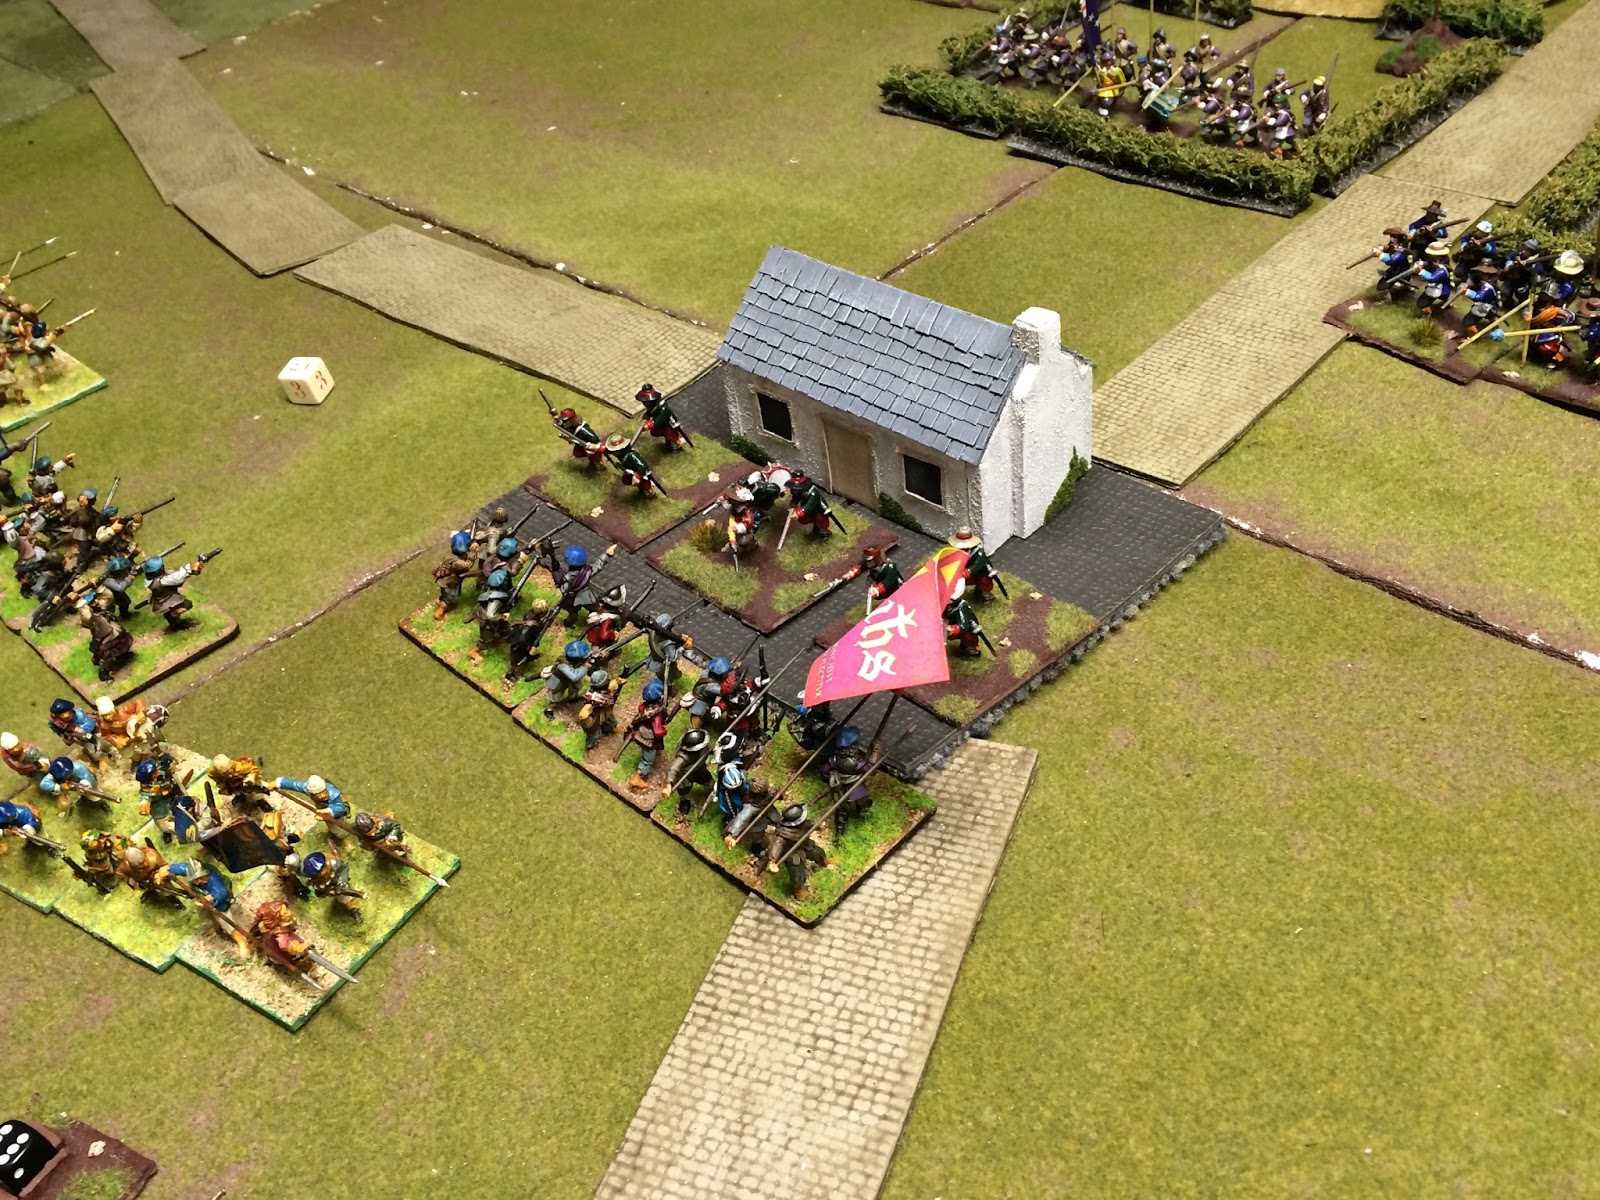
In this scenario both sides deployed on a low ridge with a farm in the centre and a series of enclosures on one flank the other main features. Both sides divided their Horse equally between the two wings but the Scots broke-up one of their foot units to provide commanded muskets in support of 2 Horse squadrons.

Long view of the game from Cromwell's left flank

Scots lancers ready to attack

Covenanter centre

More Scots Horse on their right

Cromwell's centre firmly camped on the ridge

Parliamentary Horse on their left

Cromwell's veteran troopers on the right
On this occasion Cromwell decided to hold in the centre in the hopes of drawing the Scots to him and away from their superior artillery. They duly obliged with a general advance across the line.

Highlanders leading the attack

Covenanter troops push through the fields
On Cromwell's right his Horse clashed with the Scots cavalry and despite the presence of the commanded shot made decent headway against them, pressing them back towards their baseline before routing them completely.

Mounted clash goes for Cromwell 
In the centre the Covenanter forces drew closer to the English lines and commenced a short, sharp, fire action before charging up the hill.  This combat favoured the English though as they were Veterans, uphill and able to fire into the advancing Scots. The first wave was thrown back in confusion.
 
English thin read line

Highlanders attack

and bounce off!
A second attack by the Covenanter pike and shot met a similar fate, with the attack stalling at the base of the ridge.
A hard slog up hill

View from the Scots right
By now the English horse had won one both flanks and was able to threaten the rear of the Scottish position. With 50% of the Scots routed the game went to Cromwell.

Ironsides finally overcome the lancers

Wednesday, 17 January 2018

Strike Fast ECW Campaign - week 0 (practise game)

As a prelude to our latest campaign we held a practise game this week to remind ourselves of the rules. We're using "Captaines and Calivars", an ECW variant of Ian from Hinton Hunts, "Musket and Marshalls" Napoleonic rules.

We've used the rules before but never with Highlanders, so this was an opportunity to test them. The campaign itself is set in 1650 and follow's Cromwell's suppression of the alliance between the Royalists and Covenanter's that attempted to seize control of the UK, often known as the Third Civil War.

We rated the Highlanders as 8" move, +1 in combat, and no shooting - this being accounted for in the increased melee factors. 

Since this was a trial / rules refresher we went for a very simple setup with both sides splitting their cavalry equally between the flanks and massing all their infantry in the centre.  Both sides deployed dragoons forward to hold a village (Royalist) and fields (Parliament) near the centre line.  

Royalist Scottish lancers on the left flank

Royalist centre-left
The Royalist forces place 6 units of Highlanders in the front and backed by an equal number of Irish mercenary troops. This would give us an early test of their fighting power.

Royalist centre right - highlanders to the fore

Cromwell's horse on the left

Cromwell's centre-left

Cromwell's centre-right

Cromwell's right
Cromwell was likely to enjoy a significant advantage on the right flank as his Veteran troopers squared off against the Raw Scottish lancers.

Long shot of the game from the Royalist right 
The game began with a general advance across the line from the Royalists forces as they sought to come rapidly to grips with their highlanders. Cromwell held in the centre (save for an incursion against the village) but advanced his cavalry on the flanks.
Highlanders advance quickly past the village
As is traditional with many ECW games the first action was on the flanks as both sides sought to impose themselves on the cavalry melee. On Cromwell's left the action was pretty even with both sides well matched. On his right however he made short work of the Scottish lancers but was in able to prevent his troopers from pursuing the beaten enemy.


Scottish lancers move forward
Crunch - this would end badly for the Scottish 
As the centres clashed we got our first chance to see how the Highlanders performed. Several units swept quickly passed the village and charged headlong into the waiting English troops who met them with a steady fire.
Highlanders advance on the English 
Royalists attack on Cromwell's left
Pipes playing the Highlanders prepare to charge

Highlanders advance stalls

It is fair to say that the results were disappointing for the Royalists as both Highland units rebounded off the English line and found themselves Disordered for their troubles. A second wave advanced but found themselves under fire from across the English line and under threat from Cromwell's horse who had managed to win on both flanks. So after 2.5 hours play we declared the Parliamentarians the winners.  

Scots somewhat outnumbered

English make progress on the village.

It was pleasing to achieve a result within 3 hours for a large game (nearly 30 units a side) but we concluded the Highlanders needed a further review. It was slightly tough to judge their true performance though as they diced so poorly. Despite being +1.5 up I most melees they still managed to loose most of them due to some awful dice rolling. We are considering 3 options:
  • Have less of them so they matter less - a shame as we have lots and they look great!
  • Reclassify them as Pike & shot but of poor quality.
  • Allow them some limited shooting (volleys and short range) but reduce the combat bonus
I would like to try the later as this seems to reflect their tactical method best, so I'm looking at:
  • Move 8"
  • May shoot / volley at short range only
  • +1/2 in combat
  • May not form pike stand as historically they were vulnerable to horse charges