Title

Title
Tally Ho!

Monday, 21 April 2025

Easter game - the battle of El-Teb (sort of)

This Easter we dusted off the Colonials and did a game based on the Sudanese battle of El-Teb from 1884. 

In our version the Imperial forces first attacked dug-in Mahdists who were protecting a ridge-line, attempting to capture a decent defensive position. In part 2 they would roll for casualty recovery and then attempt to withstand a Mahdist counter attack in the position they held after part 1.

Part 1 - The British Attack

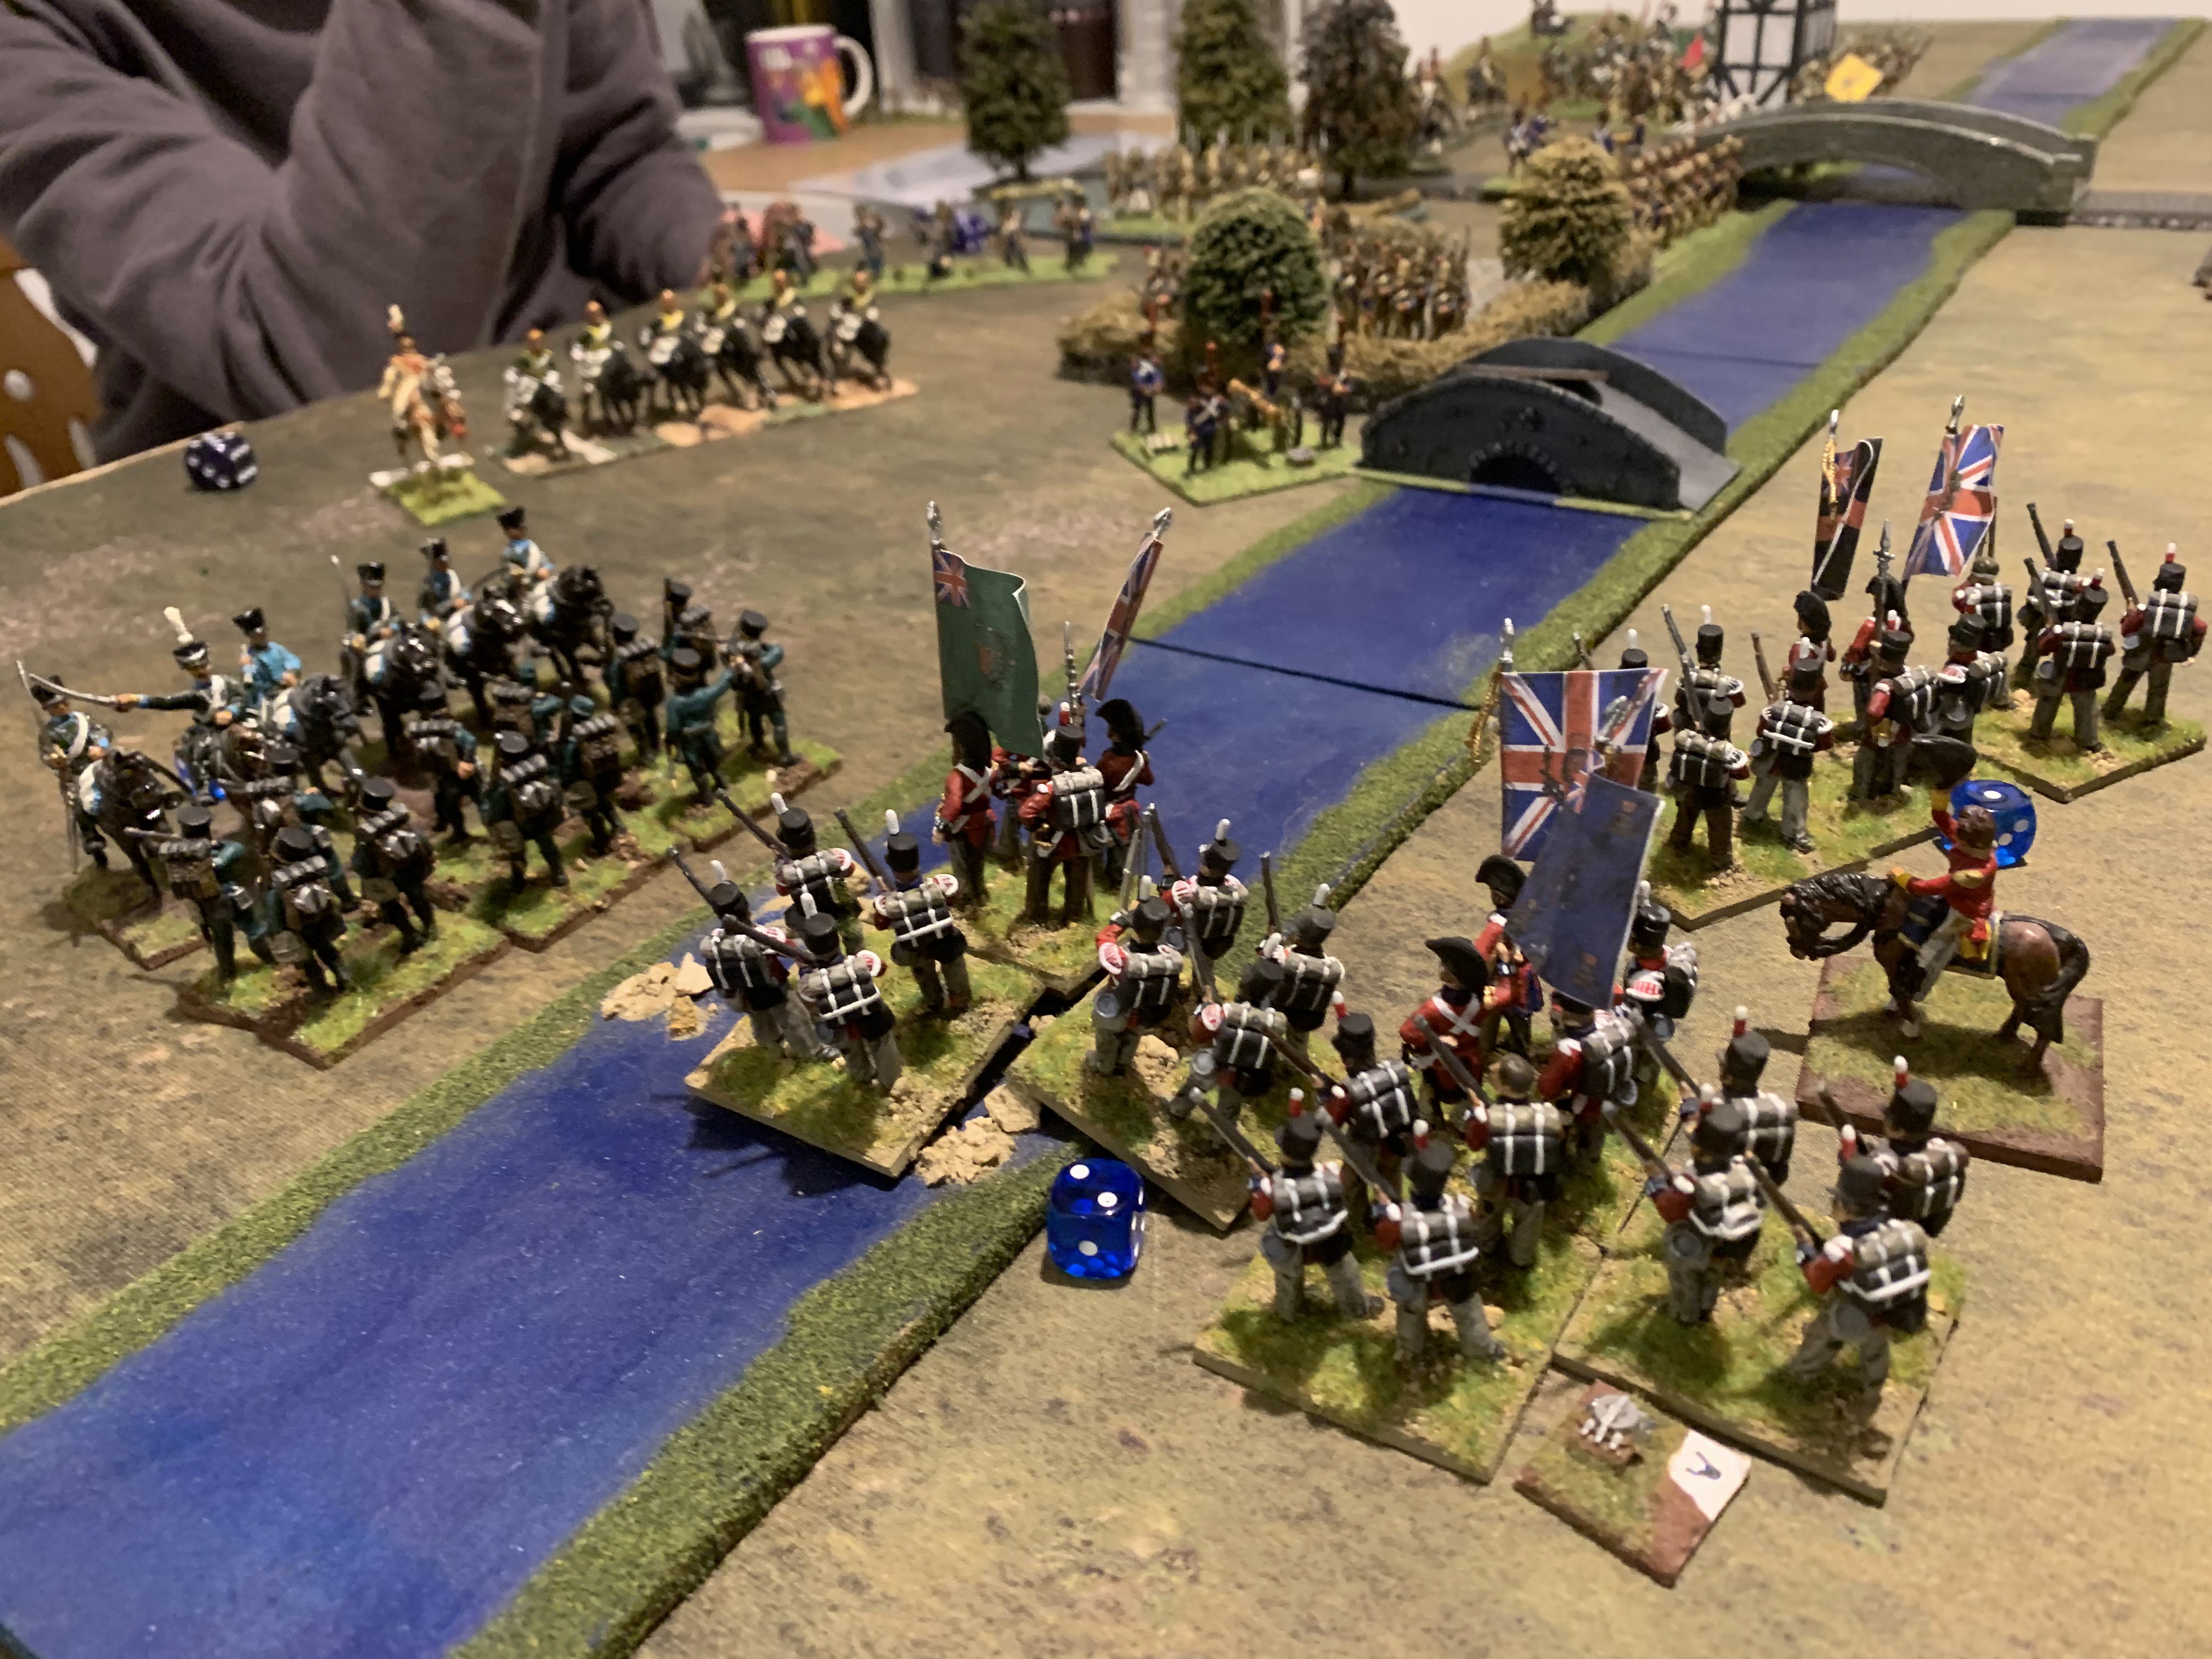
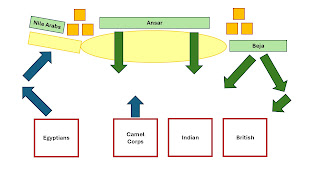
The Imperials attacked left-to-right with the Egyptians moving towards the wadi, the Camel Corps and Indians advancing very slowly on the ridge and the British forming a firing line where they stood. The Mahdists mirrored this with the Beja attacking quickest while the Nile Arabs waited in their defences and the Ansar advanced up the centre. 

Ansar holding the ridge

Beja in the eastern village

Camel Corps

Eygptians

Beja attack

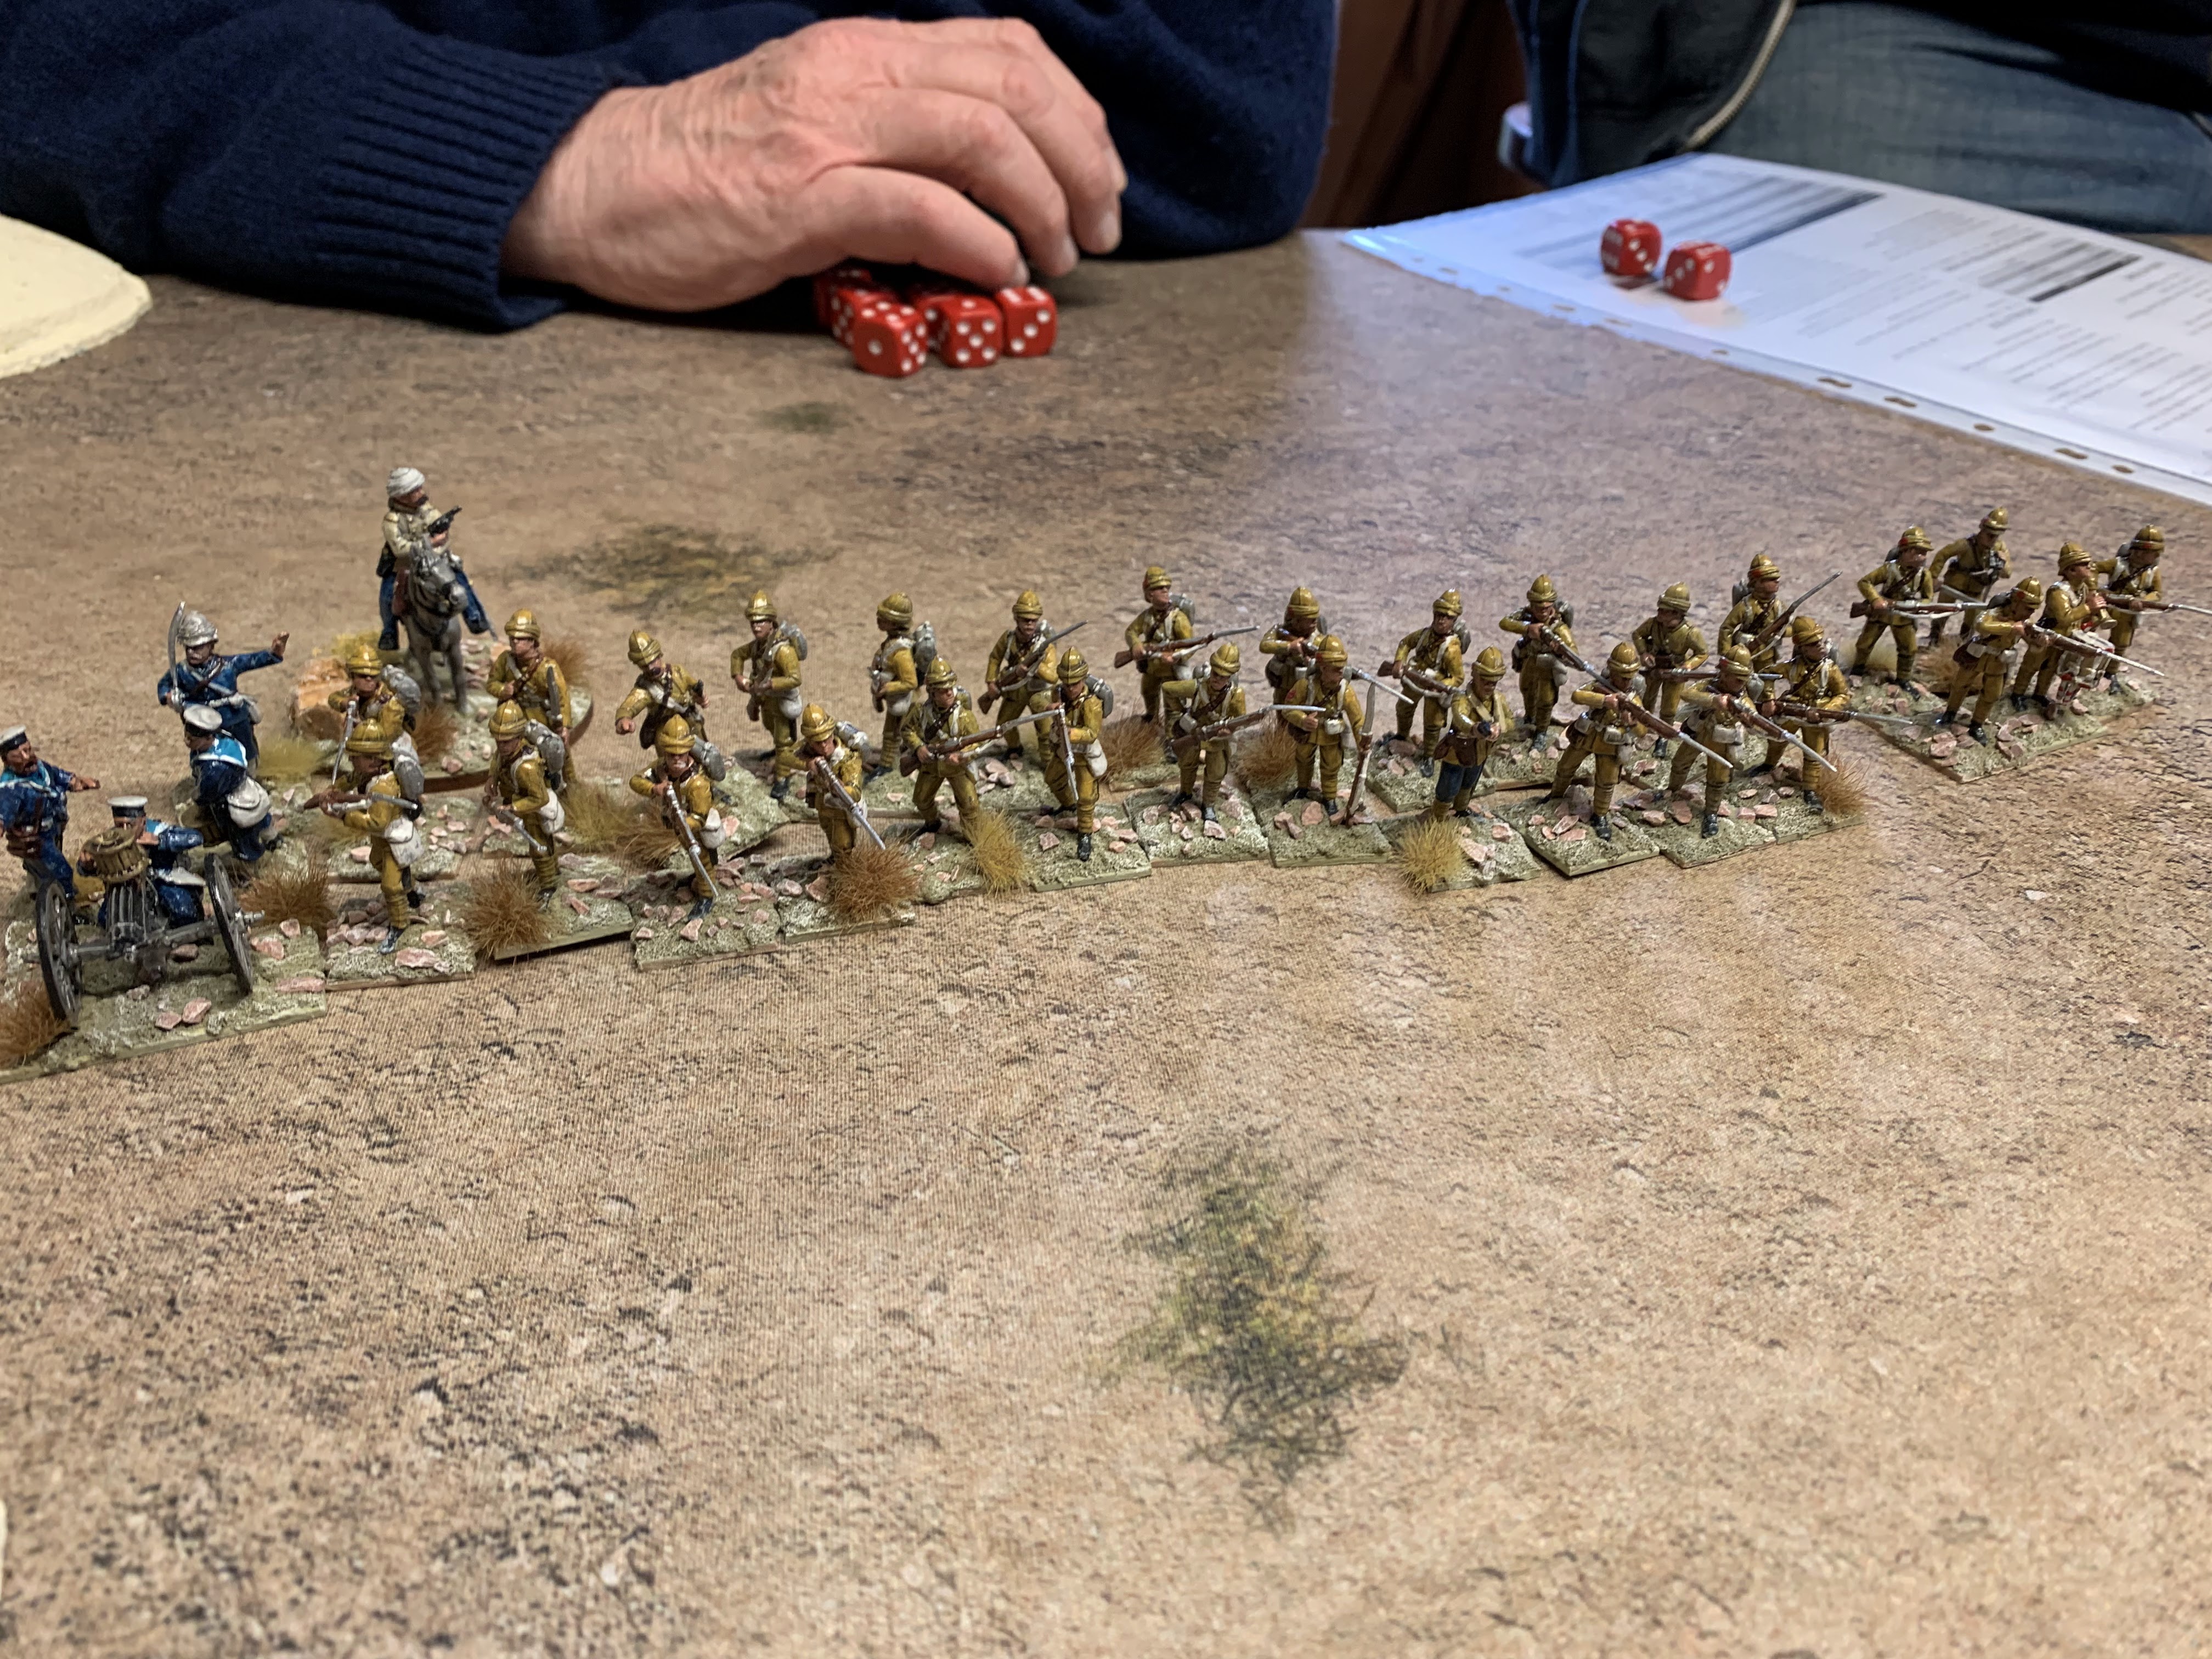
In the centre, the initial attack fell heavily on the Indian troops. Their compatriots to either side tried to support them but two units of infatry quickly fell and the gun was forced to retreat. The Beja launched several spirited attacks against the British which caused losses but were unable to overrun them.   


Indians under pressure

The Egyptian advance reached the wadi and were surprised by a Mahdist attack that pushed back two infantry with significant damage. The Gendarmes and some infantry did manage the flank the wadi but was unable to attack the village.     

Egyptian Gendarmes

The Camel Corps had a fairly quiet time until the Lancers attacked to relive pressure on the line and gloriously suffered 75% losses before retiring back to the lines.   

British firing line

So at lunch the British / Indians had made no real gains and the Egyptians were forced to give-up their captured territory to avoid being isolated.  

Part 2 - The Mahdist Attack  

The Imperial forces formed two squares roughly on their original start line - the British / Indians on the right and the Camel Corps / Egyptians on the left. 


Egyptian / Camel Corps square

British square with the Indians just off shot

The attack on the British / Indians suffered mixed results. The Indians were again badly mauled as they were depleted from the first battle. The British took losses but were able to hold their ground. 


On the other flank the Egyptians were pushed back and lost troops to fierce attacks. The Camel Corps initially faired better but they too came under pressure as the Egyptians over their flanks retired.       

Egyptians forced back

Camel Corps under attack

Remarkably one unit of the Camel Corps managed to survive both games without a single loss.   

The luckiest unit on the field 

We did nt have a formal score but it felt like a Mahdist victory. Their losses were appalling but they had stopped the Imperial attack and caused heavy casualties on the Indians and Egyptians.       


Friday, 18 April 2025

Control the river

We needed to ensure the tables were cleared by the end of this week's session to accommodate a game planned for the weekend.  So rather than the usual campaign game we played "Control the River" from the SOTE rule book. 

The defender (French / Germans) had to hold a river line with 4 crossings whilst awaiting reinforcements. They are also able to place some light troops over the river to disrupt the attackers. Points are scored for the three northmost crossings and the two villages.

The attacker (Allies) plan was to mass most of their infantry in the west, force the lightly defended central ford with some lights horse & remaining foot and screen the eastern crossing with heavy cavalry.

Germans defending the western crossing

The French opted to place all their lights (3 units) across the river, which delayed the Allies but ultimately they were routed across the river and dispersed.  

Charge!

The main Allied target was the western village / crossing. Rather than assault though they mustered all the shooting they could to grind-down the defenders whilst threatening the central ford. 

French take over defence of the western crossing

Dutch advance in the west

This worked pretty well as the defenders diverted much of their reinforcements to deal with the units crossing the ford. It ended badly for the British Hussars who did cross the river but they distracted the French long enough for them to reach their breakpoint due to losses in the west.     

Hussars cross the central ford


Allies mass in the west

So a win for the attacker on this occasion.

The Hussars are surrounded


Saturday, 12 April 2025

1815 campaign - Turn 3, part 2

This report contains the two additional battles from turn 3 that were fought over a couple of weeks.

Fortified Farm - southern front, Germans vs Prussian

In this "Teutonic-off" the Prussians were defending a farm complex with the aid of the reserve Guards Brigade, played by my Hanoverians. Attacking them were the Confederation of the Rhine with the French Guard in support.  
 
Allied Guards holding the farm complex

German western attack 

The French/COR tried for their commanders favoured bulls-horns with cavalry massed in the east, most of the German foot in the west and the centre held by the Guards and some guns. 


The infatry advanced slowly with honours pretty even and casualties mounting on both sides but no clear winner. The German cavalry attack threw the Prussians back in some disorder but they managed to rally and counter. The gods were with them and they managed to force the Germans back winning the flank and forcing the French Guards into action.        

Long shot with the massed cavalry in the foreground

French Guards

The Germans and French launched a series of attacks around the farm but suffered heavy losses and the army broke leaving the battered Prussians in possession of the field. Prussian win


River crossing - northern front, French vs British/Dutch. 

The defending French stretched across the length of the river unsure where the British might decide where to attack. For their part they deployed the British in the west hoping to find a ford, the Dutch opposite the central bridges, and the horse to the west / centre also looking for a fording spot. They opted not to send a flanking force upriver to find another crossing point.    


The British foot rapidly found a ford and so the horse diverted into the middle looking to attack the bridges. As the British crossed the ford they found themselves pinned by French horse and under heavy fire from artillery. They held on gamely but could not make much ground.     

British force the ford


The British dragoons crossed the bridge and scattered some French artillery but came under fire from French foot lining a nearby hedge. Despite a brave attempt British were forced to retreat having reached army break point. French Win 

British heavies storm the bridge


Campaign Situation

As we head into Turn 4 the British are attacking the French regional capital but the Germans are falling back in the south and the British in the north. So the Allies are in the stronger position as they are able to attack the regional capital next turn.